Digital Recorder + Battery Backpack for the 1985 Canon VM-E1
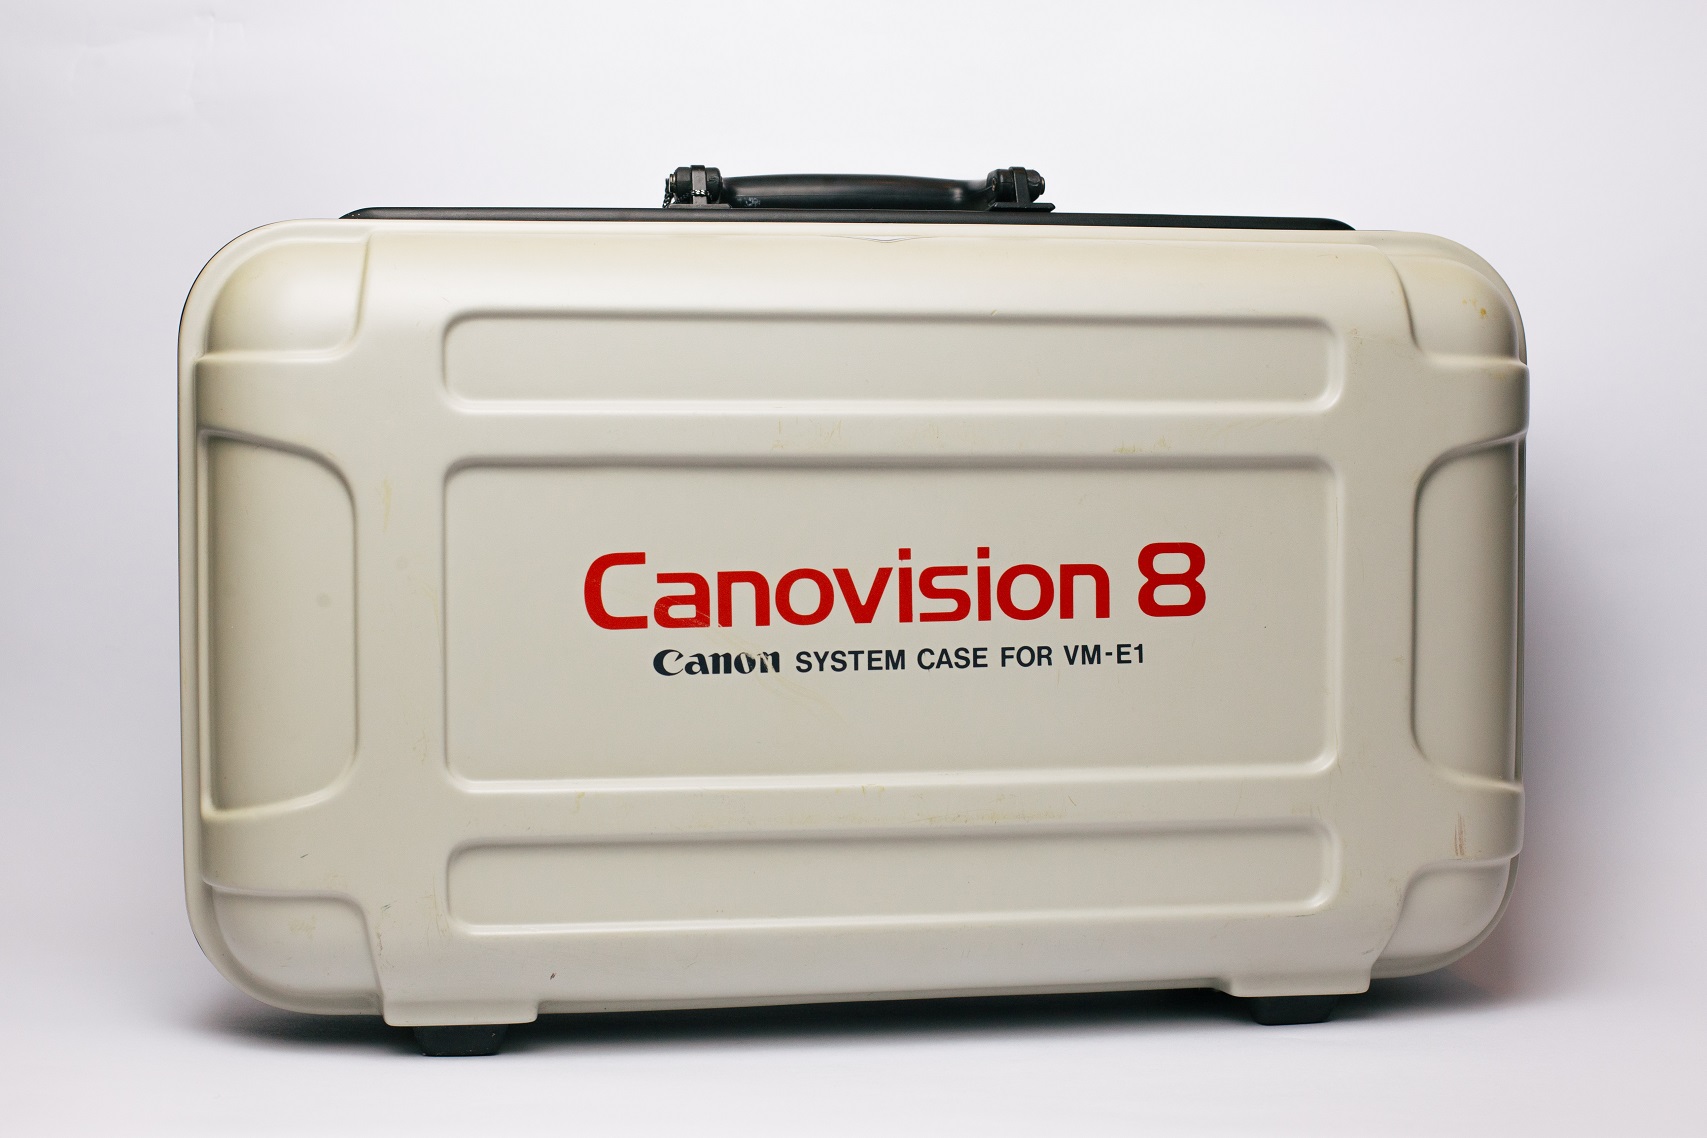
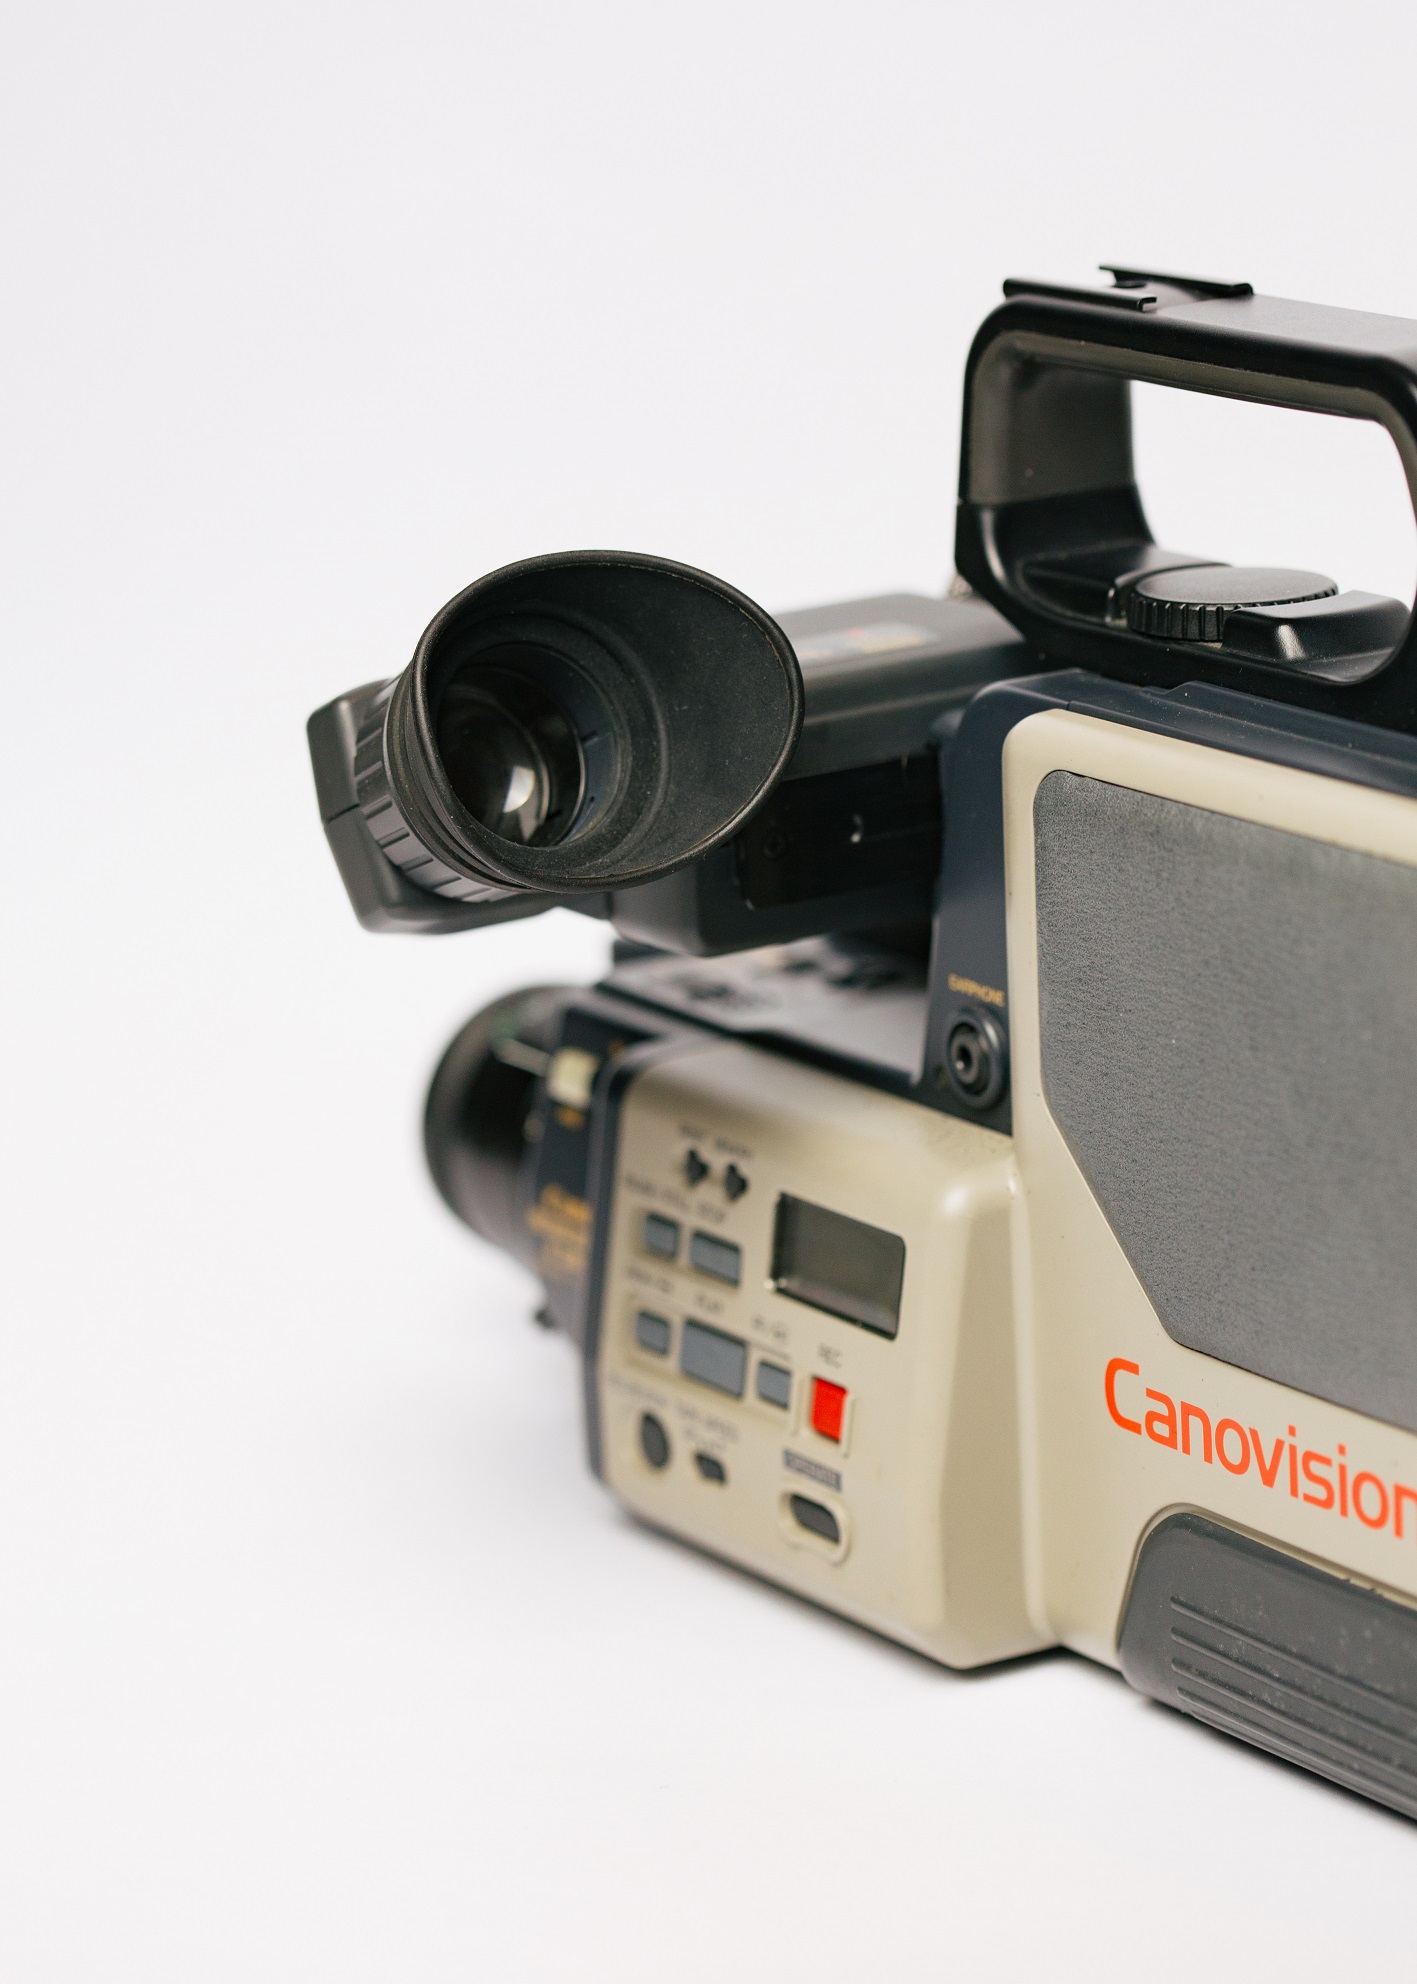
In 1985 Canon produced its first single-unit video camcorder, the VM-E1. Whilst browsing Facebook Marketplace I saw one for sale for around £10 broken. Initially, I was mostly interested in it only for the included hard-case, but I have also always enjoyed taking apart old electronics equipment so I thought it was worth buying.
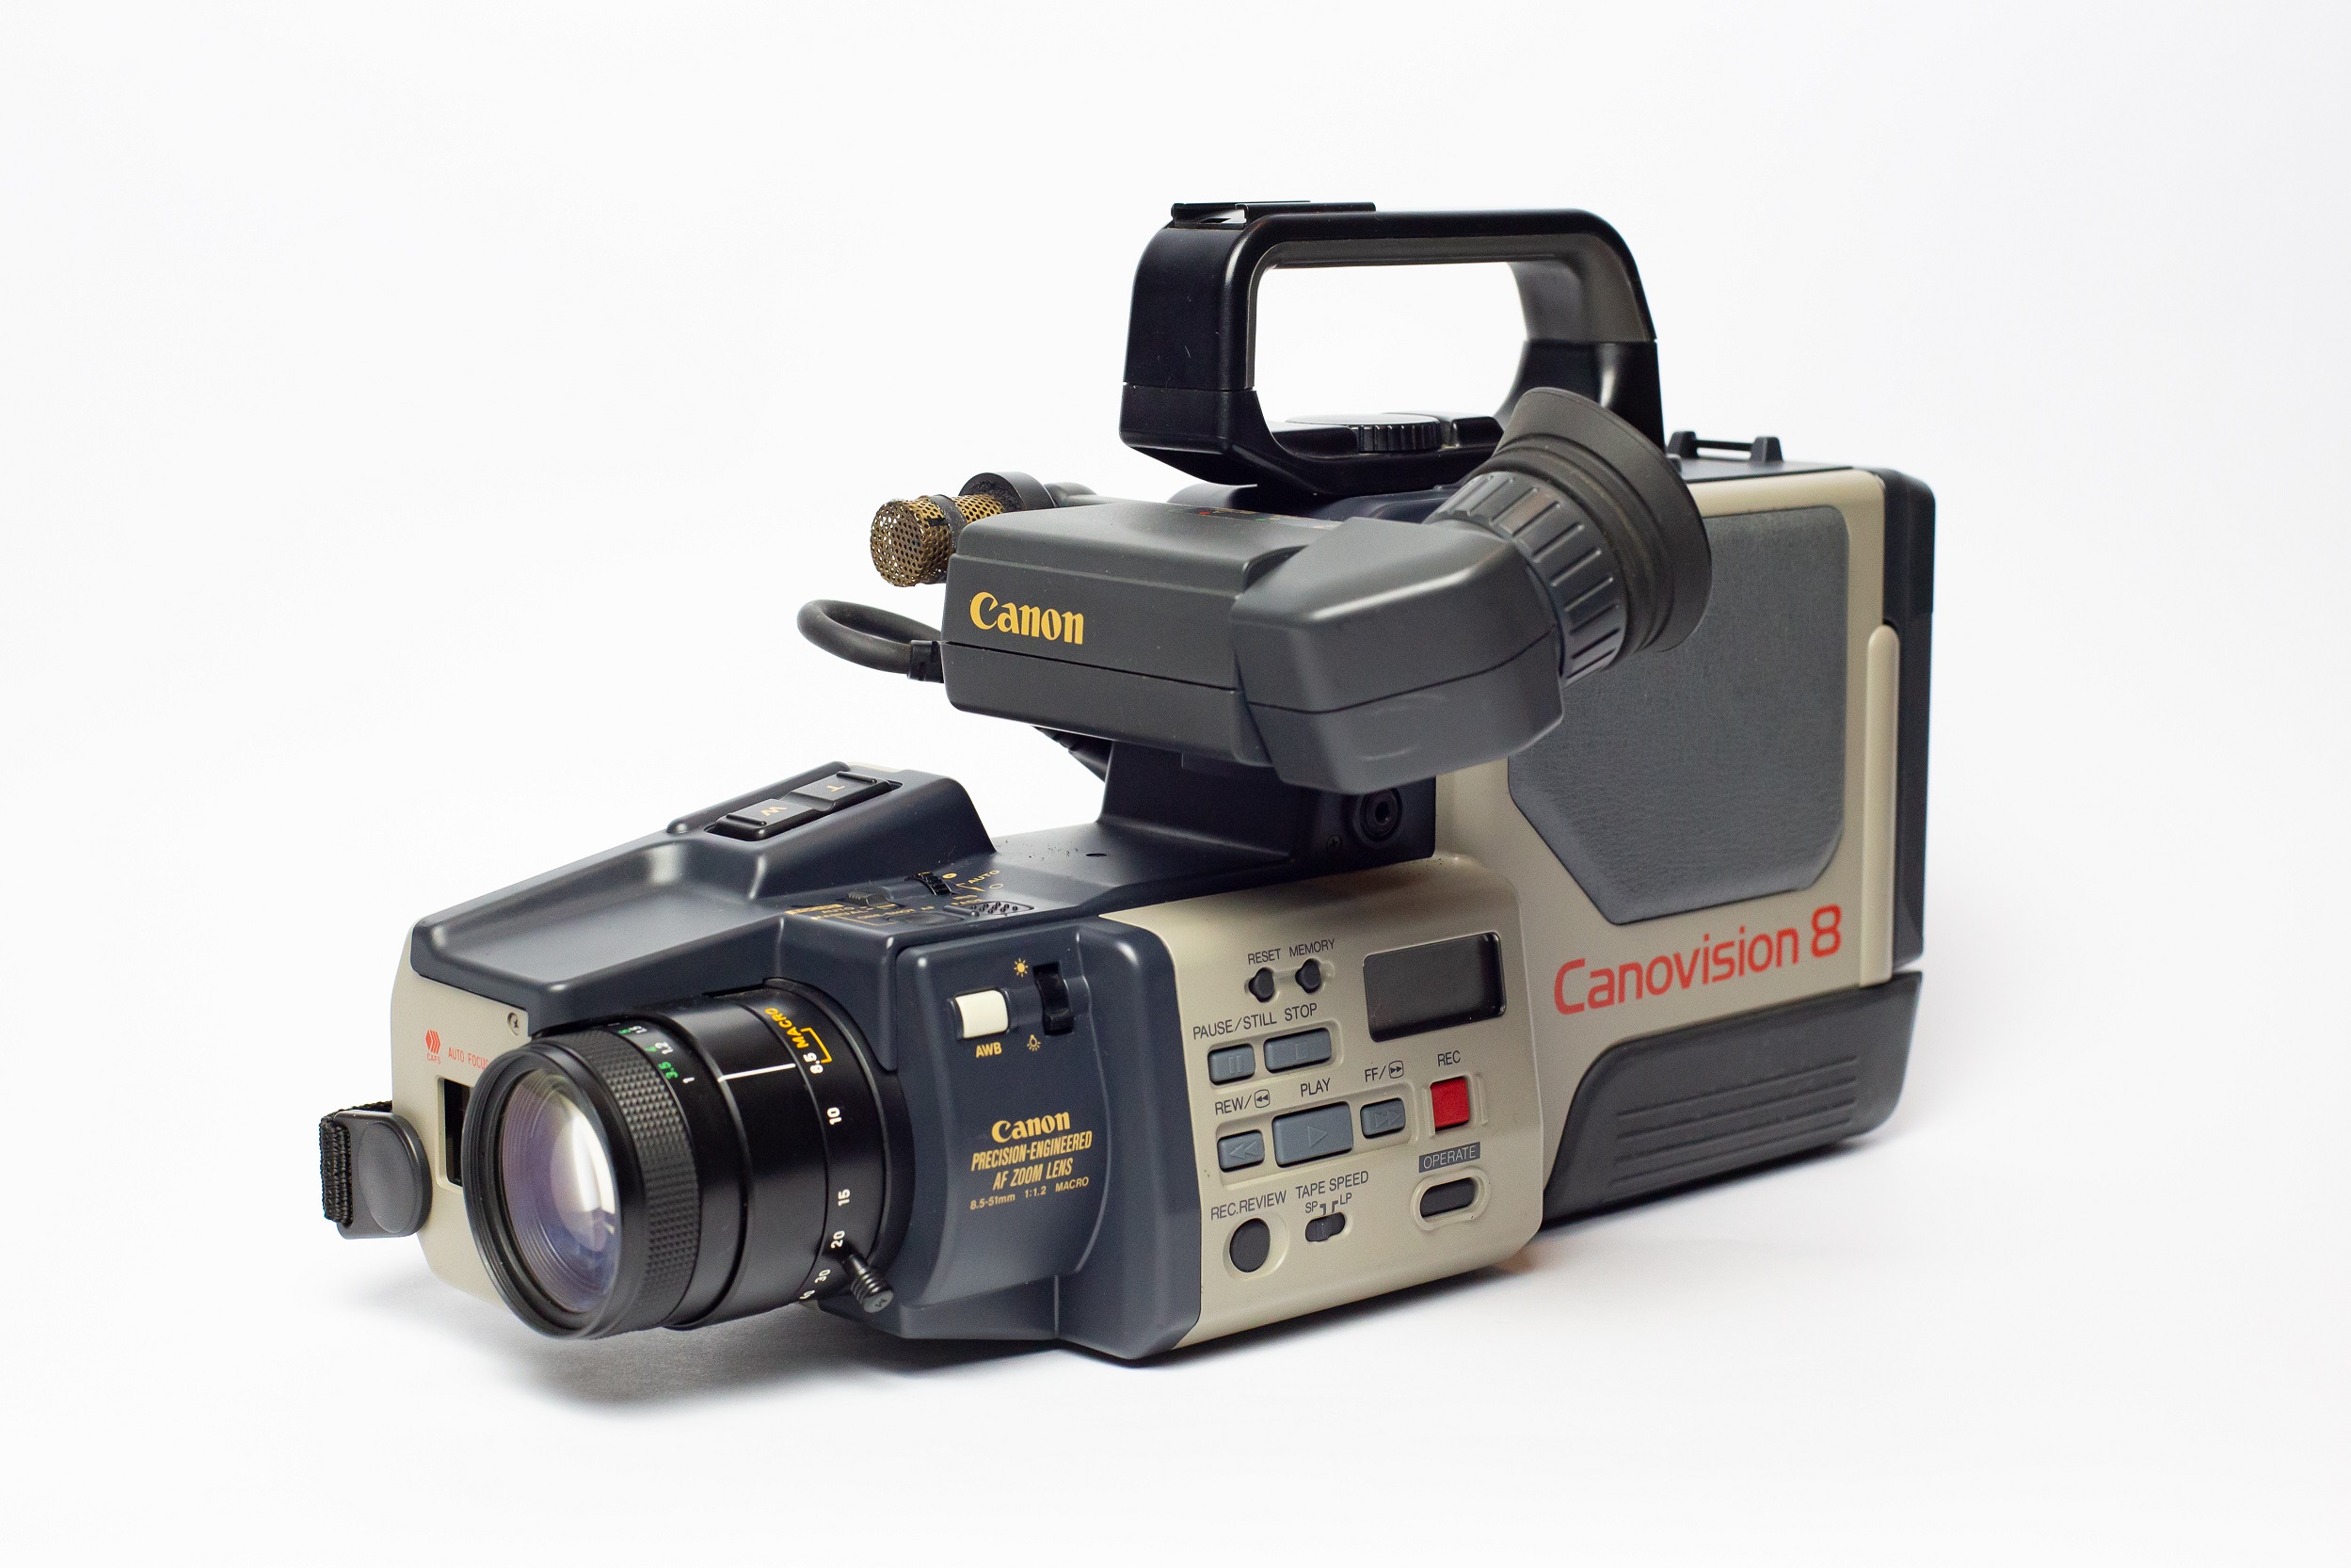
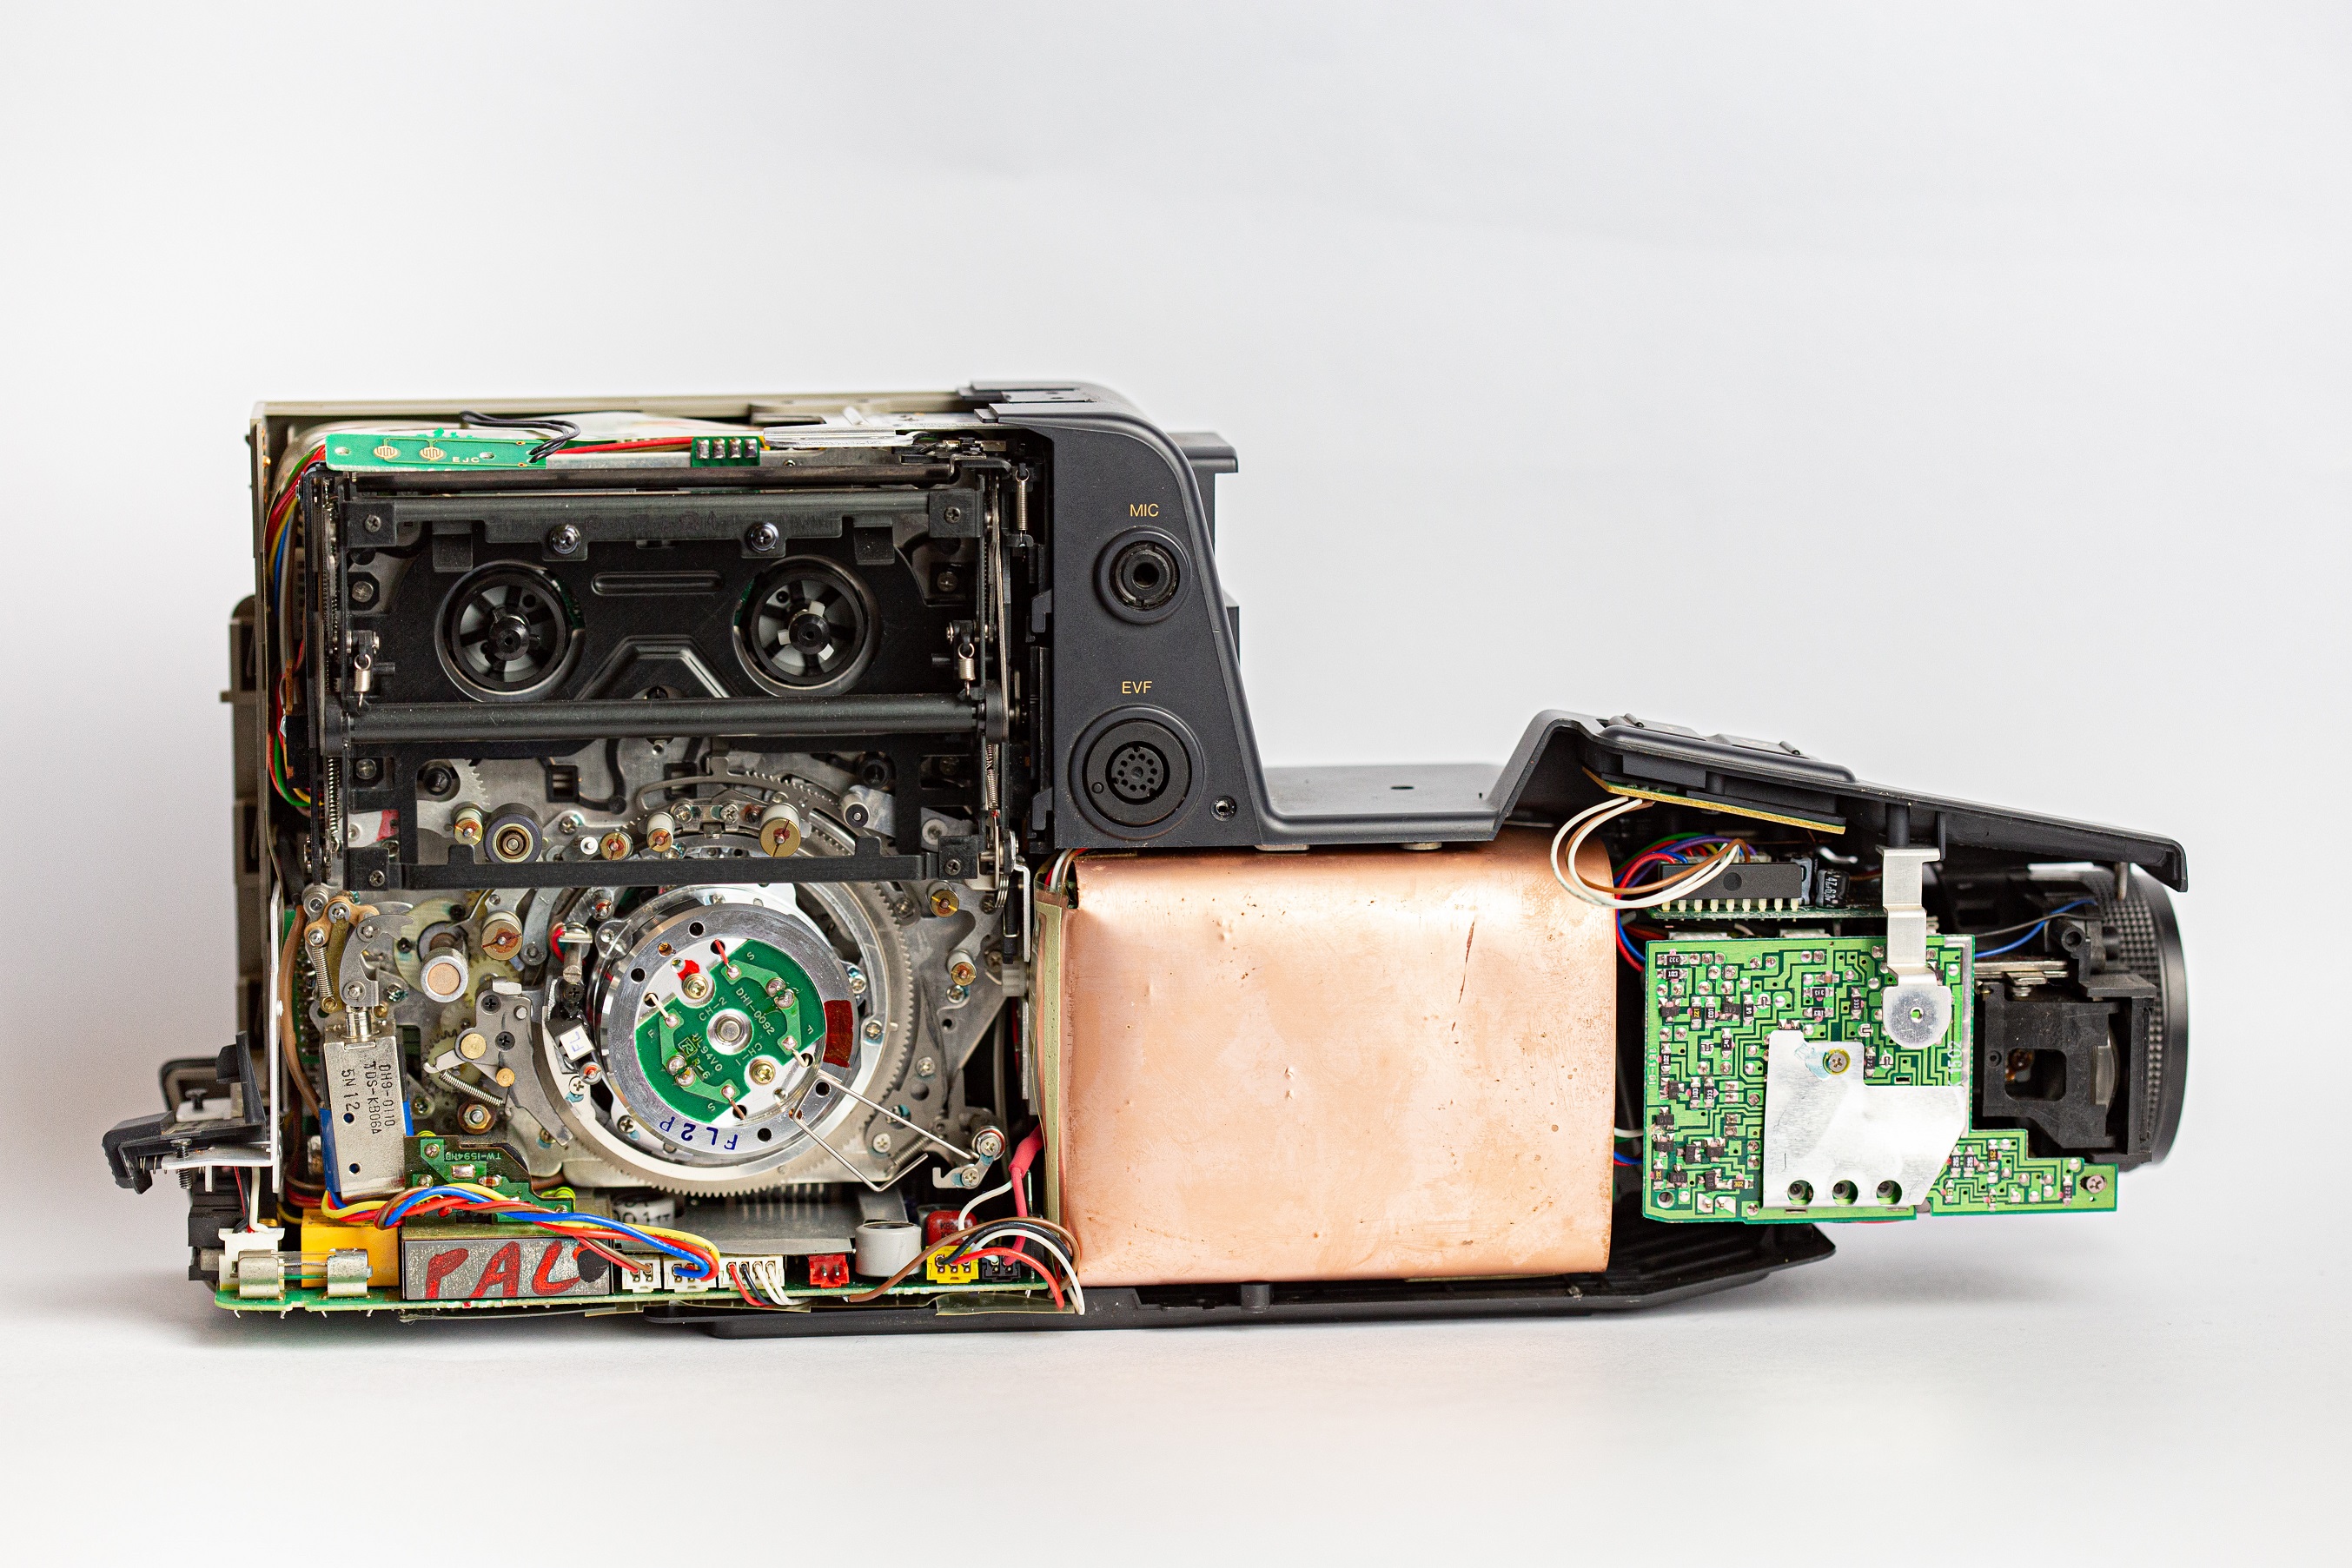
After picking it up I noticed that although dirty, it seemed to be in good condition for something 35 years old. I took the side off for a view inside, and again noticed it was in good condition and showed no signs of being dropped or damaged.
I measured the voltage of the battery, and quickly realised that it was far too low to be able to power up the camera. Unfortunately it didn’t come with a charger, but there was an included AC adaptor. After connecting it, and plugging it in…it turned on! Below is a photo taken through the viewfinder.

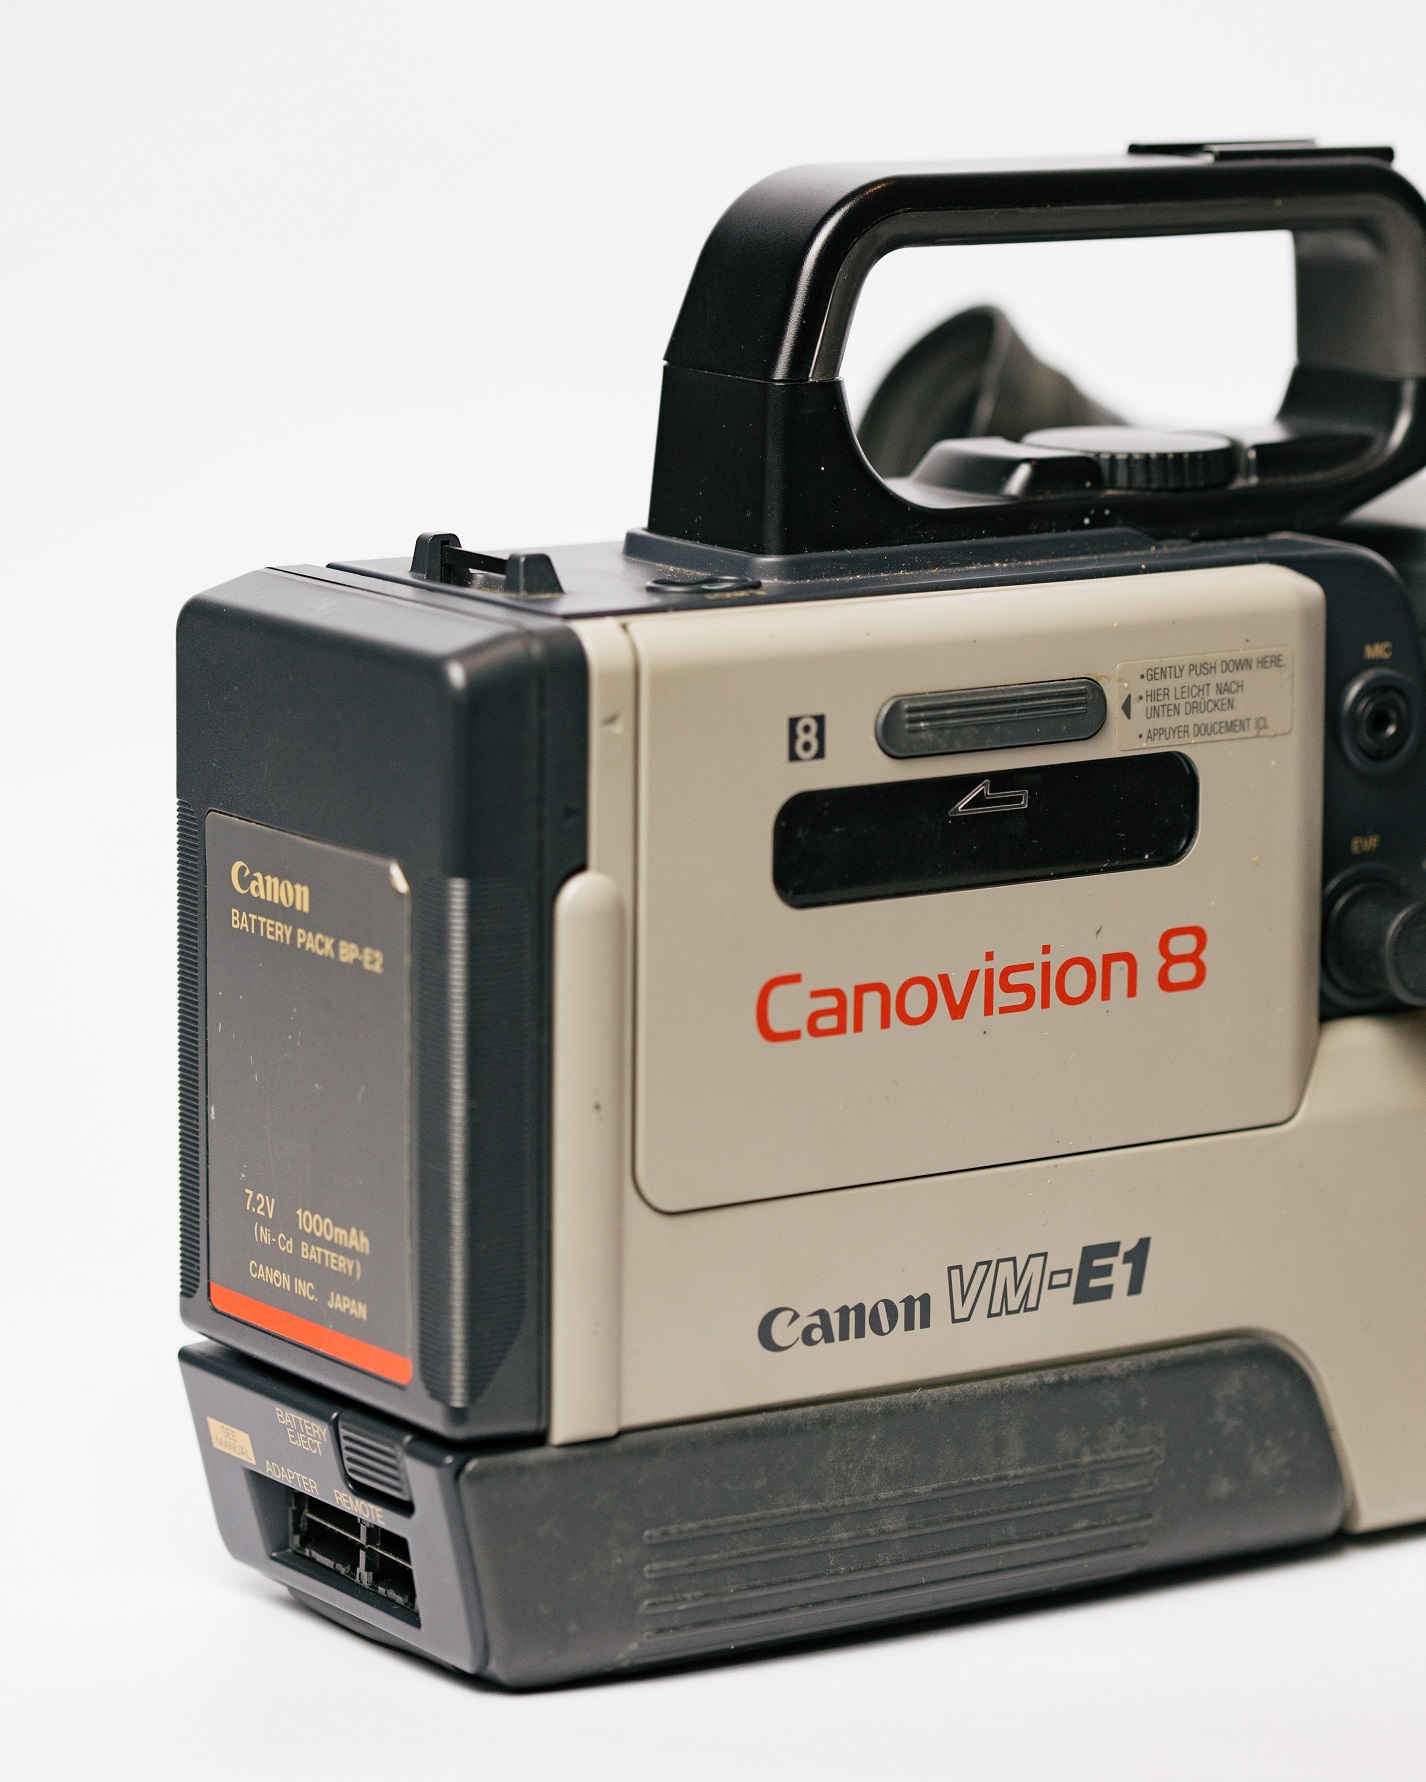
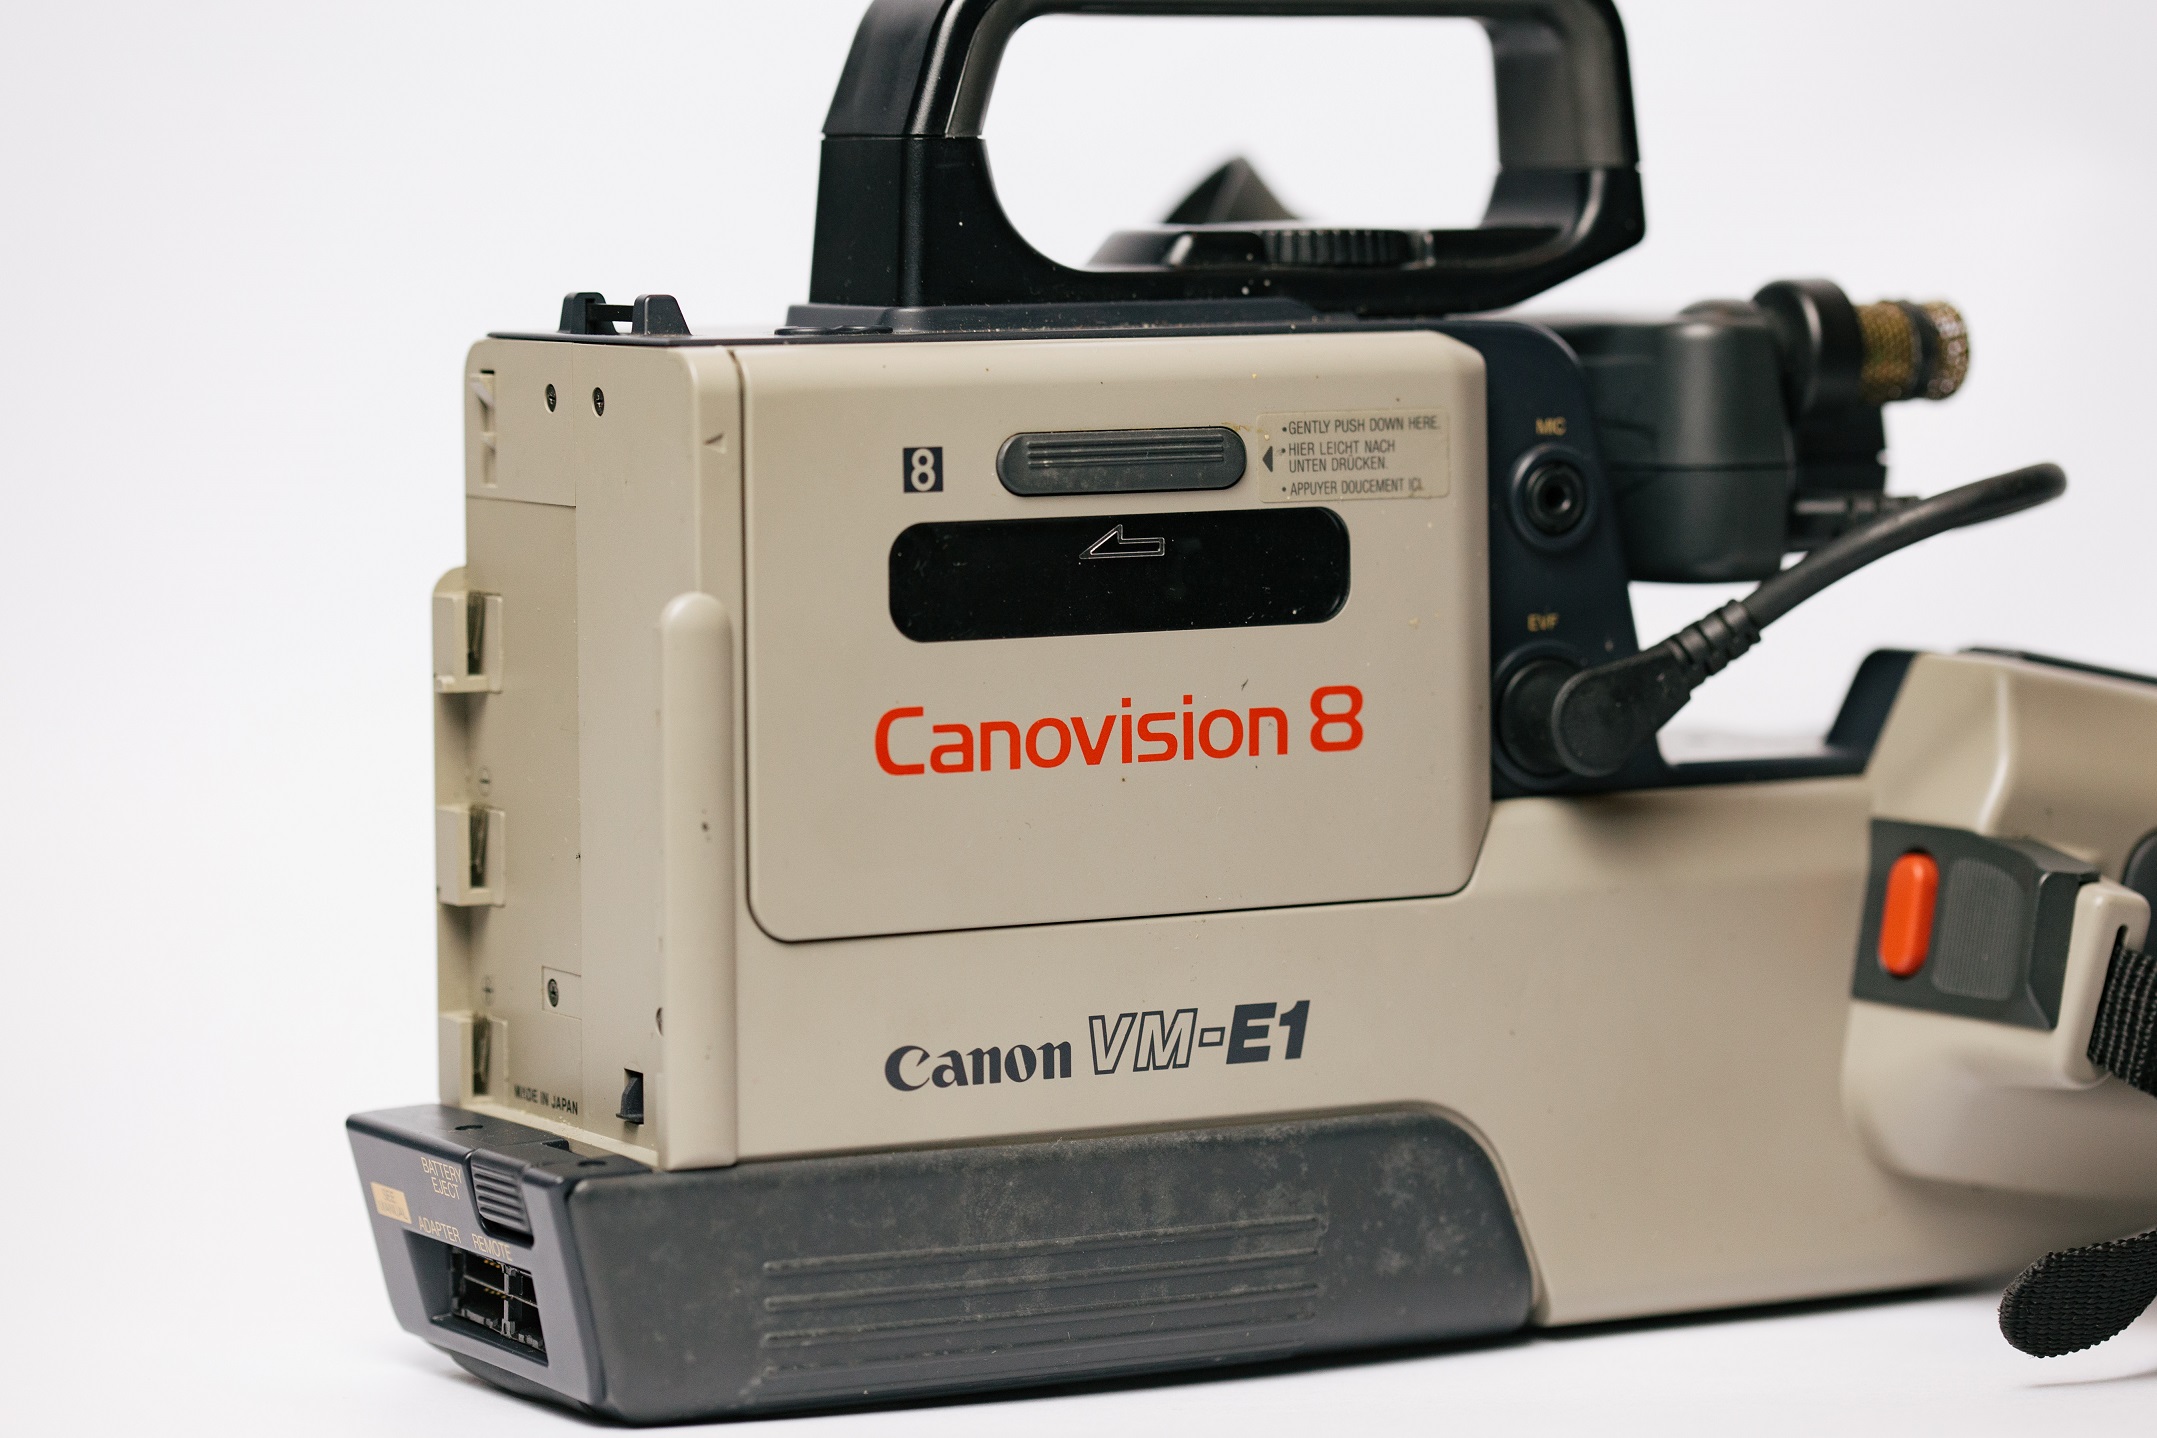
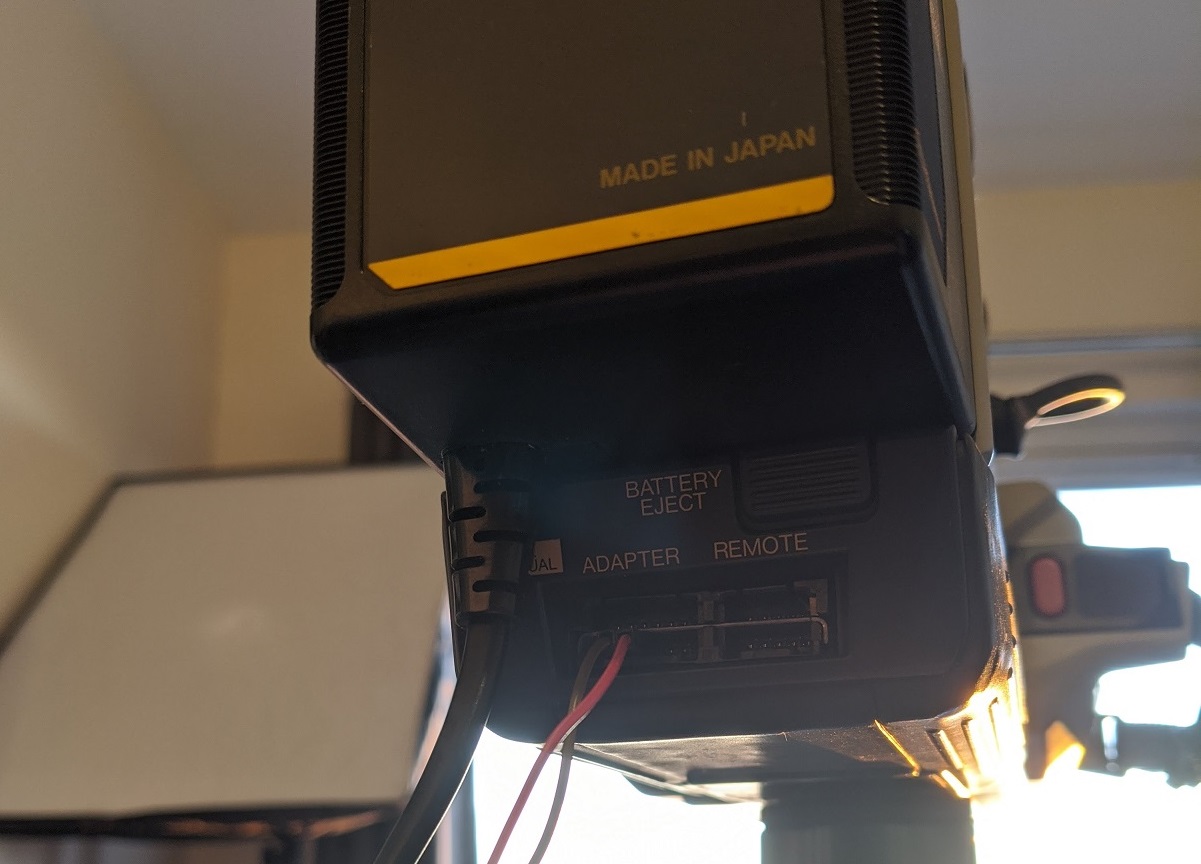
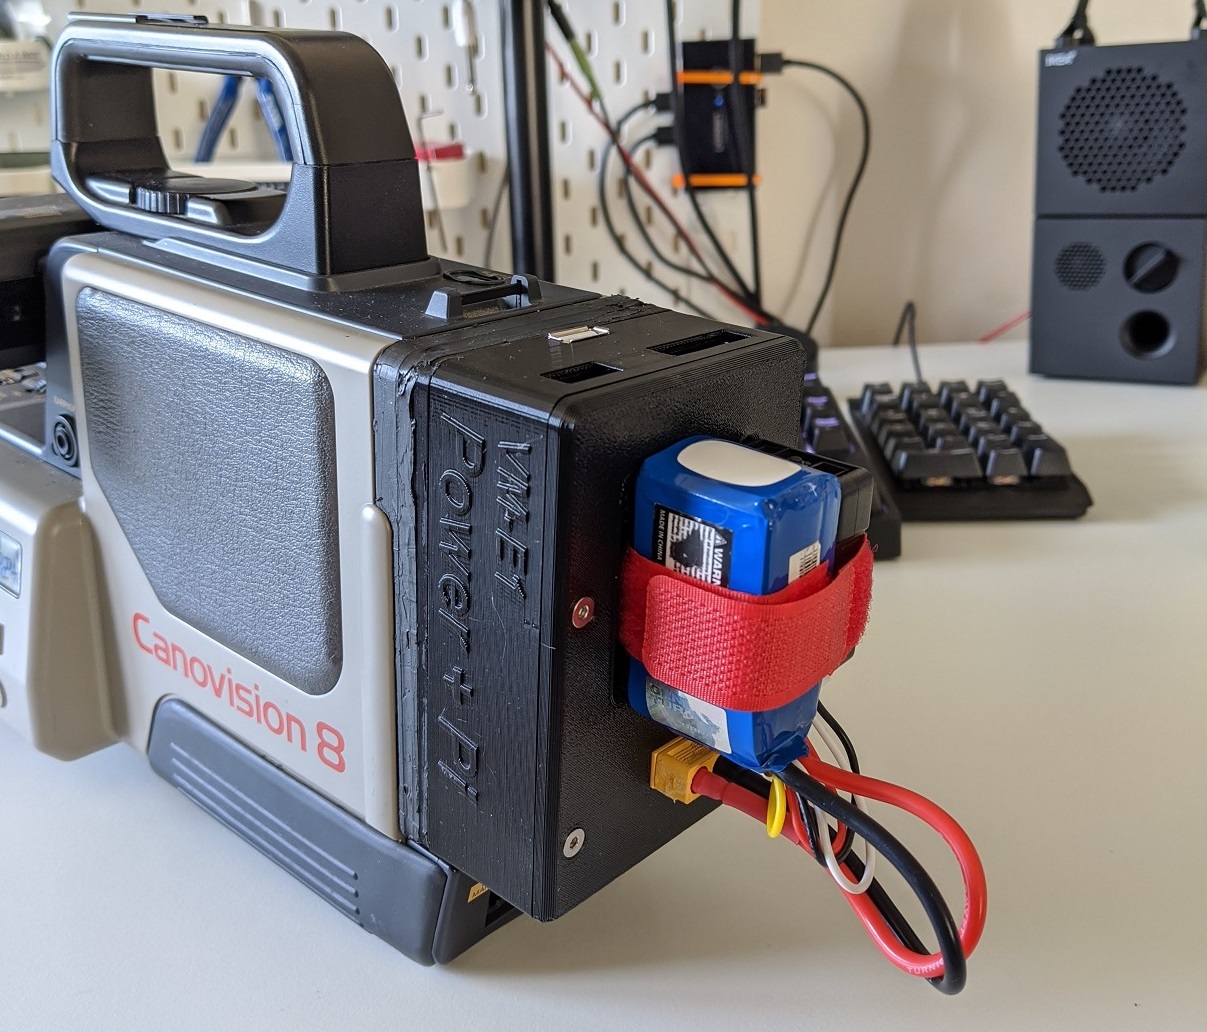
Taking a closer look at power input on the camera, it was clear that the batteries and AC adaptor just connected to some contacts on the rear of the camera, at 7.2V according to the AC adaptor. I decided that creating a replacement battery with a modern Li-Po in a 3D printed case would be a nice little project.
Alongside this, I was wondering what the best way would be to actually record video from the camera, as finding 8mm videocassettes in 2020 isn’t as easy as it was in 1985. Looking through the case it came with, I noticed a little RF unit, for feeding video in or out of the camera. I took it apart and figured out that the composite analog video output from the RF unit was directly passed through to a couple of pins on the connector that clips on to the rear of the camera.
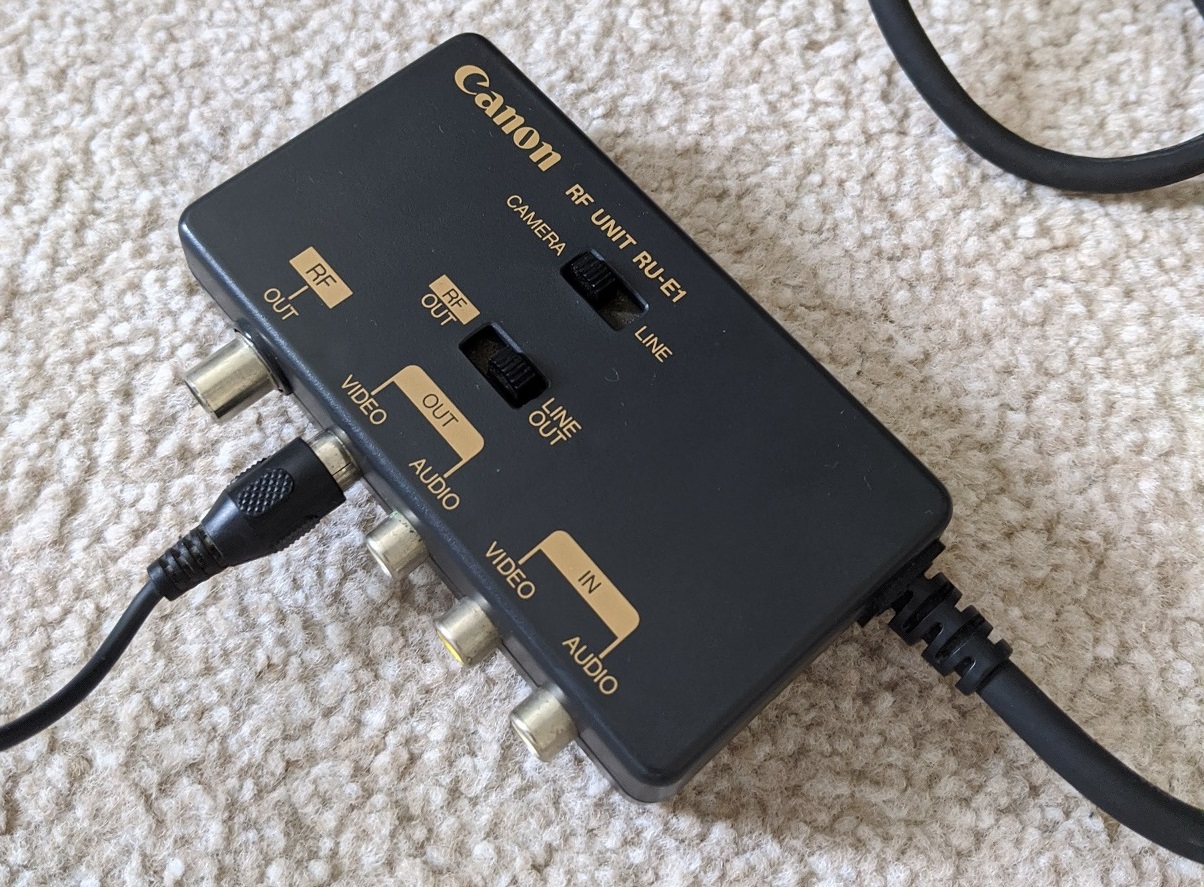
The below image shows the ‘adapter’ connector pin layout, and the table which follows it shows the corresponding connections which pass straight through the RU-E1B RF Unit. Pins 10 and 11 are of most interest, as they are what correspond to the RCA video output connector. Standard ‘Dupont’ style connectors fit onto the pins well enough.

| Pin | 1 | 2 | 3 | 8 | 9 | 10 | 11 |
|---|---|---|---|---|---|---|---|
| Connected to | Video In (centre) | Audio Out (center) | Audio In (center) | Video In (outer) | Audio Out (outer) | Video Out (outer) | Video Out (centre) |
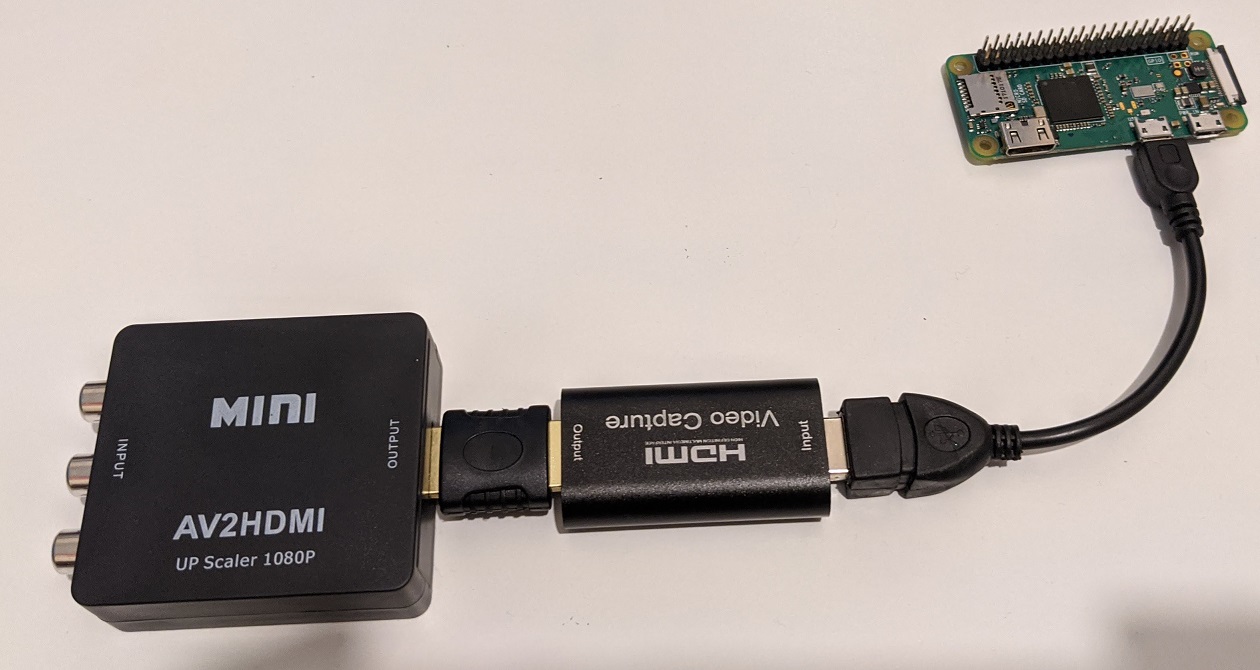
In order to record the composit output with a somewhat portable setup, I used an AV to HDMI converter and a HDMI USB capture stick, connected to a Raspberry Pi Zero.
As the battery used some custom contacts for power, I decided to use the backplate of one of the old batteries as a base for my 3D printed unit, which could then slot into the back easily. I mounted the Raspberry Pi Zero to the top, and added a couple of regulators to step down the Li-Po battery voltage to 7.2V for the camera, and 5V for the Pi.
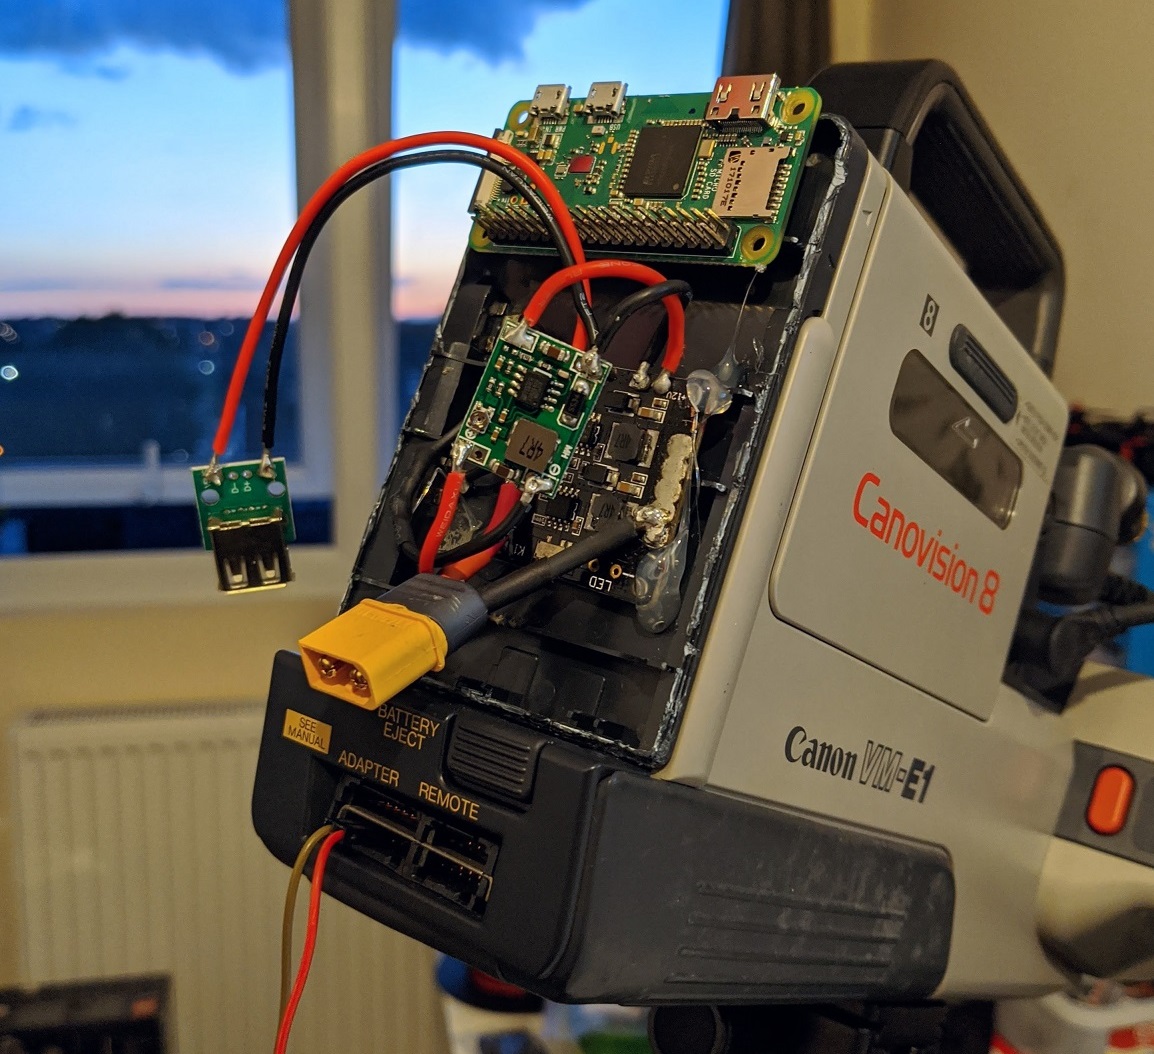
I then 3D printed an enclosure for to house the rest of the components and hide all of the messy wiring and hot glue. A lid could then be attached, which included a battery strap to hold a Li-Po on the outside. In a future revision this could be replaced with an internal battery, or swapped for something more friendly such as 18650 Li-Ion cells.

Below are some of the recordings I have taken. Both the AV to HDMI converter and HDMI capture device are low-cost versions, so I have absolutely no idea how this compares to the original quality using 8mm tapes, but it at least works!
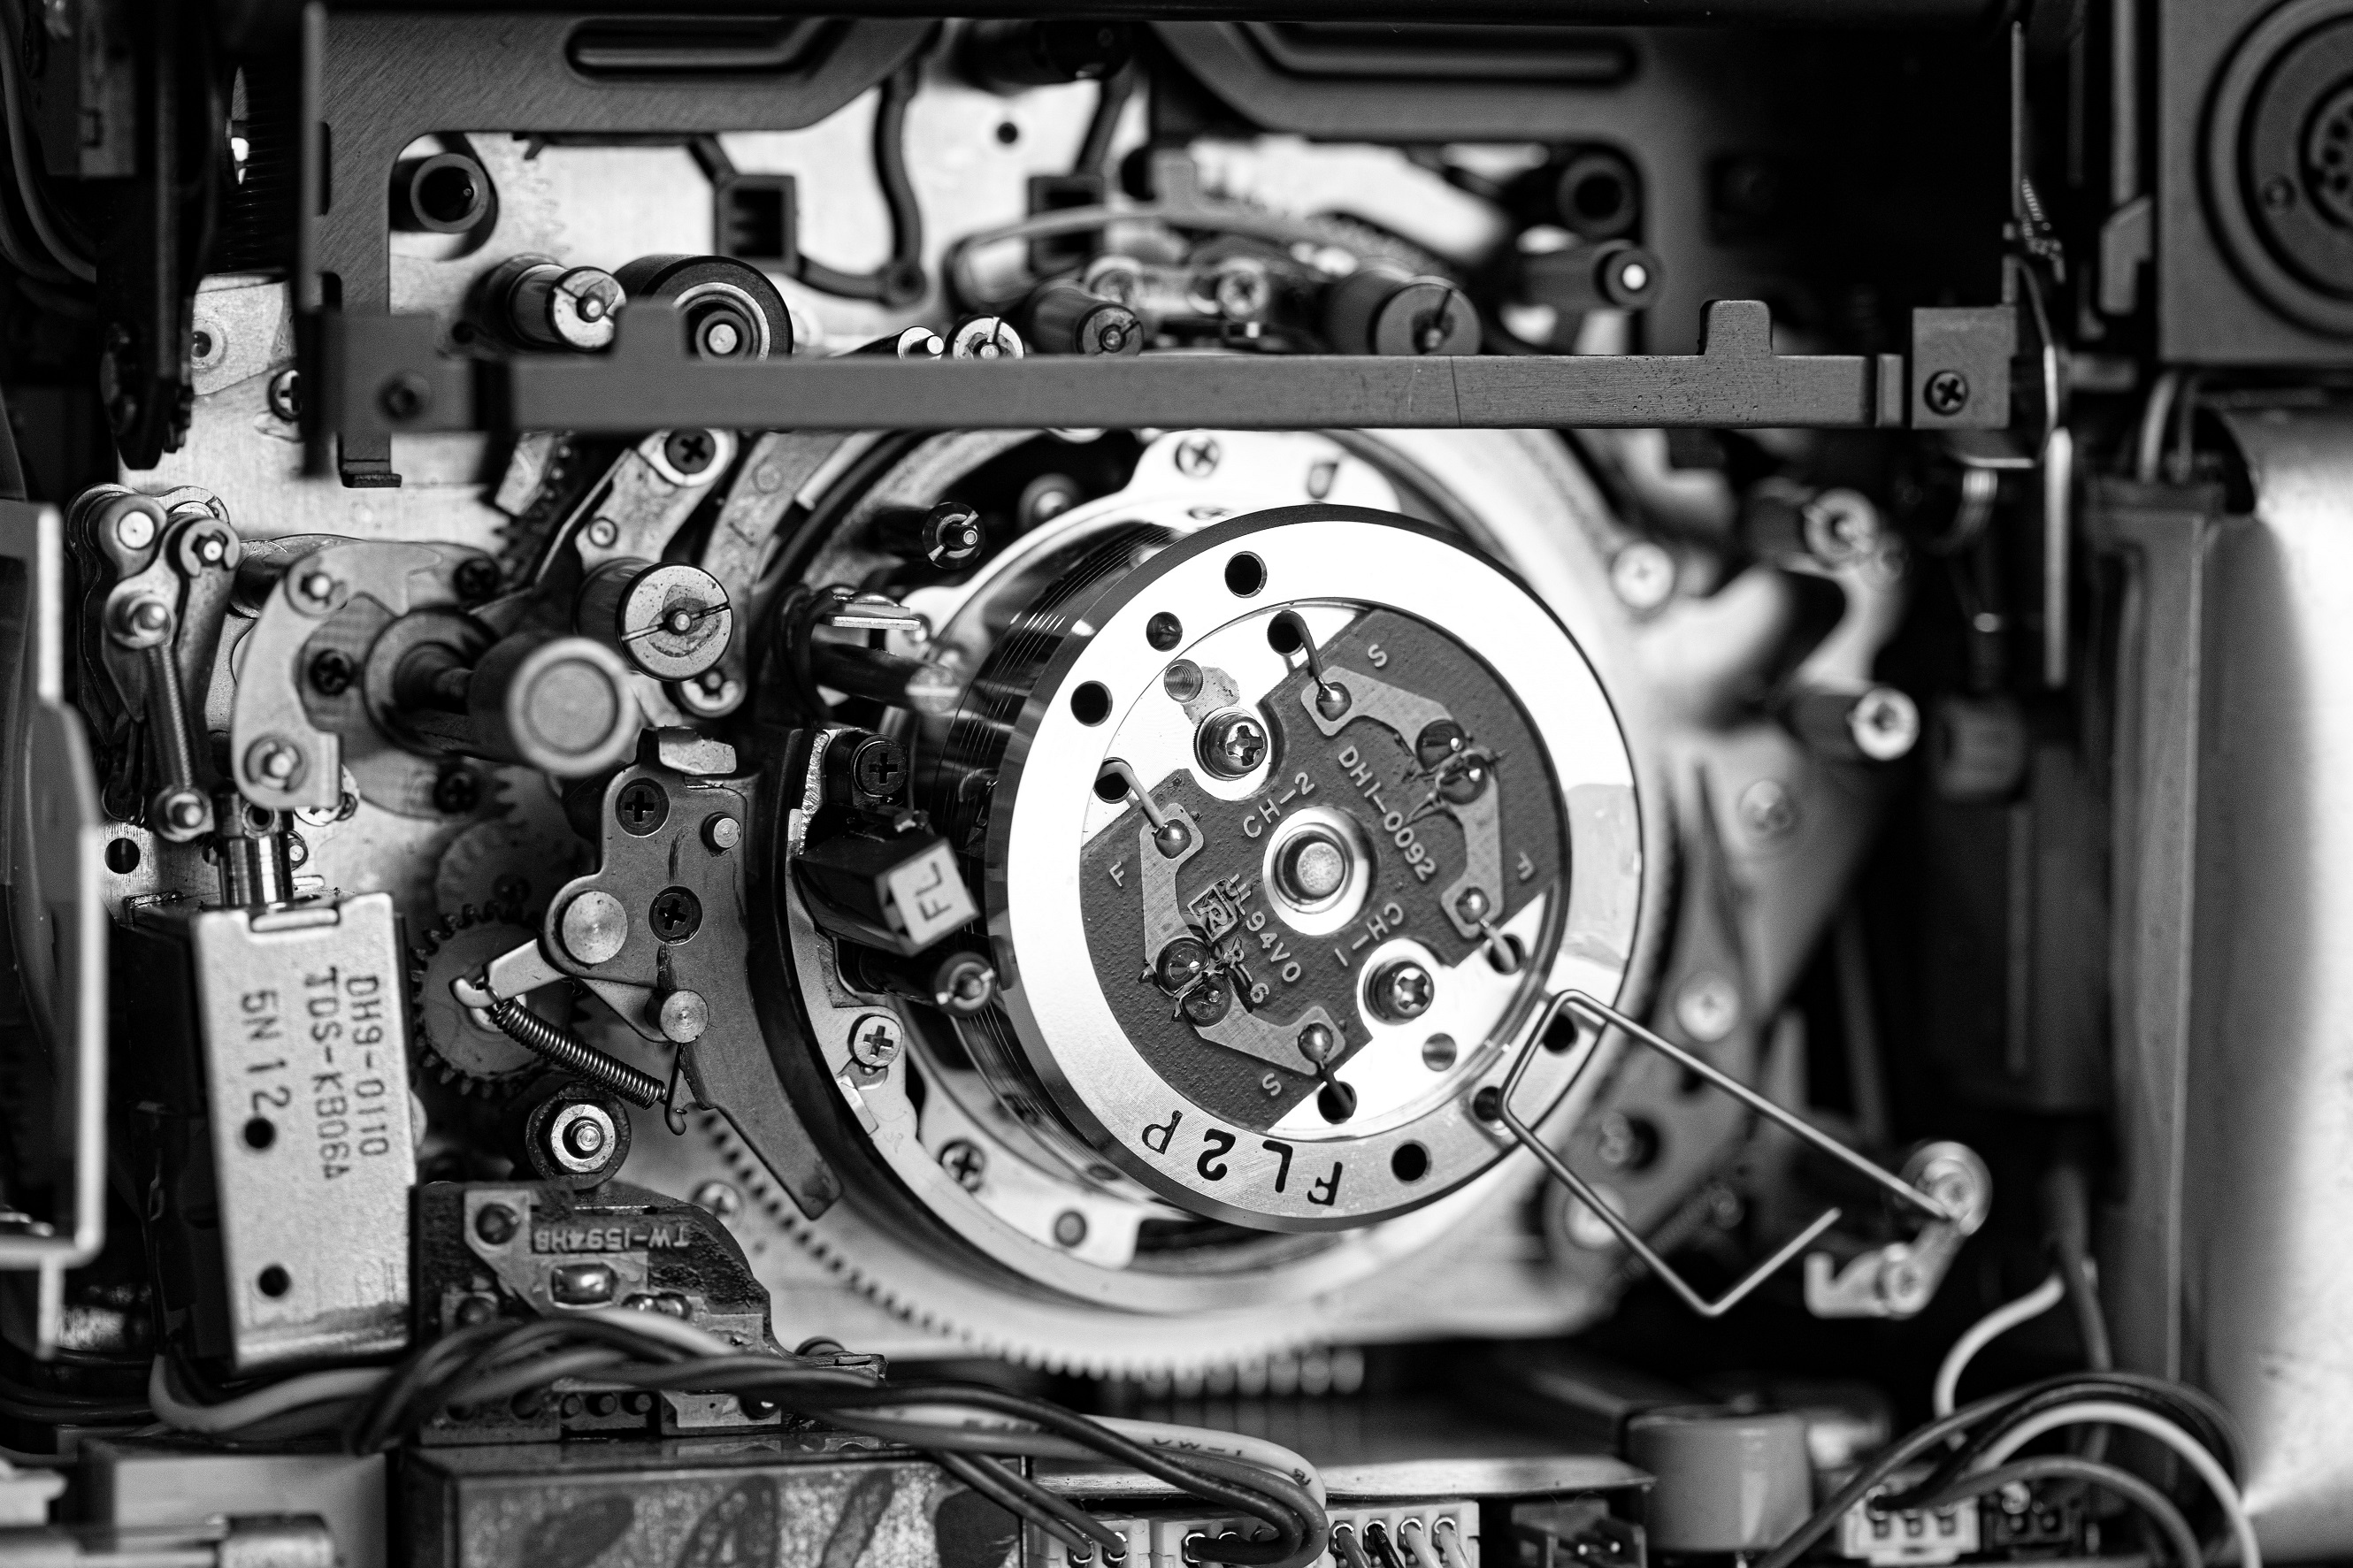
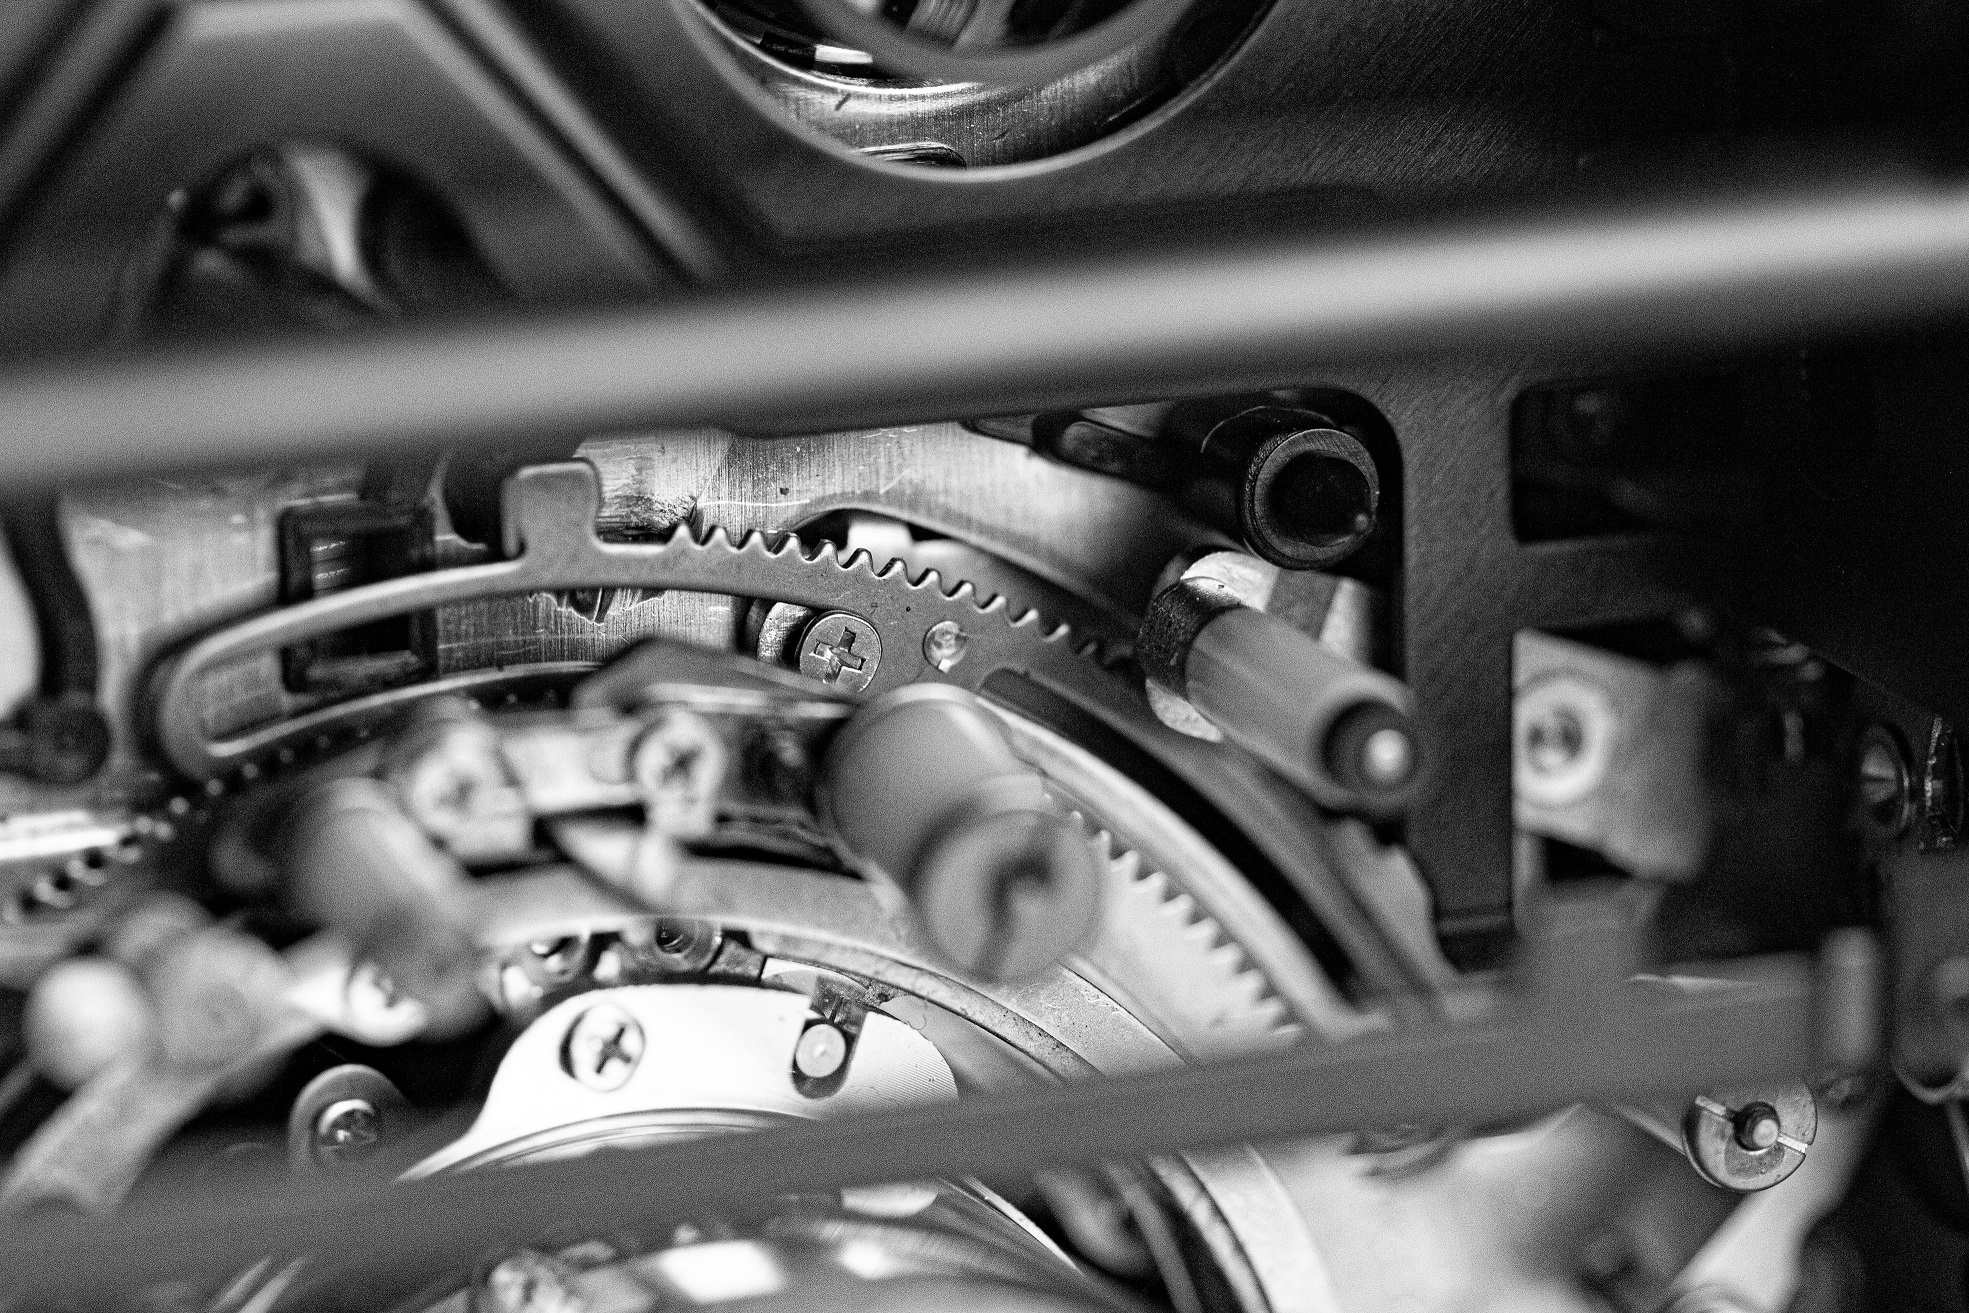
and here’s some macro shots of the beautifally complicated insides: