
Using a Flatbed Scanner as a Camera
This post gives a brief overview of a method for using a flatbed scanner as a camera.
note: since writing this post, a large format lens was tested and it was found that the method in this post is slightly incorrect. The images below are not actually those being projected onto the scanner, they are just the scanner looking at the back of the lens - this is not a great explanation, but essentially for the method to work correctly the scanner class must be replaced by gound glass, or the translucent layer from an LCD. I will update with improved results soon!
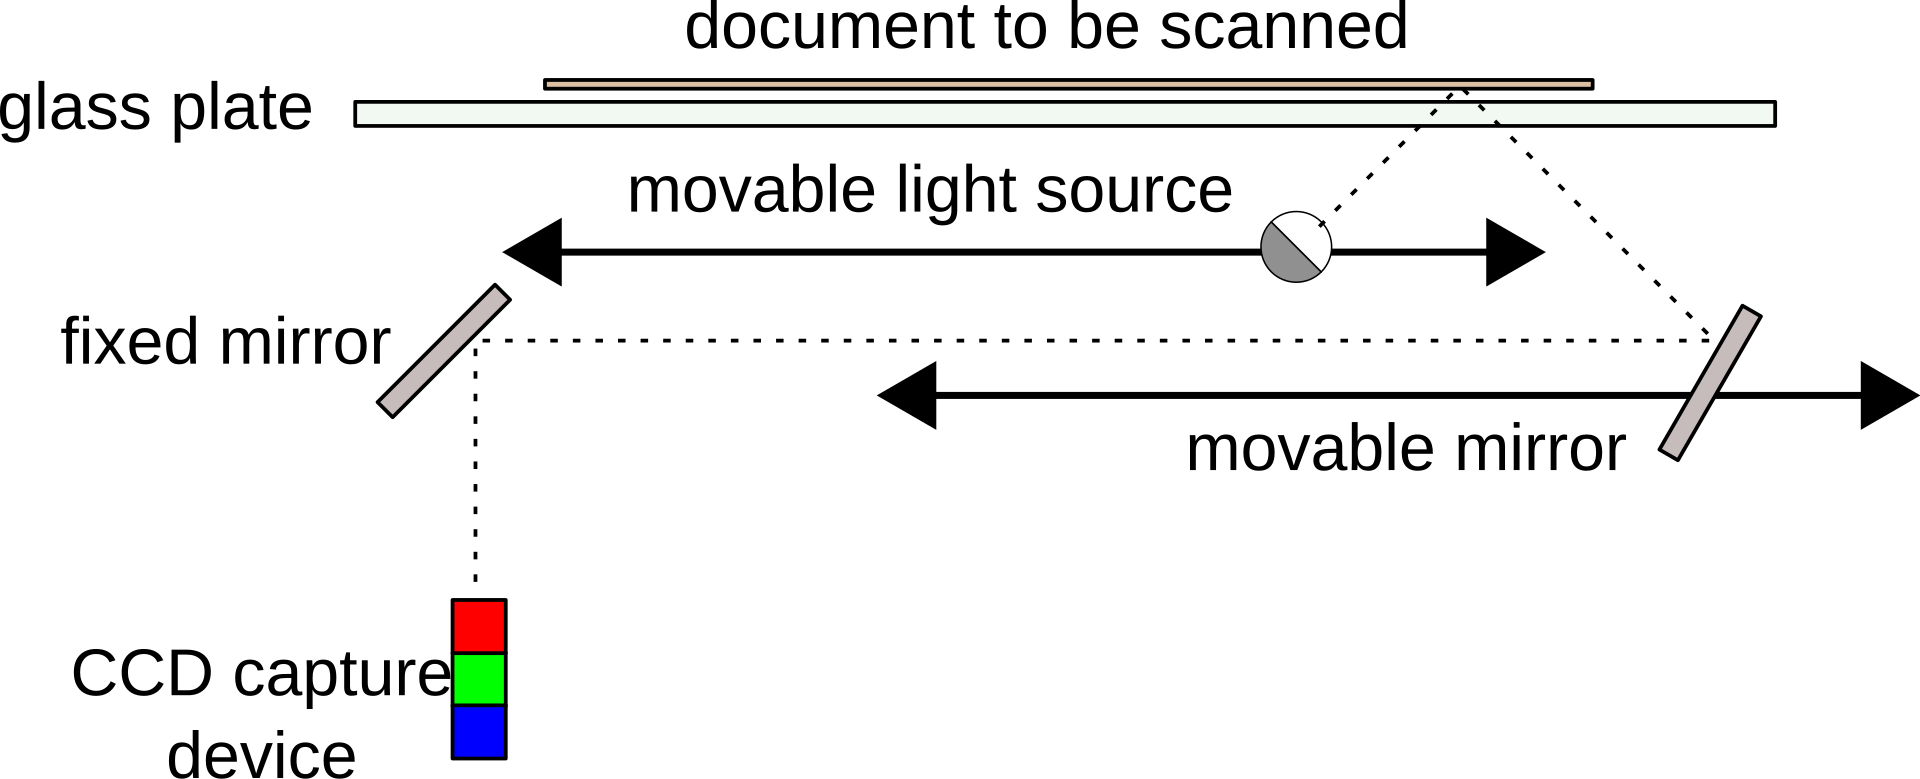
The below image (from wikipedia) shows the basic working principle of most flatbed scanners. Replacing the document with a conventional camera lens, and removing the light source which moves with the mirror should allow the scanner to produce images similar to a digital camera.
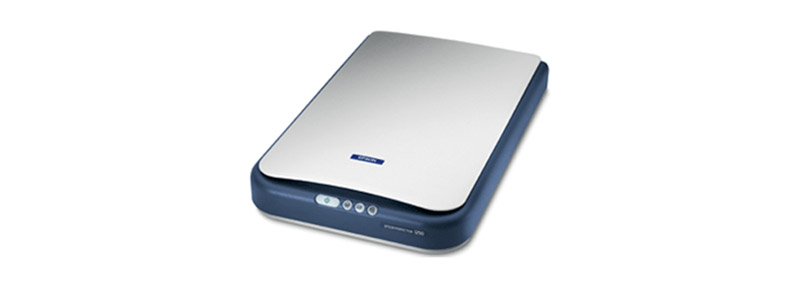
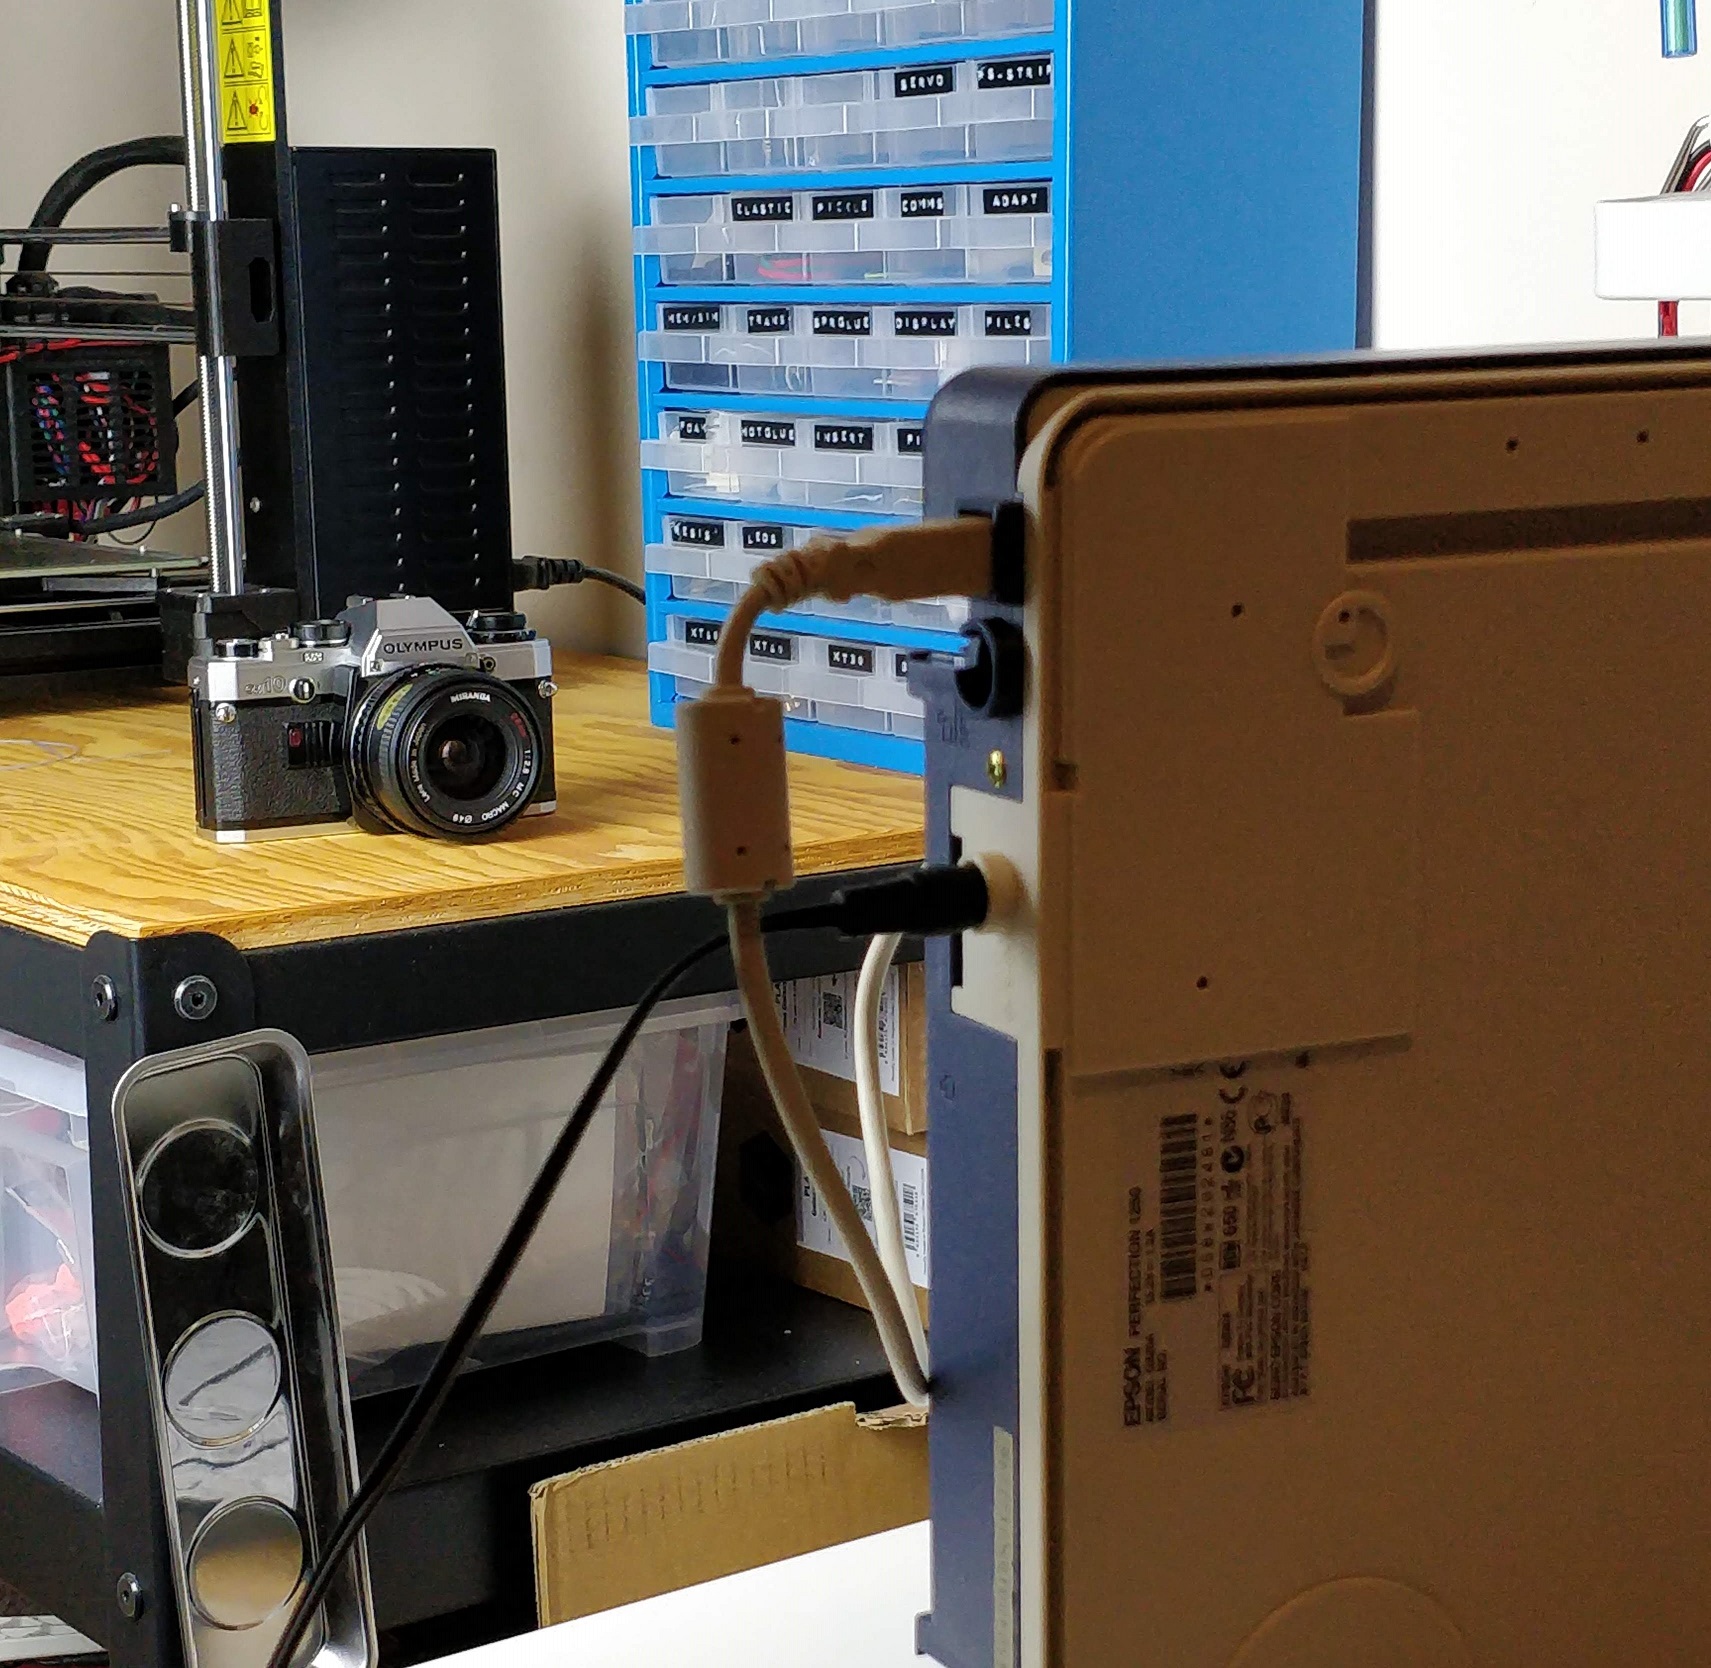
The scanner I will initially be using is an Epson 1250 from the early 2000s. The first step is to remove the lid and glass, to gain access to the movable light source. The power cable for this light can then easily be unplugged which will prevent the light turning on during the scanning process. This is necessary to stop the scanner illuminating the lens from behind. The glass can then be re-installed, but the lid is no longer needed.
The next step is to find a suitable lens - I am using a cheap Yongnuo lens with a Canon EF mount. This lens is designed for a full frame sensor. Using a lens for a medium or large format camera would provide even better results. Camera lenses are designed to focus the light at a set distance (measured from the lens mount to the sensor of film), which for the Canon EF mount is 44mm. A 3D printed adapter was made to hold the lens at this distance from the glass bed of the scanner.
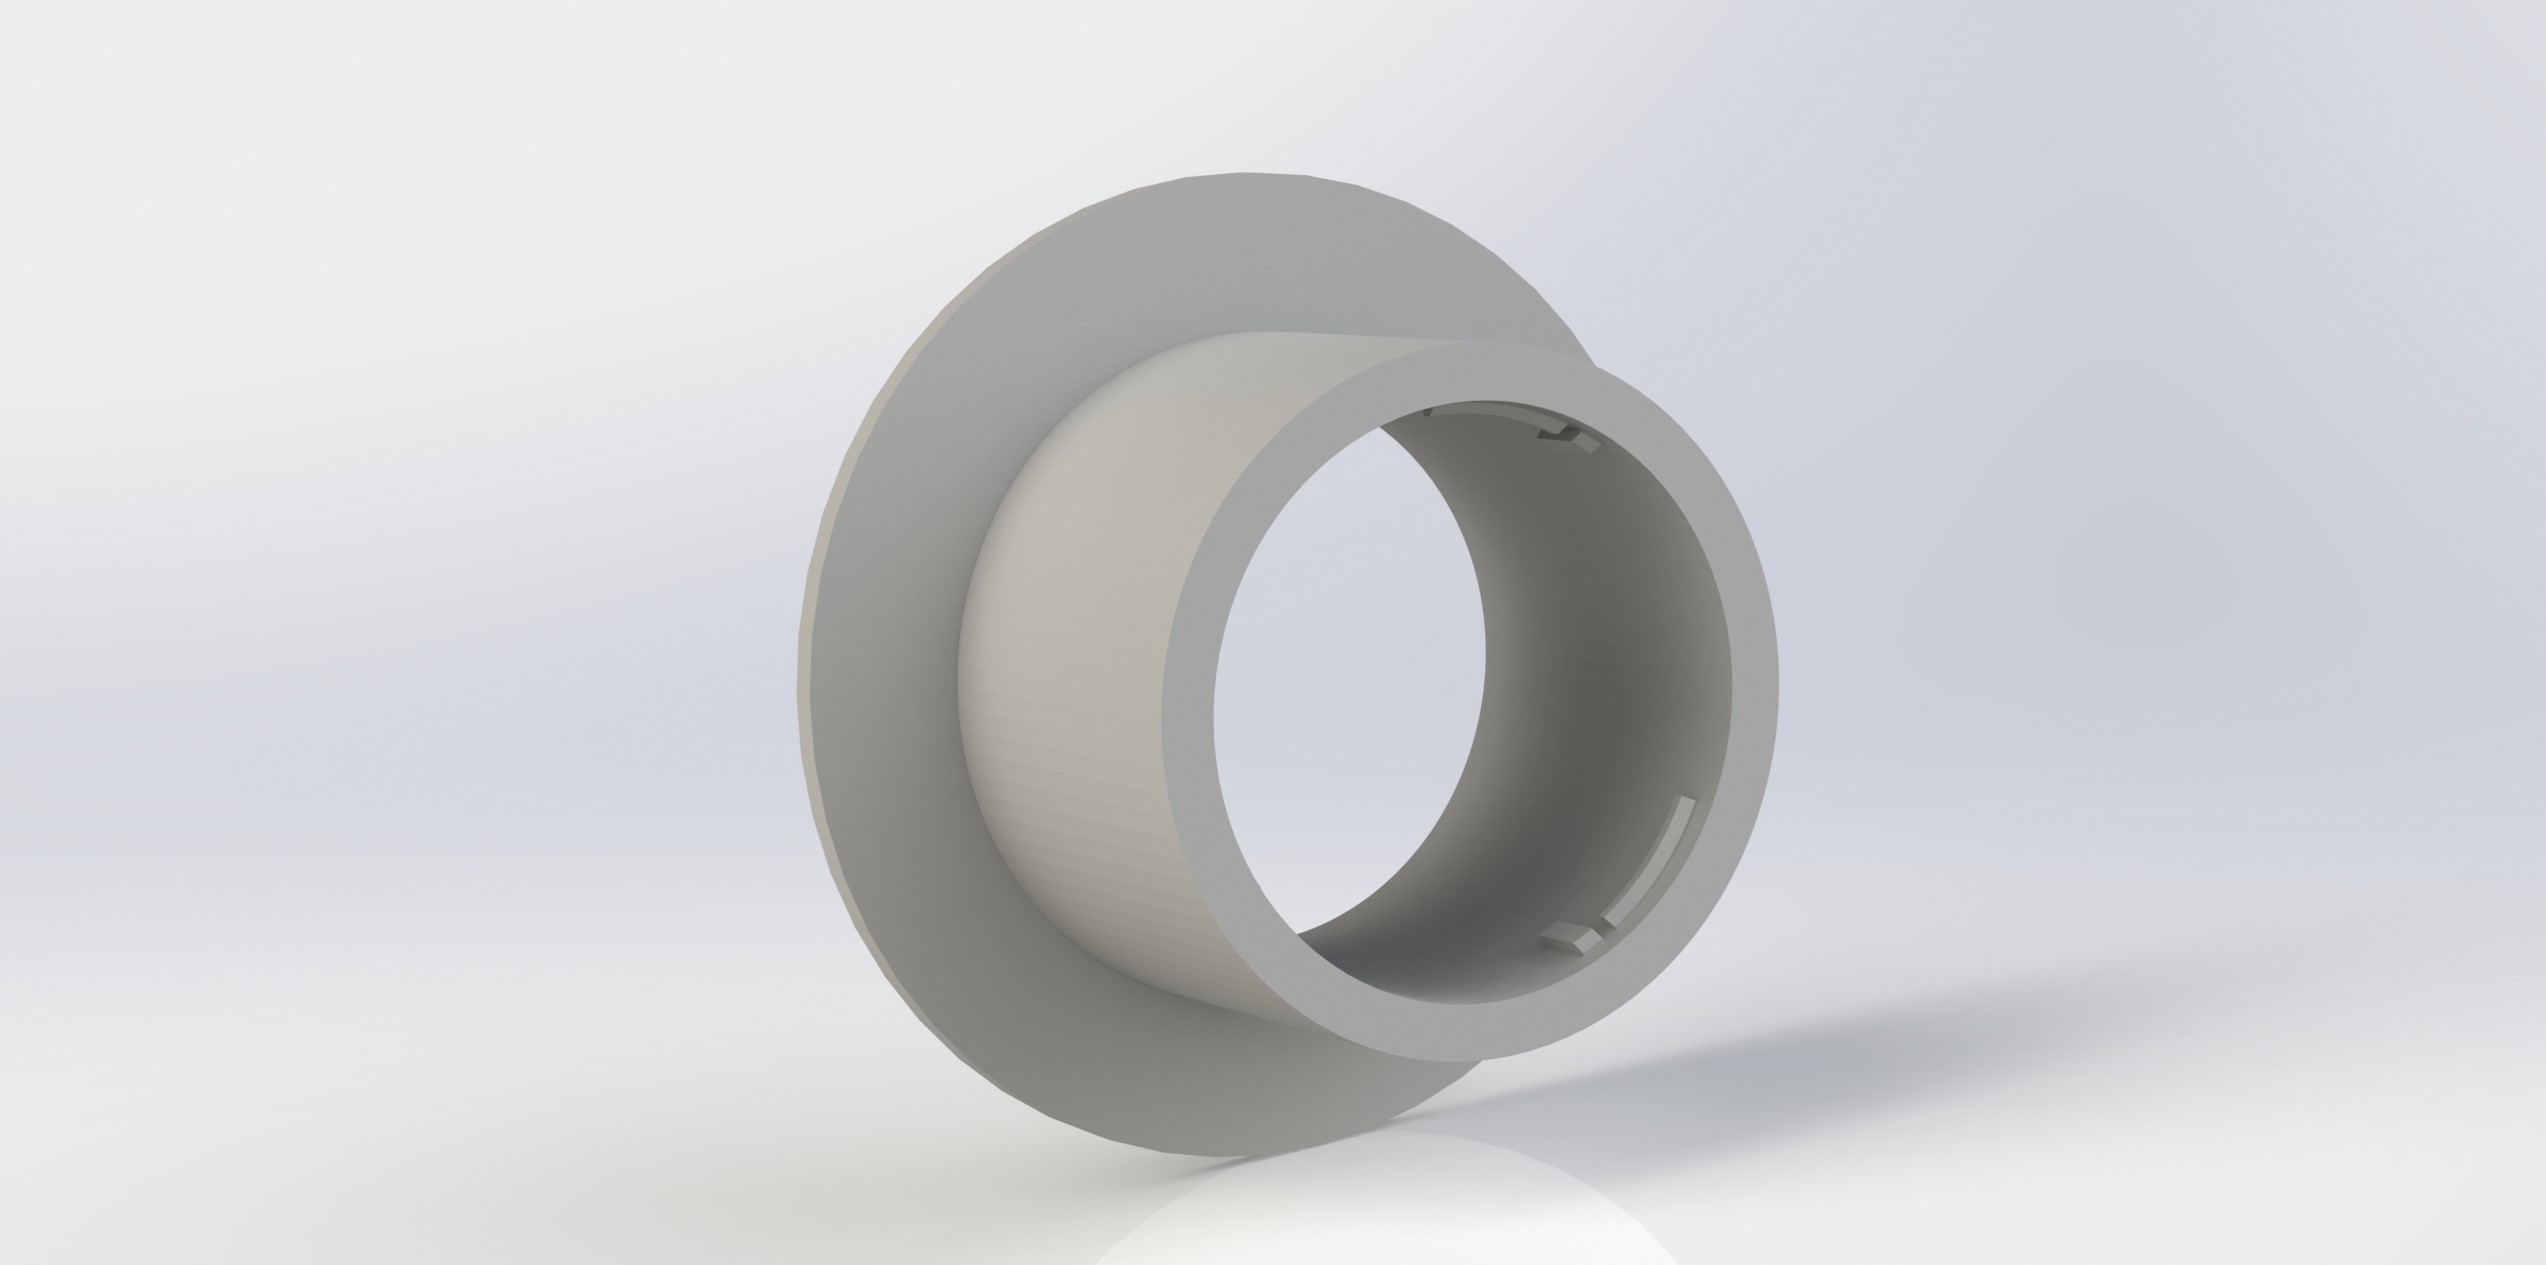
To prevent excess light from entering around the lens, I cut a cover from a spare polyester drawer mat I had lying around. I then used hot glue to fix the 3D printed lens mount and light cover to the glass, as this provides enough adhesion to hold them in place, but should allow them to be removed later with little residue.
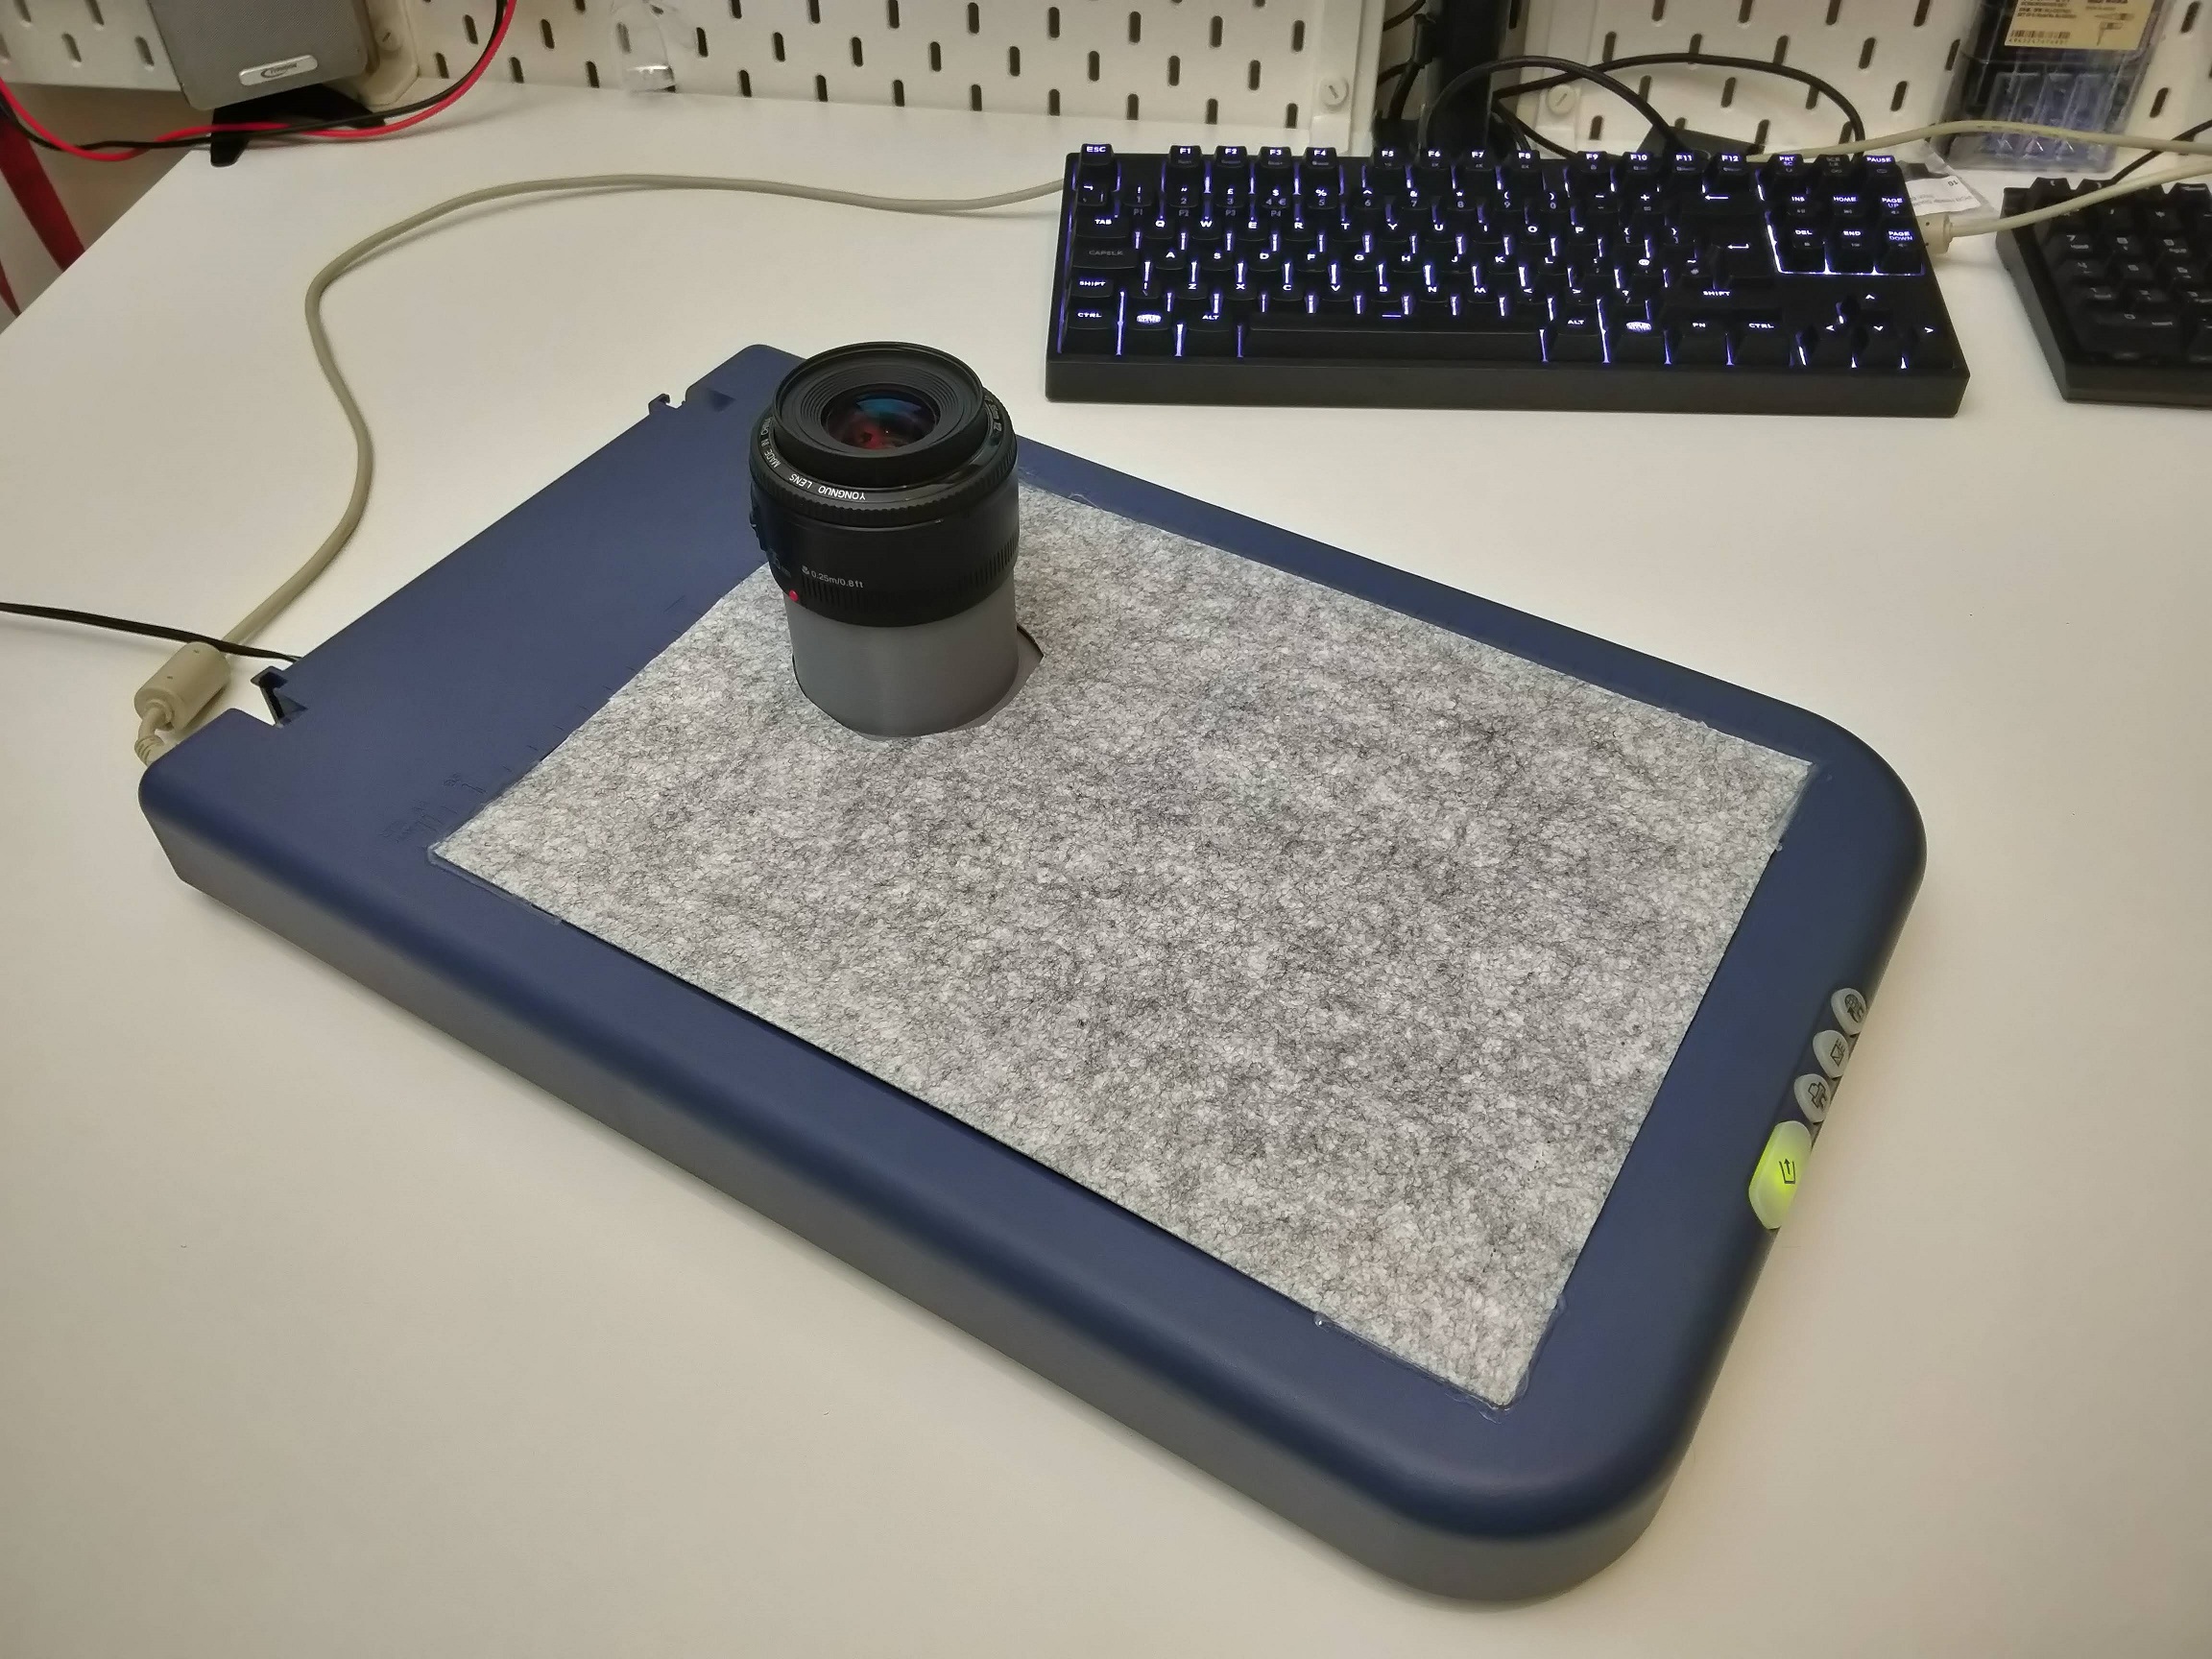
Once the the lens has been mounted to the scanner, it can be positioned to face the subject of the image. In this case I will be imaging another camera on a table.
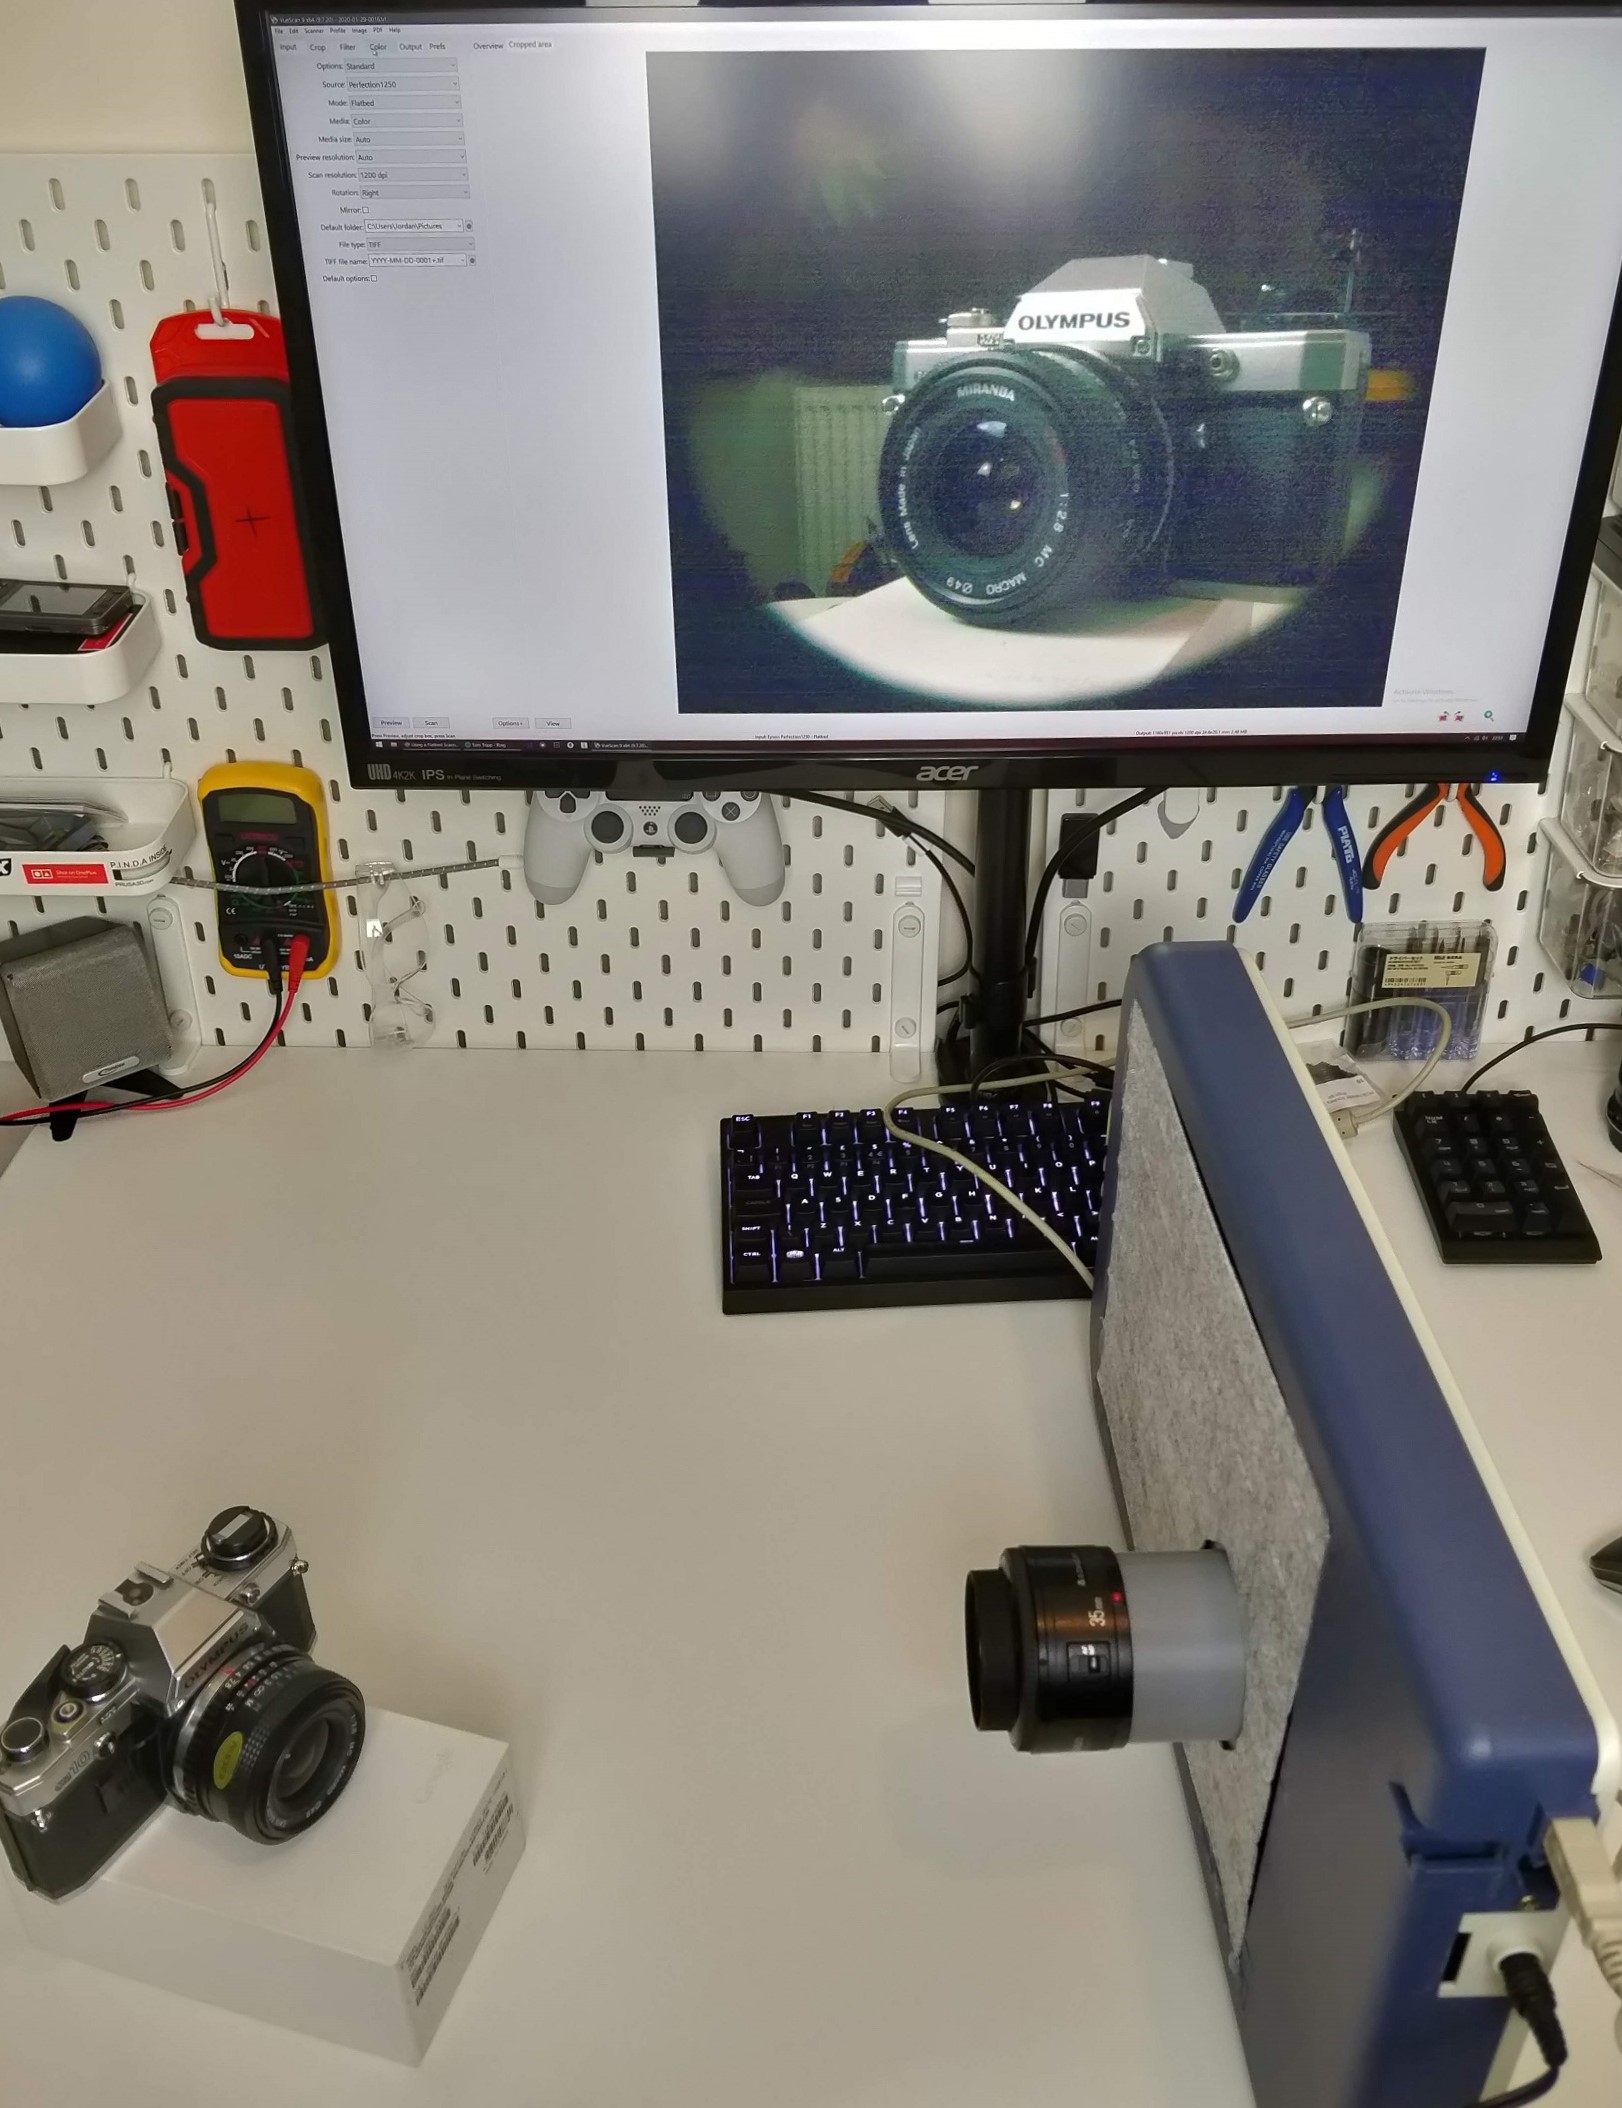
Due to the age of the scanner, the only feasible software option is VueScan which, although not free, works well with this otherwise unusable scanner. After cropping the preview to the desired frame, an image can be scanned.
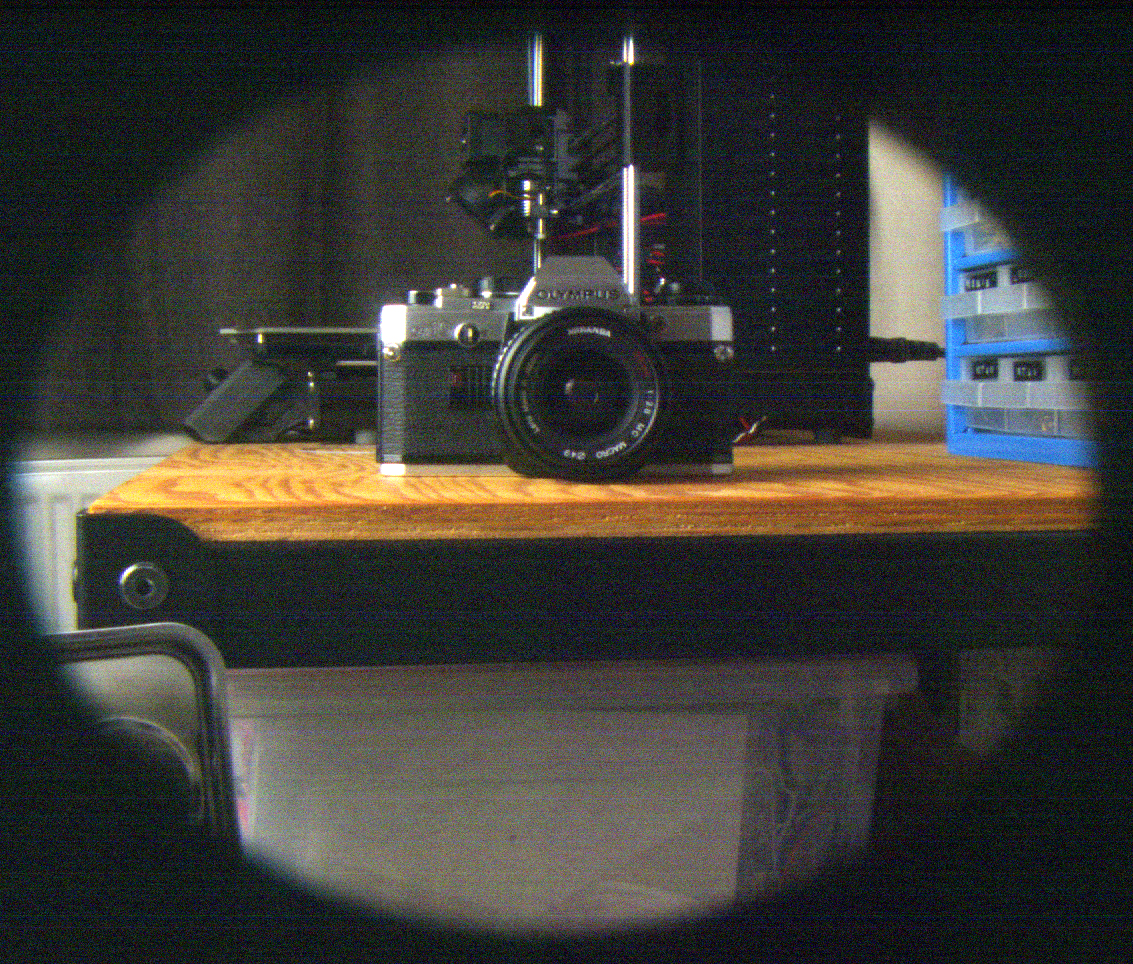
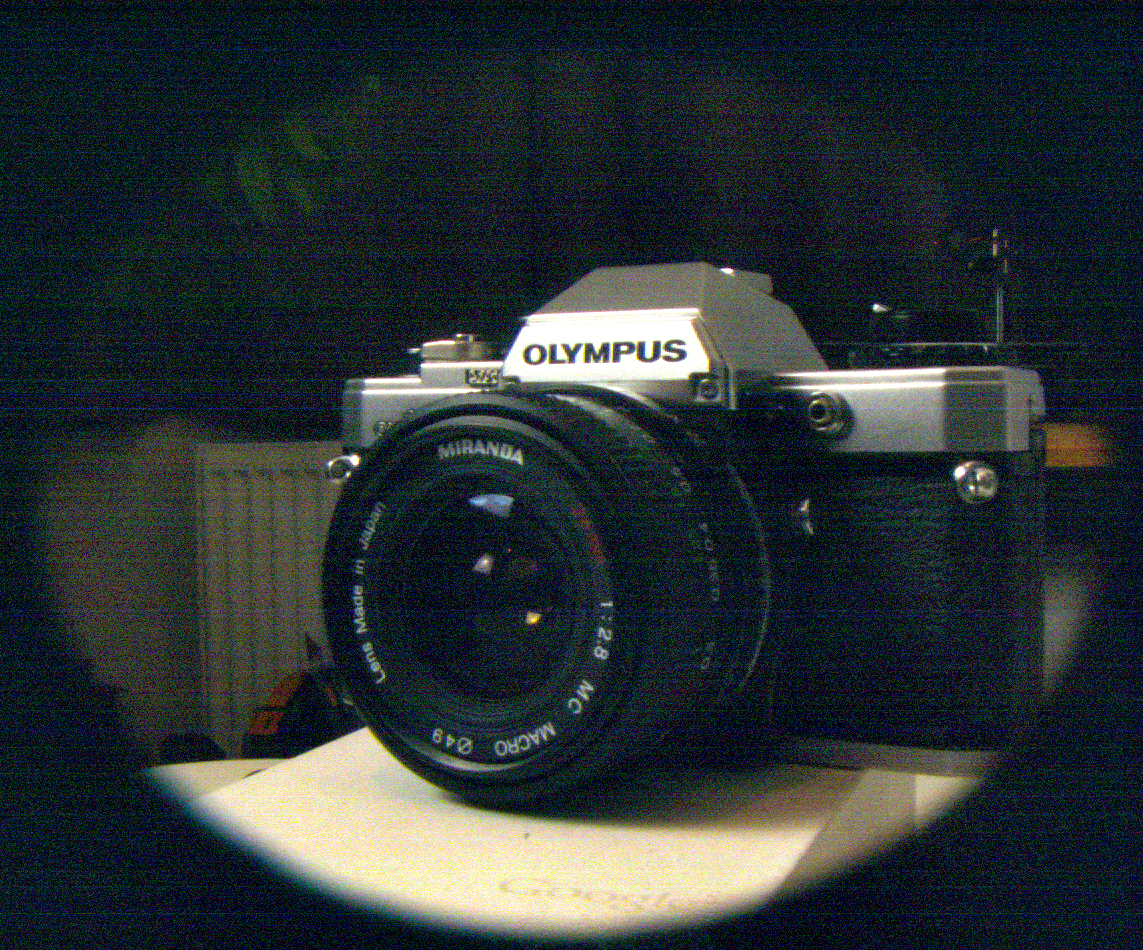
It can be seen that the current setup produces results which are far from that of even cheap digital cameras or smartphones. However, a medium or large format camera lens would provide a much larger image to scan, and a better scanner could resolve much more information than the one used here.
more updates to come…