Converting the 'Dareway' to an Autonomous Rover
Whilst browsing Facebook marketplace I saw a listing for a kids ride-on called a ‘Dareway’ that is clearly supposed to look like a Segway. For £15 I was certainly curious, but knew it must be too good to be true. I did some Googling and couldn’t seem to find much information about how it worked or what components it used, but from the marketing videos it seemed as if there was no fancy balancing or control system involved and it was purely just a stand-up ride-able thing for kids with hidden caster wheels below the surface. At £200 new it definitely wasn’t going to be anything too special, but I thought it might be a good platform for a high payload rover, so I bought it.
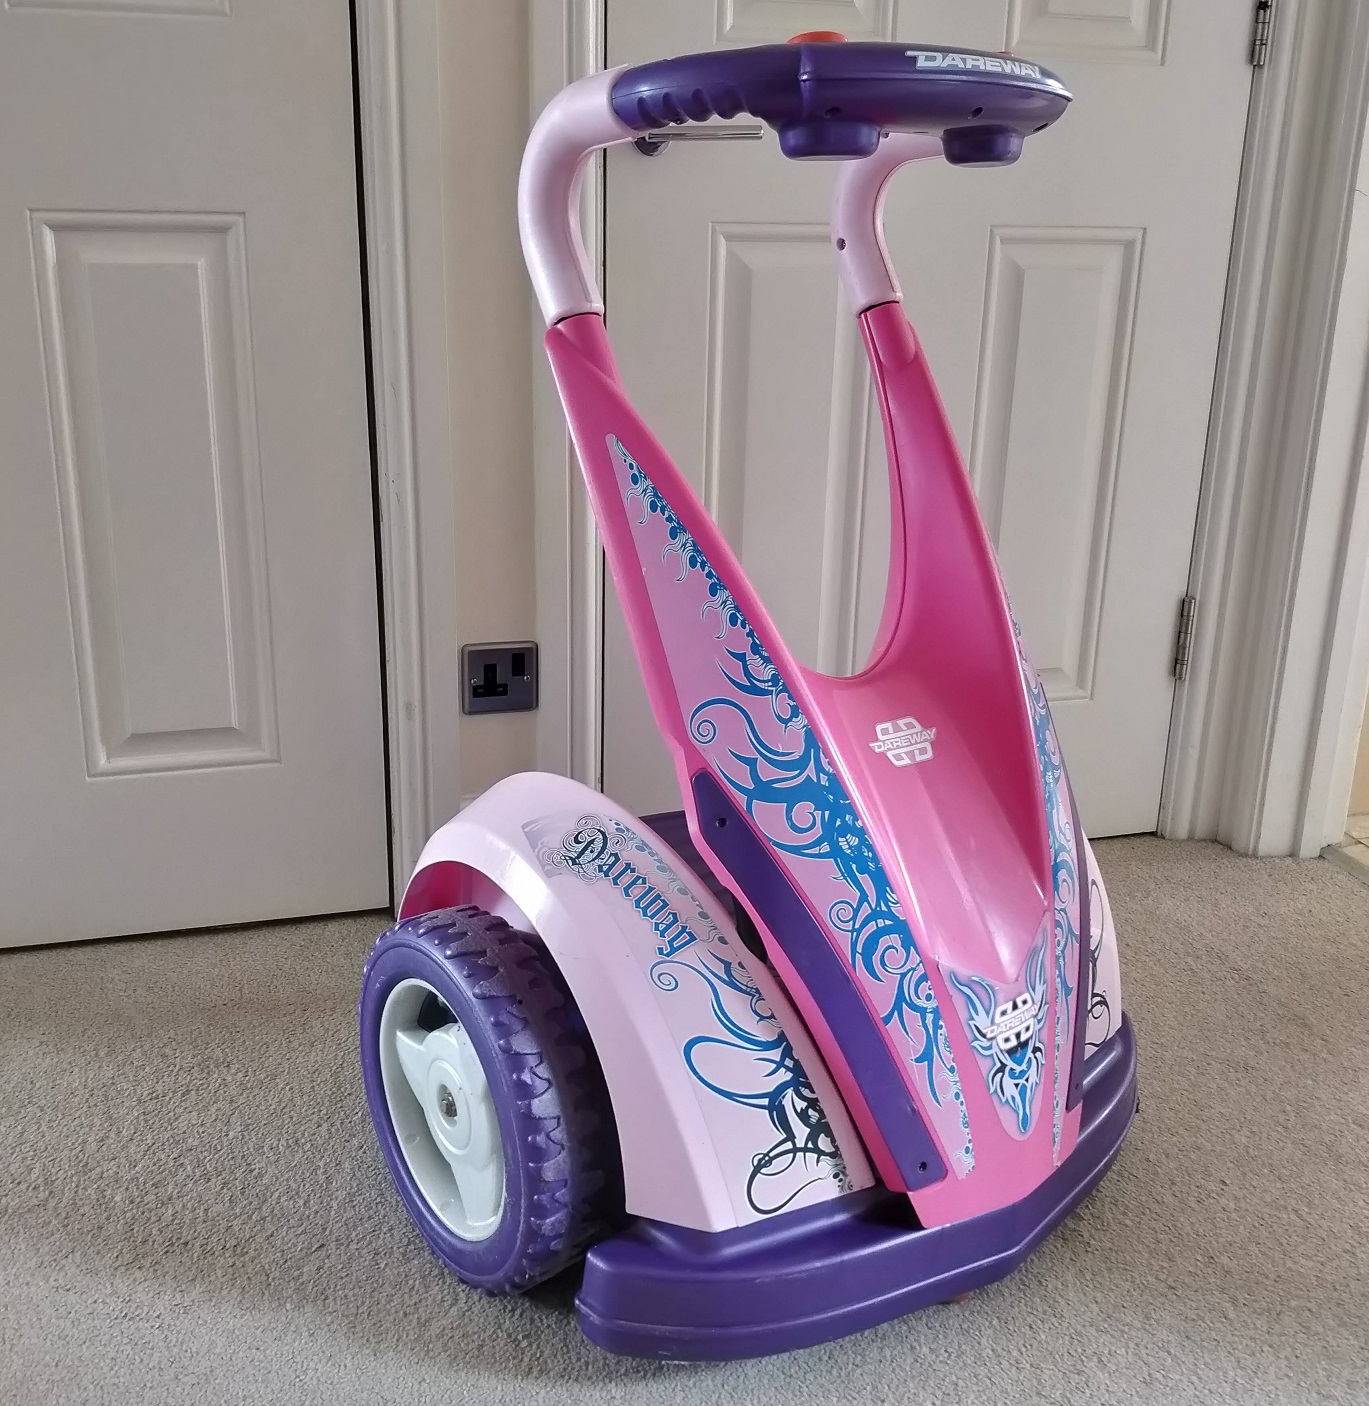
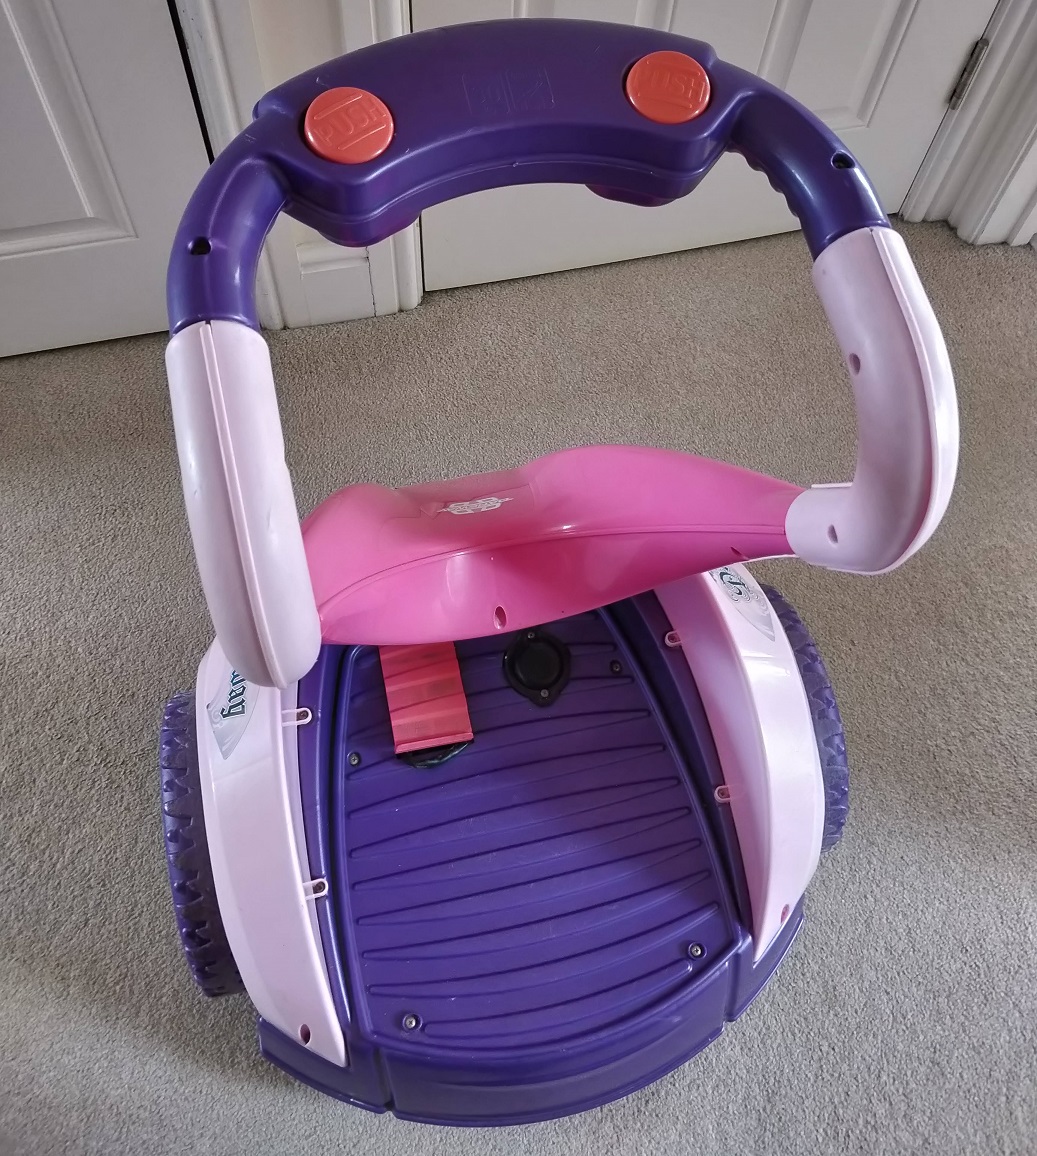
As expected for a product intended for kids, the control system is very simple. There is a single foot button which makes the Dareway move forwards at a fixed speed, which is accompanied by two large thumb buttons, one to rotate clockwise, and one to rotate anti-clockwise. There is no speed control for either forward movement or rotation. A large 12V battery is housed beneath a flap on the base. Looking underneath the Dareway, it can be seen that there are two skid wheels and a single caster wheel to keep it upright, and two main drive wheels to provide forward movement and differential steering.

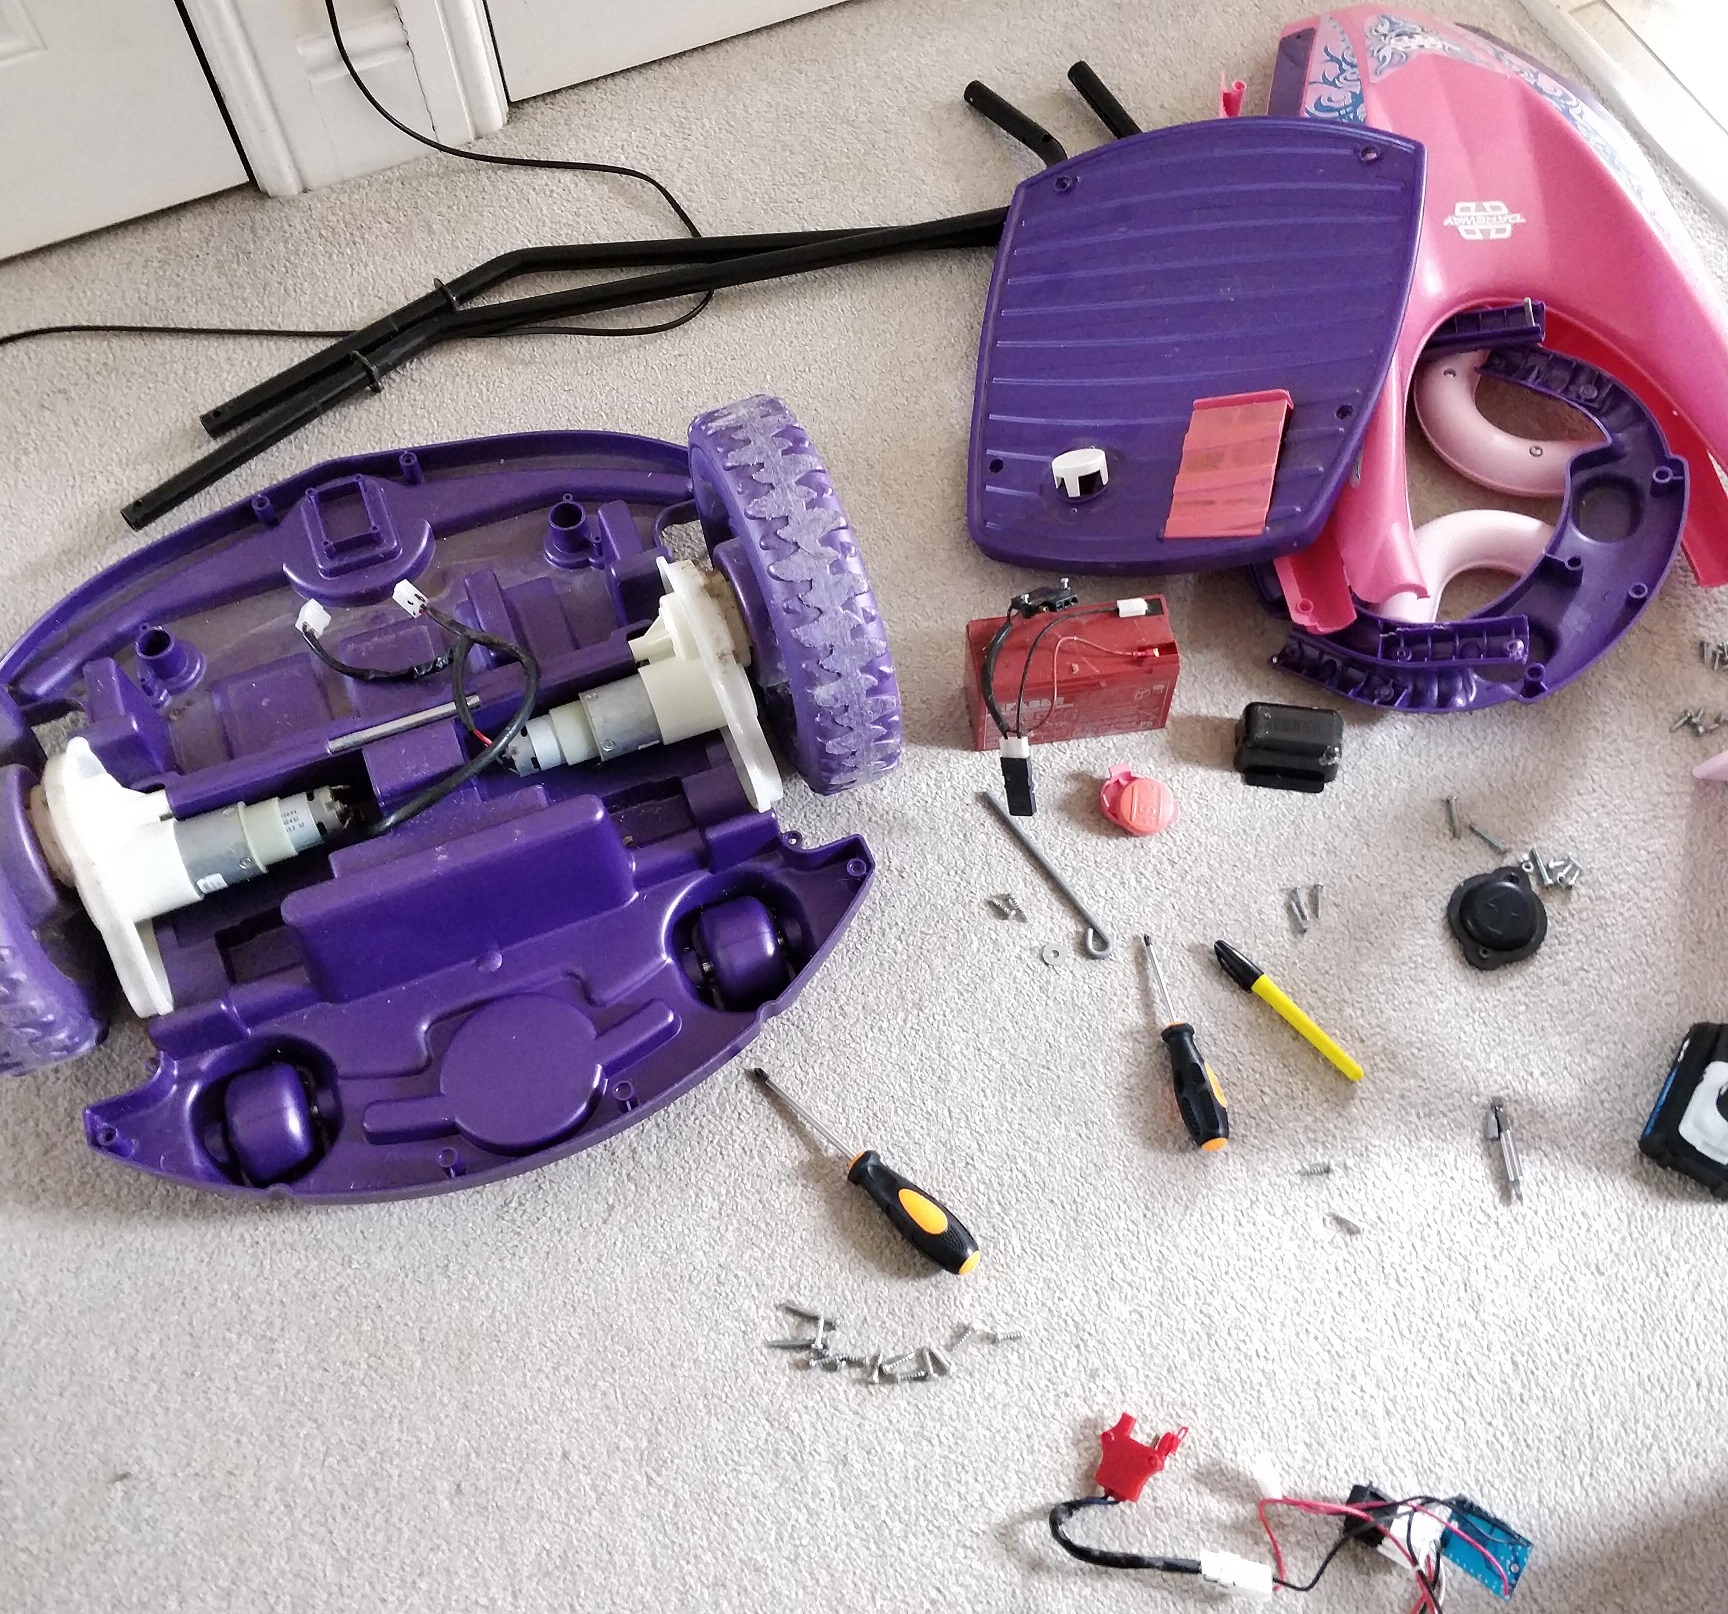
I decided to take the Dareway apart to see what the best option was to modify the existing ‘control’ system to one that could be remotely (or autonomously) controlled. Unfortunately, as expected the buttons were connected almost directly to the motors through a small PCB that simply enabled or reversed the polarity to the motors. This meant that I would need to add my own motor drivers to allow any real control. The two motors are connected to the wheels through all-metal planetary gearboxes, providing plenty of torque to the unforunately all plastic wheels.
The first step at remotely controlling the Dareway was to replace the switches and simple PCB with two high power BTS7960 motor controllers. These are overkill for this, being rated for up to 27V and 43A, but that means there is loads of headroom for this setup and I knew they would stay cool and be reliable. An Arduino Uno was used to send PWM speed commands to each motor, along with an enable/direction command.
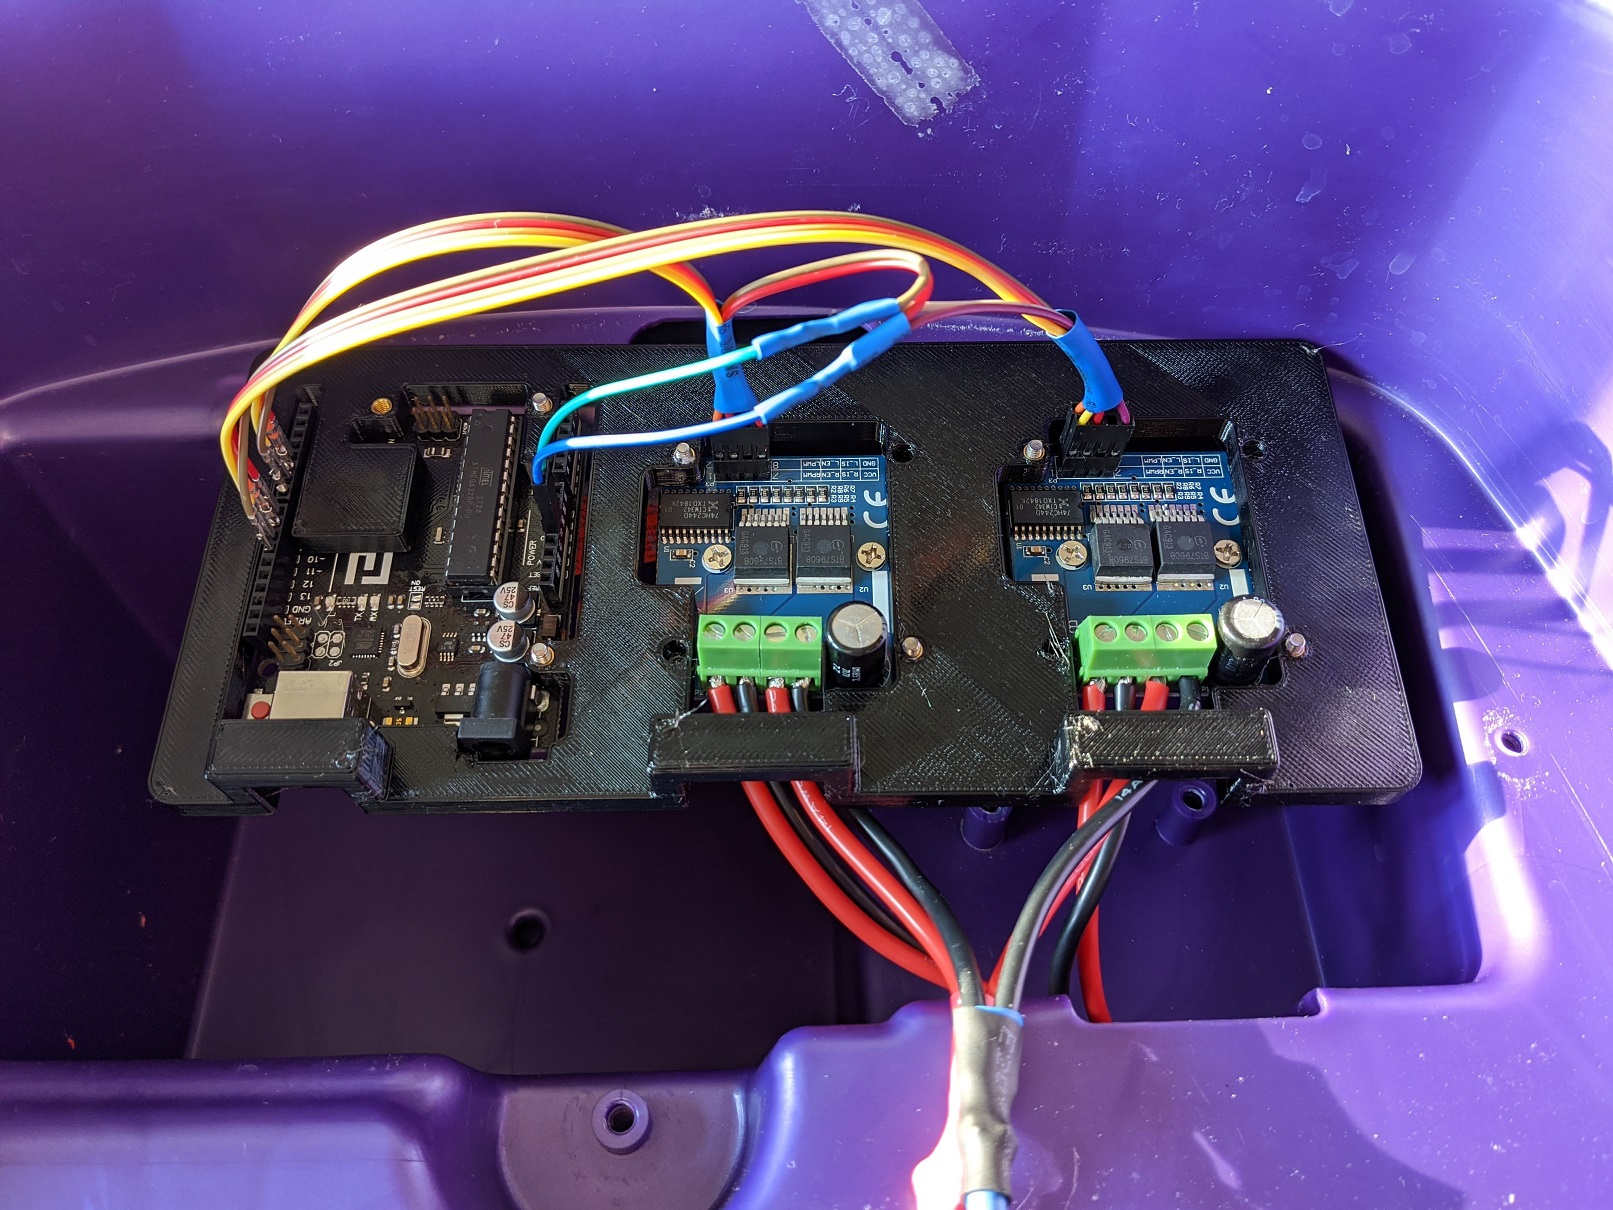
An RC reciever was then conencted to the Arduino, setup to send basic direction commands which could be mapped to the motors. This allowed for basic manual control of the platform as shown below.
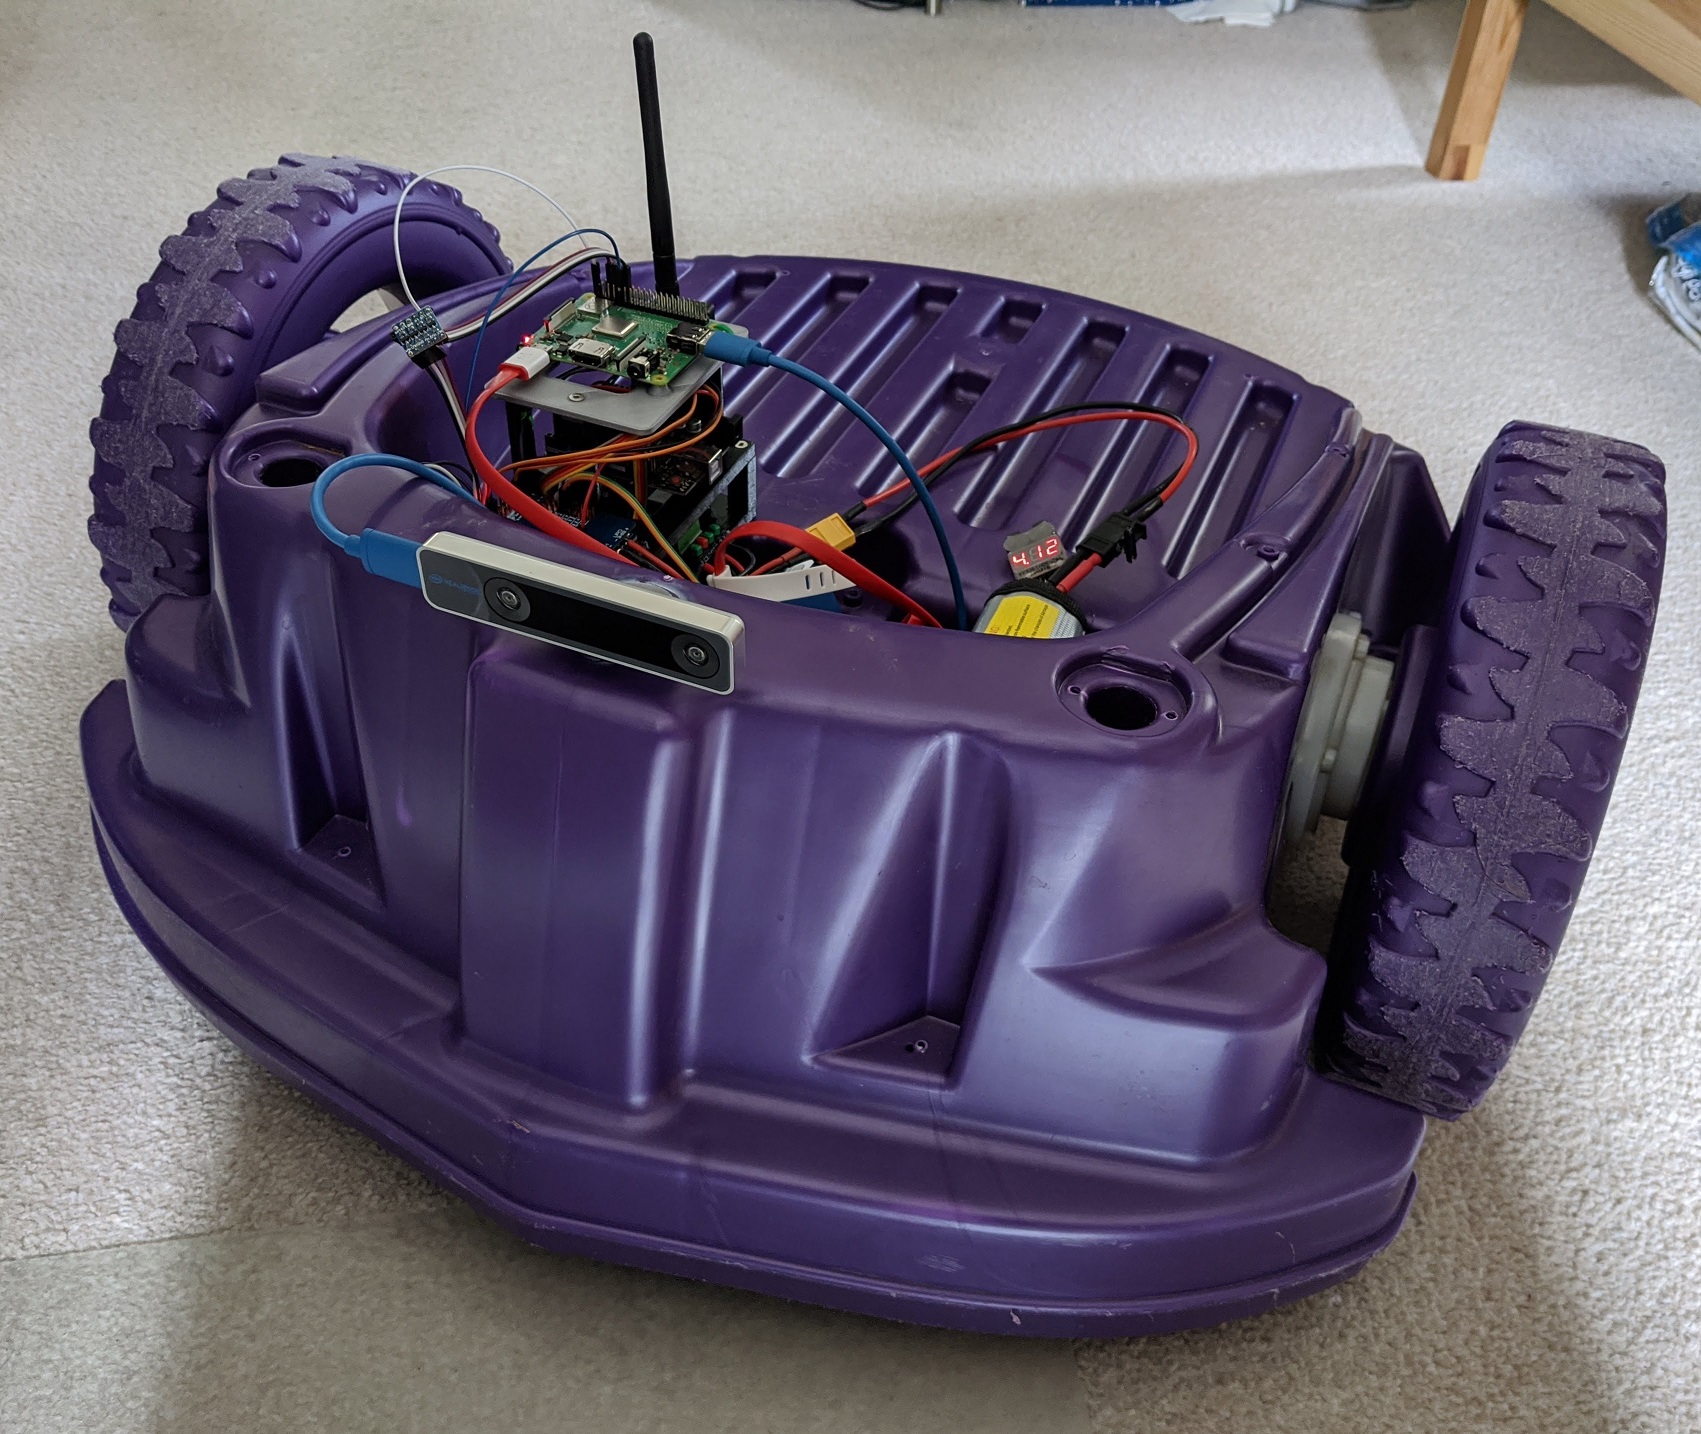
To allow the rover to be used with more standard unmanned vehicle/platform software, a few more components were then added. The first is a MATEK F405-WING flight controller, intended for drones but also suitable for any unmanned vehicle platform such as a rover. This provides low level control for movement and navigation, with easy integration with sensors such as inertial measurement units, GPS and rangefinders, as well as communication and telemetry. Unfortunately, as this board does not natively have a control output specific for the BTS7960 drivers, the Arduino was kept to simply translate the motor output commands. Ardupilot was flashed to the F405 flight controller and the platform could then be driven again manually with an RC transmitter.
A Raspberry Pi 3A+ single board computer was also added, to provide higher level mission management through ROS, along with easy integration with more complex sensors, such as lidar, or cameras.
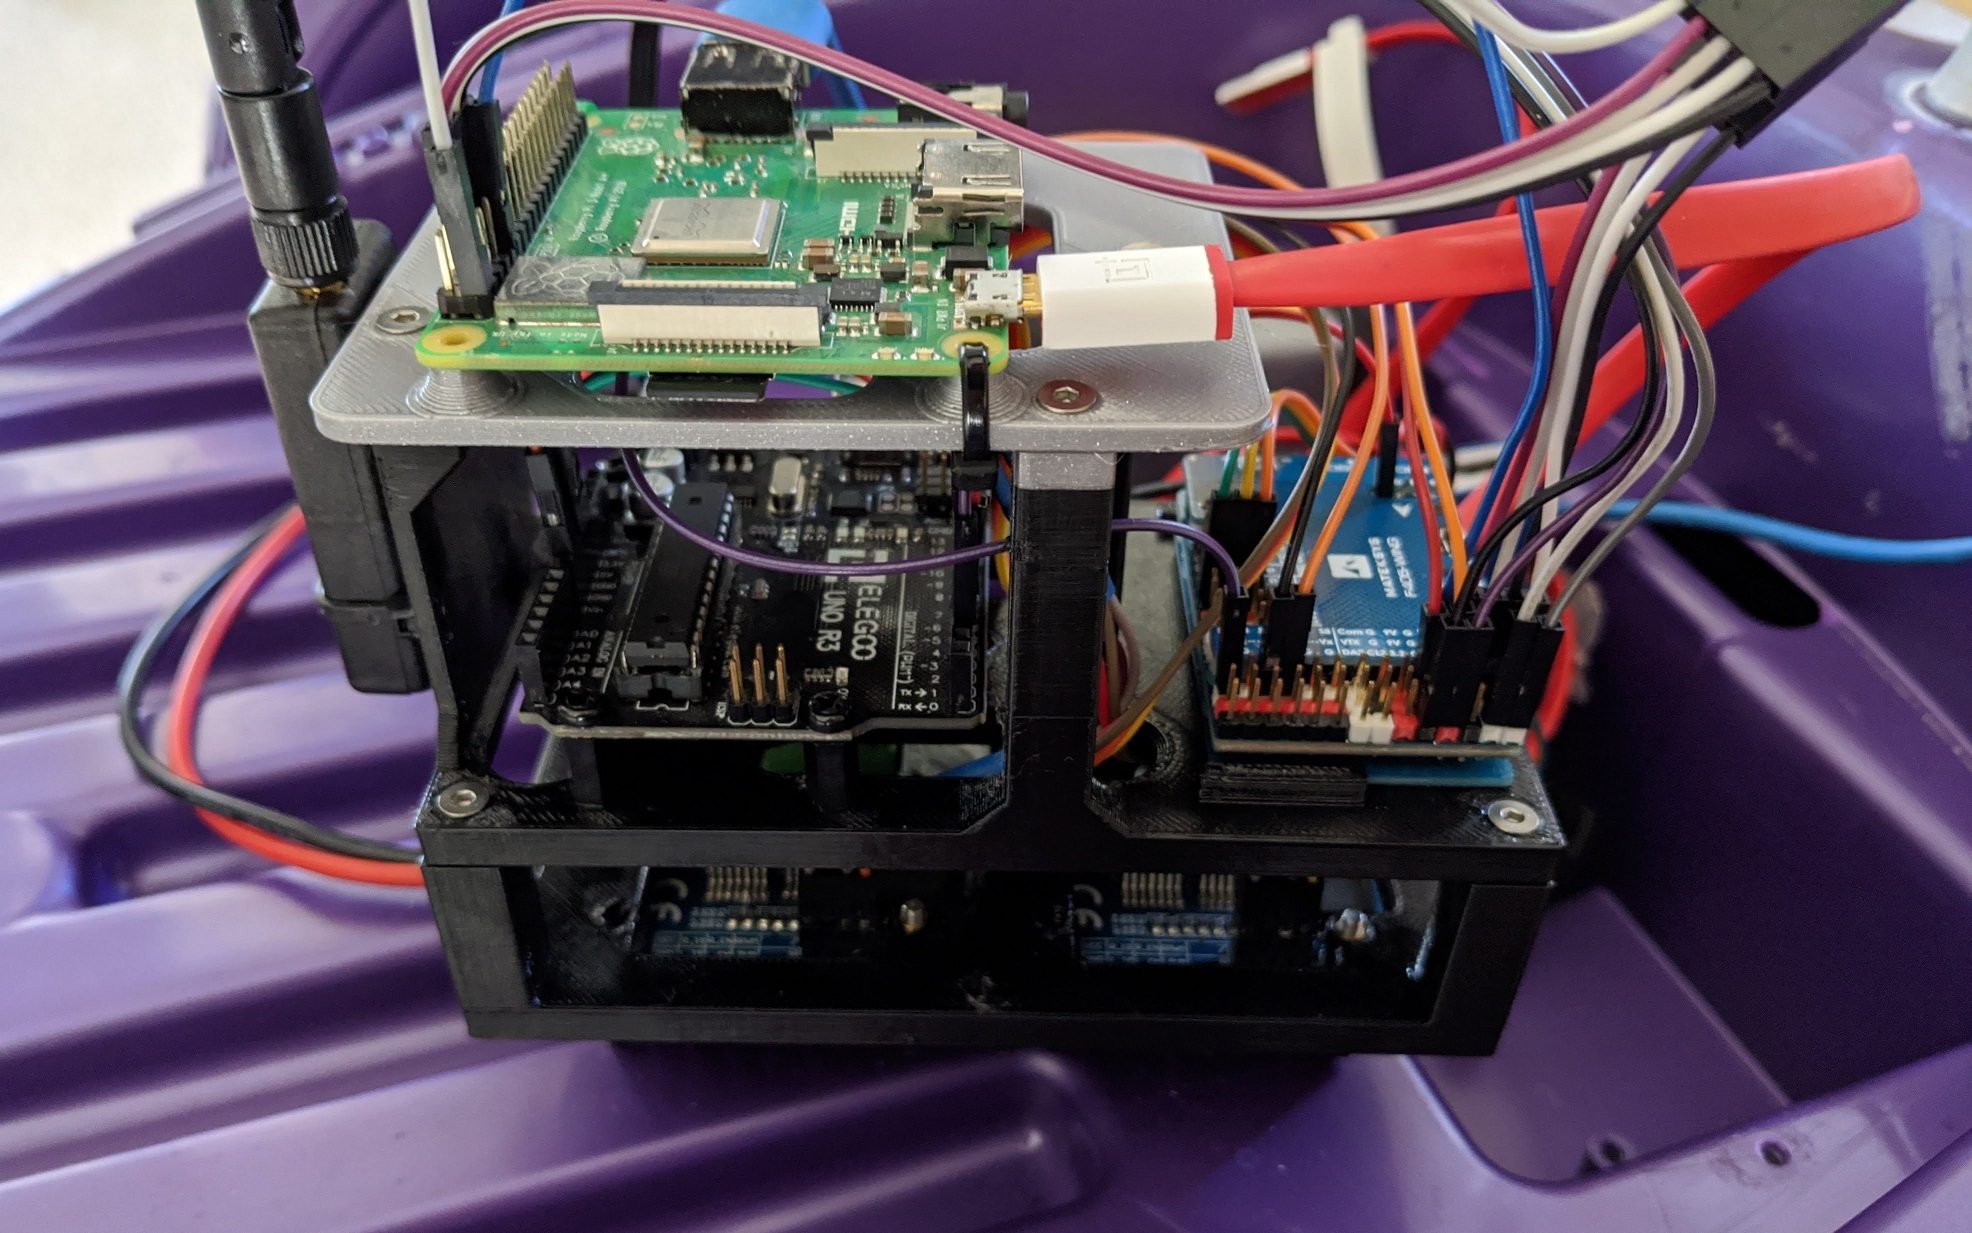
Wheel mounted encoders are often used in small rovers such as this to measure the wheel speed and position to help keep track of the robot’s overall movement. Due to the hard plastic wheels on the Dareway, there is often a fair amount of wheel-spin that can occur, which would produce large errors for an encoder based positioning system. Instead, an Intel Realsense T265 tracking camera capable of onboard V-SLAM was connected to the Raspberry Pi, which outputs accurate pose, velocity, and acceleration data for local positioning. The Dareway is now ready to be used as a large payload platform for either RC or autonomous control.
