
Flying Business Card
I’ve never had a business card, partly because I am rarely in places where they are needed, but also because I could never think of a design that excited me. I have seen other engineers who do electronics make PCB business cards that sometimes include NFC or other cool features, but never anything that seemed to quite fit with what I do. A few weeks ago I was trying to decide what size and shape to make a new flight controller dev board, when I realised I could solve two problems at once!
I decided to make the flight controller PCB the same shape as a standard business card, and with a thinner than usual 0.8mm PCB, the unpopulated boards would fit into wallets, pockets or backpacks quite well.
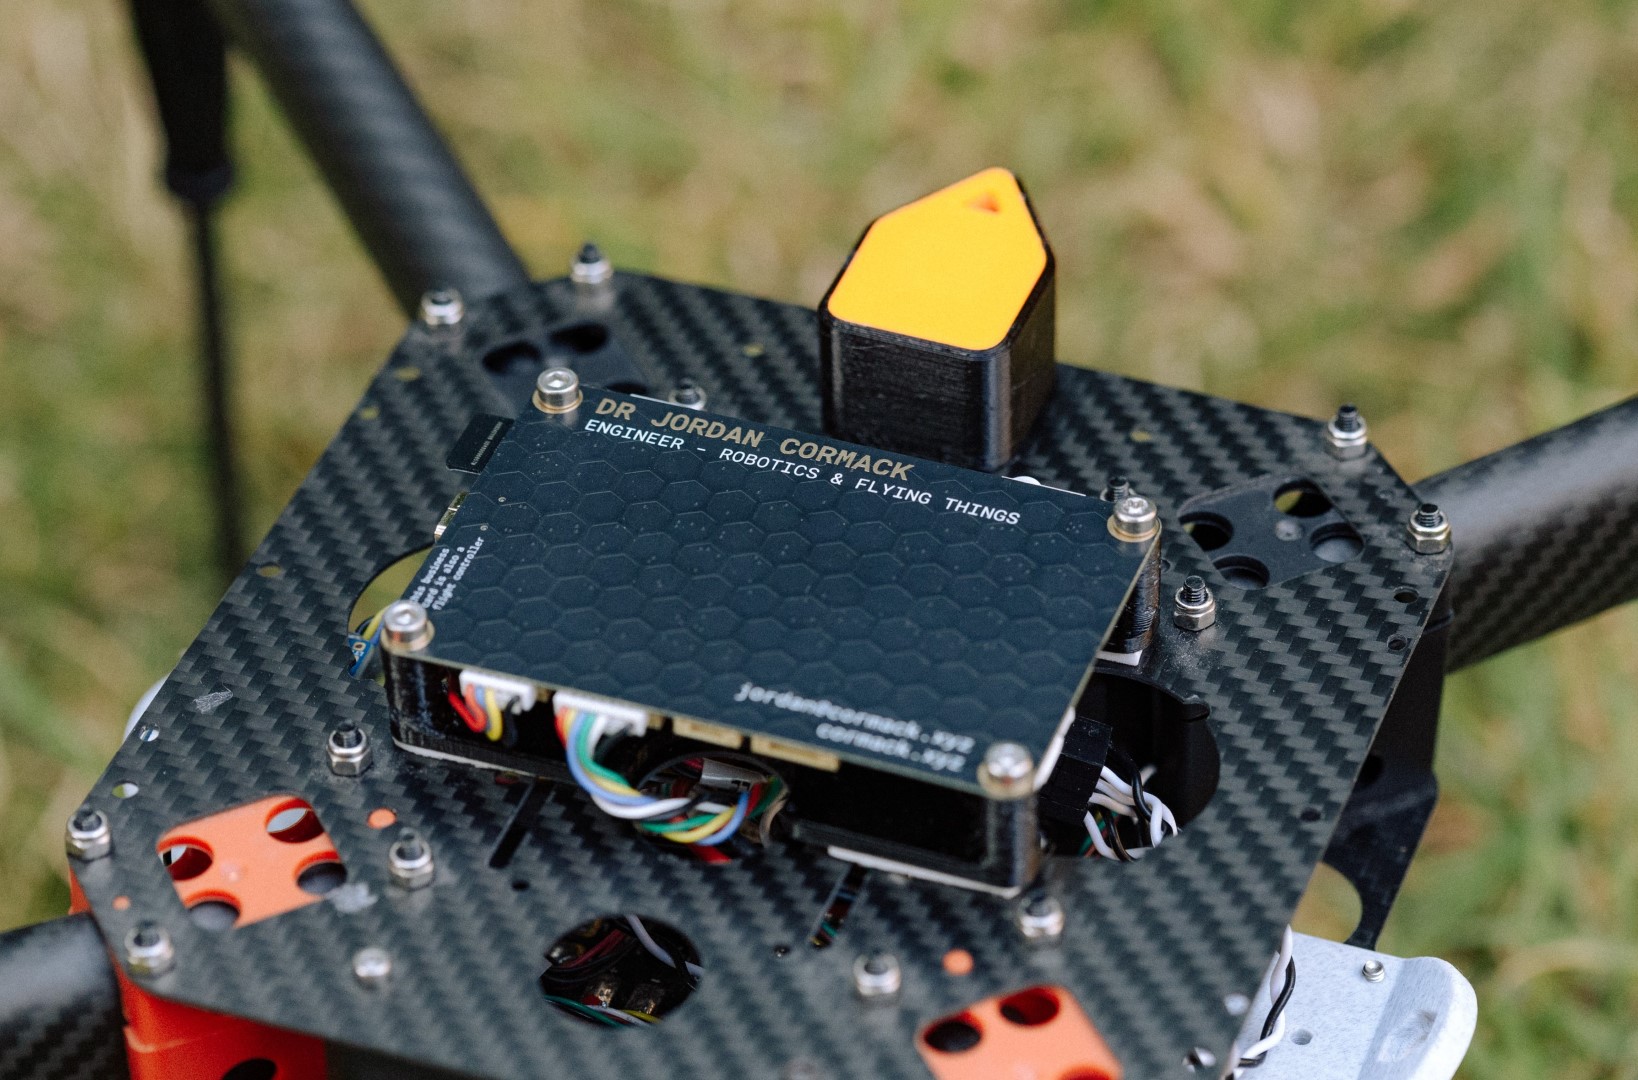
The business card side is relatively basic, with my name, a vague overview of what I do, and some contact info. I used a mixture of silkscreen and exposed gold pads for the text, and covered this side of the PCB in a copper hex pattern bellow the soldermask which makes it look and feel nice whilst being more subtle than a full silkscreen white pattern.

On the other side of the PCB is where all of the components are placed for the flight controller. I didn’t spend too much time on the placement or routing, but went with nice curvy traces and added some labels to show what various connections or groups of components were for.
The specs for the flight controller are:
- STM32H743VIT6 (480 MHz Cortex-M7, 2 MB Flash, 1 MB RAM)
- USB-C
- microSD slot
- Dual IMU
- Barometer
- 2x CAN bus connections (including transceivers)
- 8x UART serial connections
- 2x I2C connections
- 4x PWM connections (4x more broken out to pads)
- multiple power inputs
Using standard connectors, similar to the Cube / Pixhawk.
It’s intended to be mostly used with Ardupilot, but PX4 and other open-source autopilot / flight control software projects should be compatible with the right configuration, along with use as a genral purpose STM32 development board.
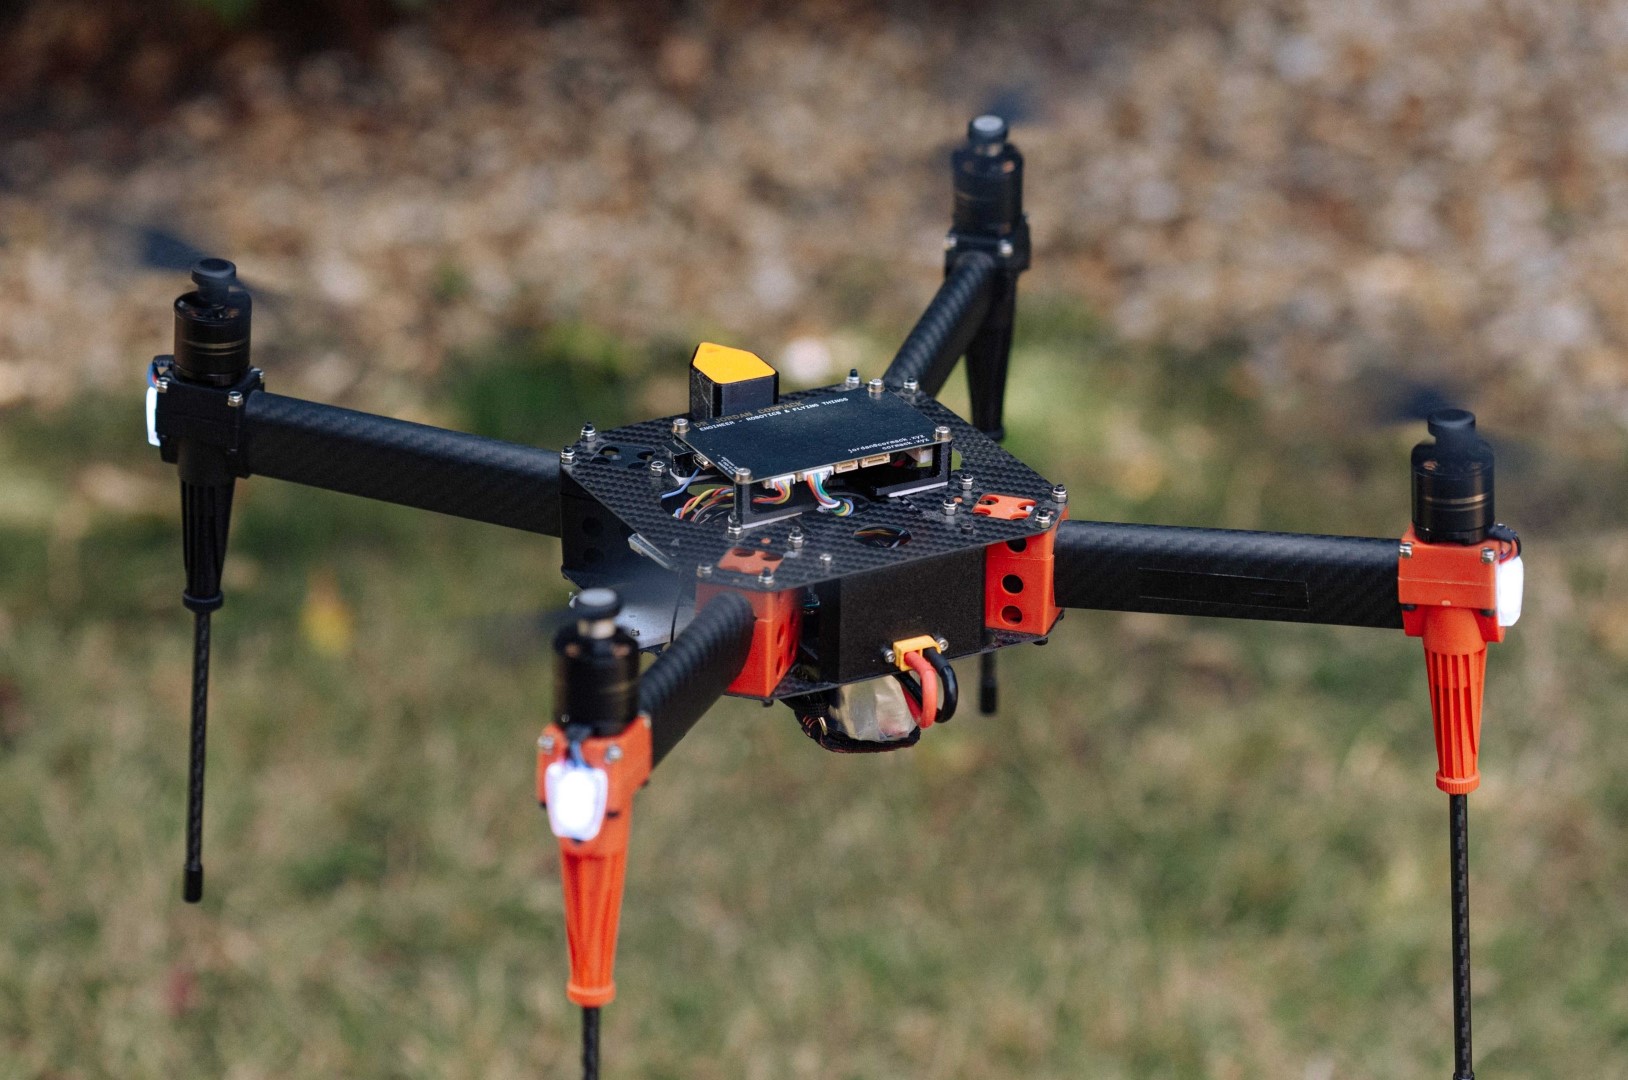
I mounted it to a HexSoon EDU-450 frame kit, ported Ardupilot, and it flies!
Although I will mostly be carrying around unpopulated PCBs, I did also want a nice way to protect a fully functional board to keep in a pocket of my backpack. I experimented with a few of JLC3DP’s options including MJF dyed black, 3D printed stainless steel, and CNC annodised aluminium. But the clear winner was 8001 transparent resin.
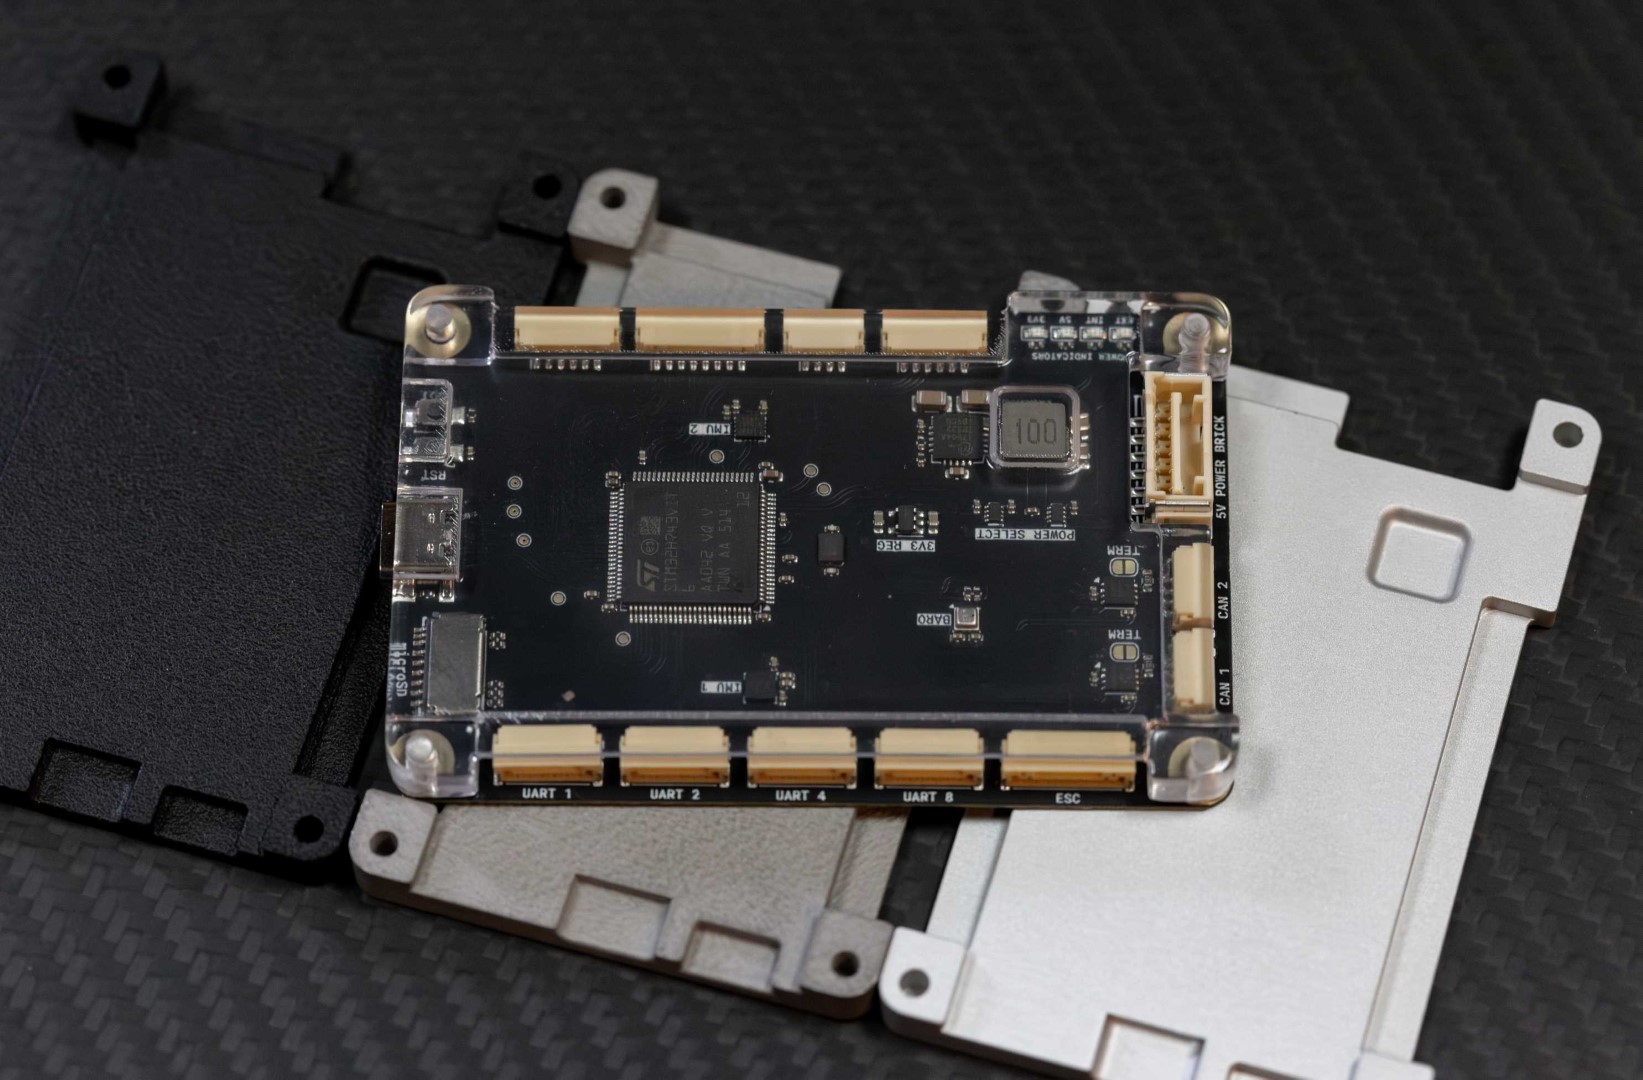
In non-ideal lighting you can see some clouding and print/polishing marks, but for a 1-off 3D printed part it looks great, and only cost ~£5 including shipping.
![]()
![]()