
Raspberry Pi Thermal Camera
I have always been interested in thermal cameras, but most which have any kind of usable resolution cost many hundreds of pounds and use closed hardware and software. I recently found out about the MLX90640 thermal sensor array, which is available as a breakout for around £50, like this one from Pimoroni. Although they are not exactly cheap and the resolution is still low (32x24), it seems like a relatively good option at this price, with a claimed temperature range of -40°C to 300°C, accurate to 1°C.
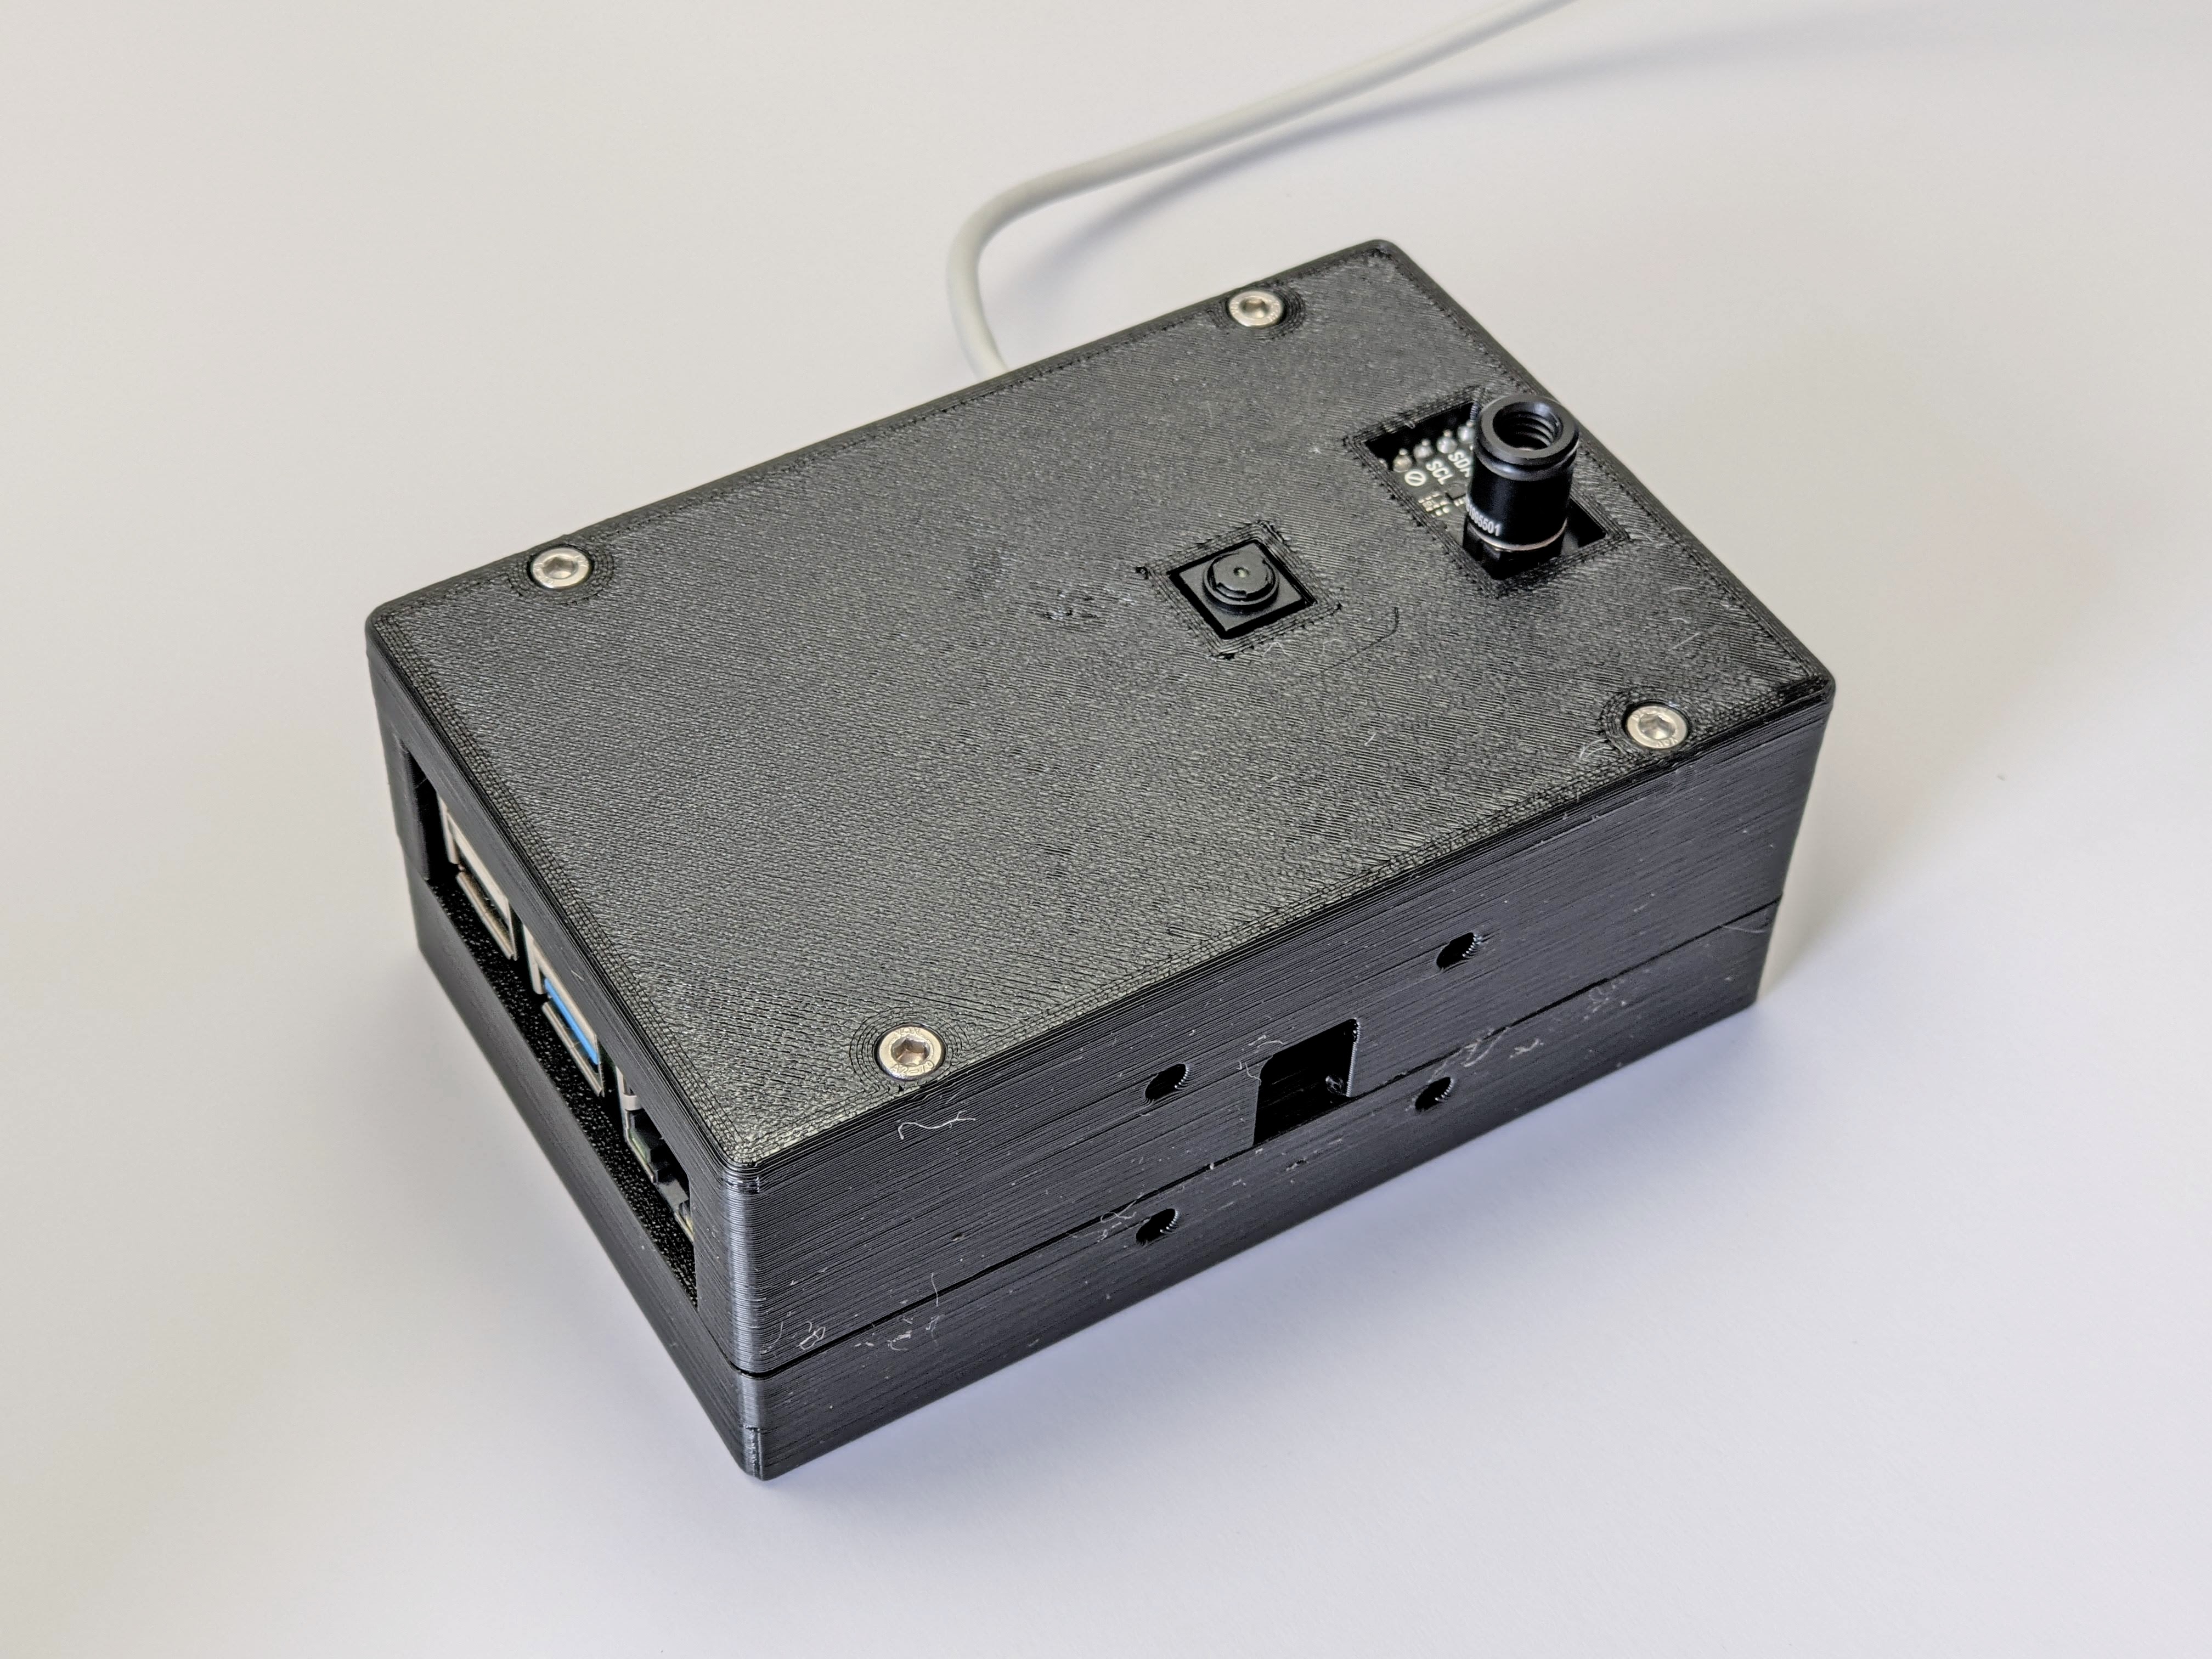
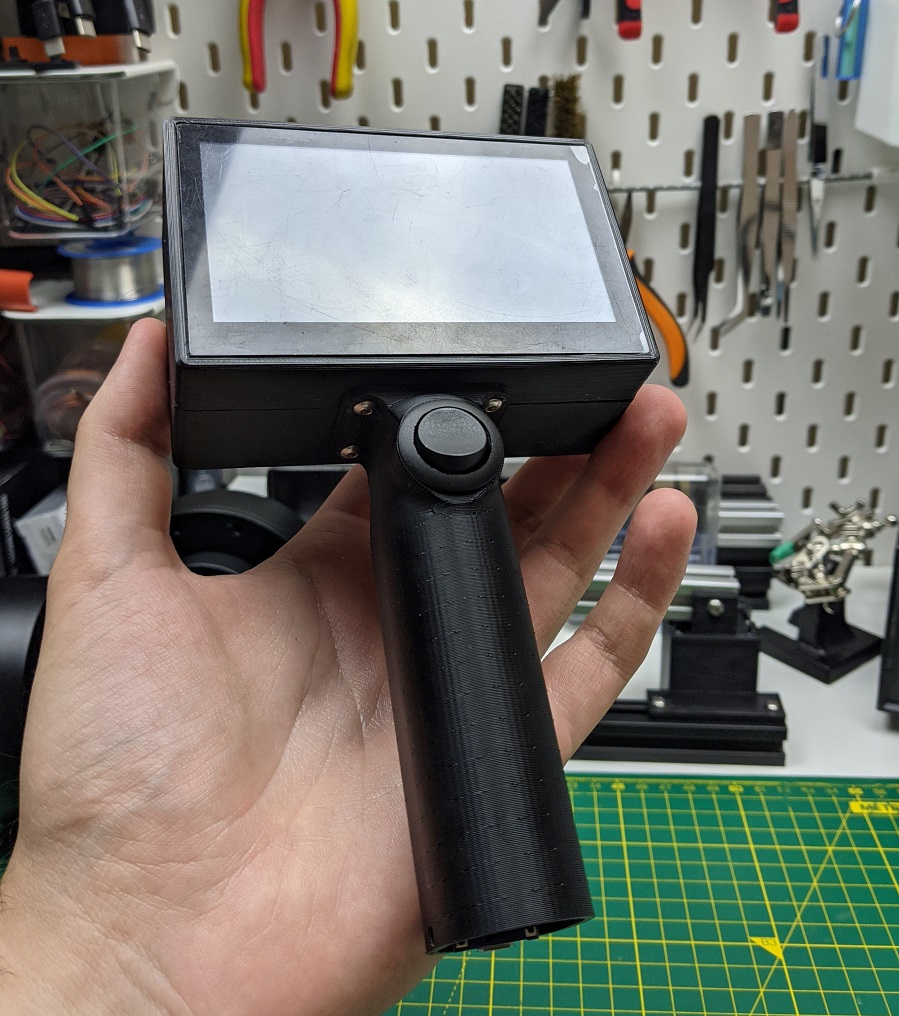
As the resolution of the MLX90640 is low, I decided to use a standard Pi camera with a much higher resolution, and overlay the thermal camera on top. To do this, I connected both cameras to a Raspberry Pi 4 and used Python and OpenCV to capture images from both and overlay them on each other, before displaying them. Once the basic capability had been proven, a 3D printed enclosure was made which included a touch screen, and both cameras were mounted to the front relatively close to each other.
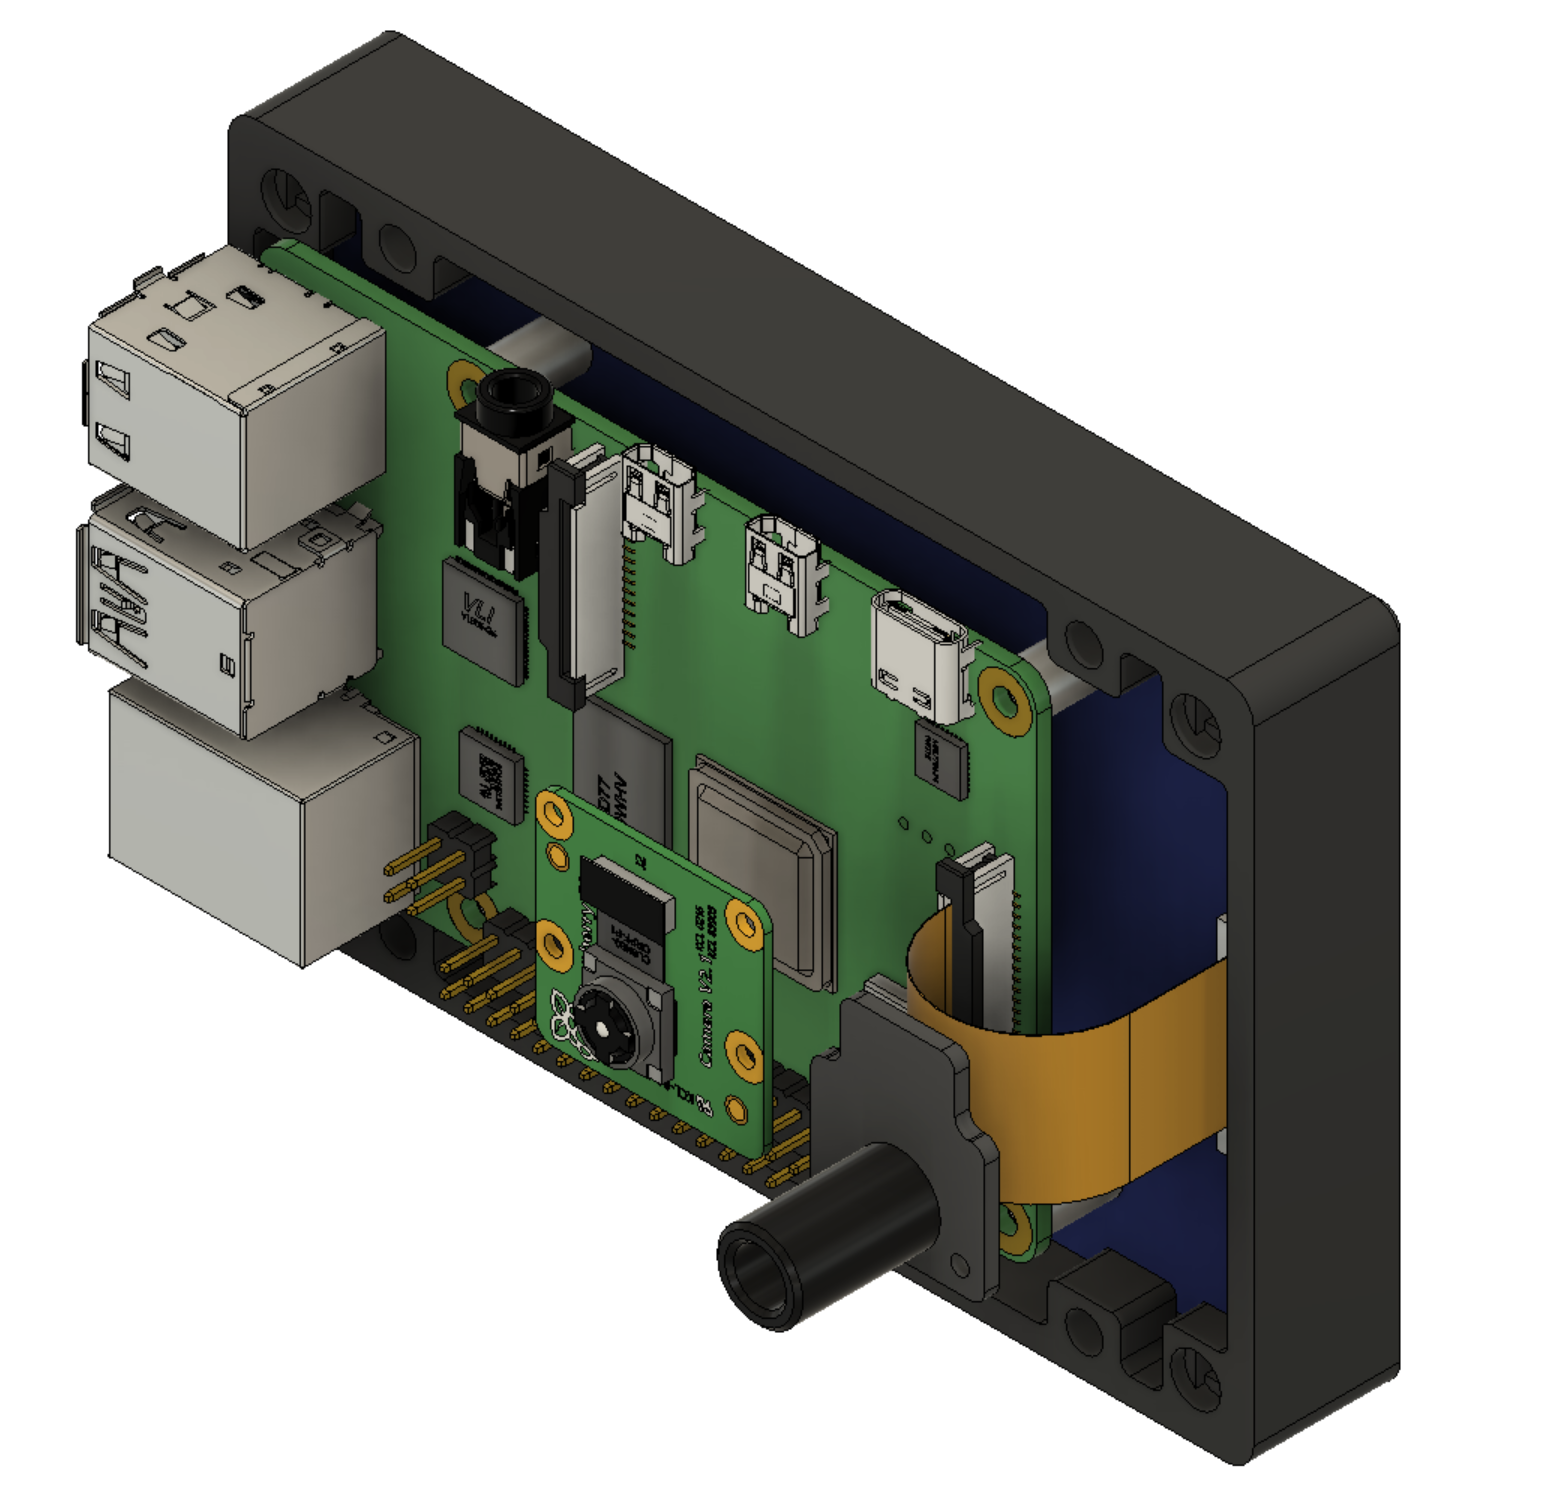
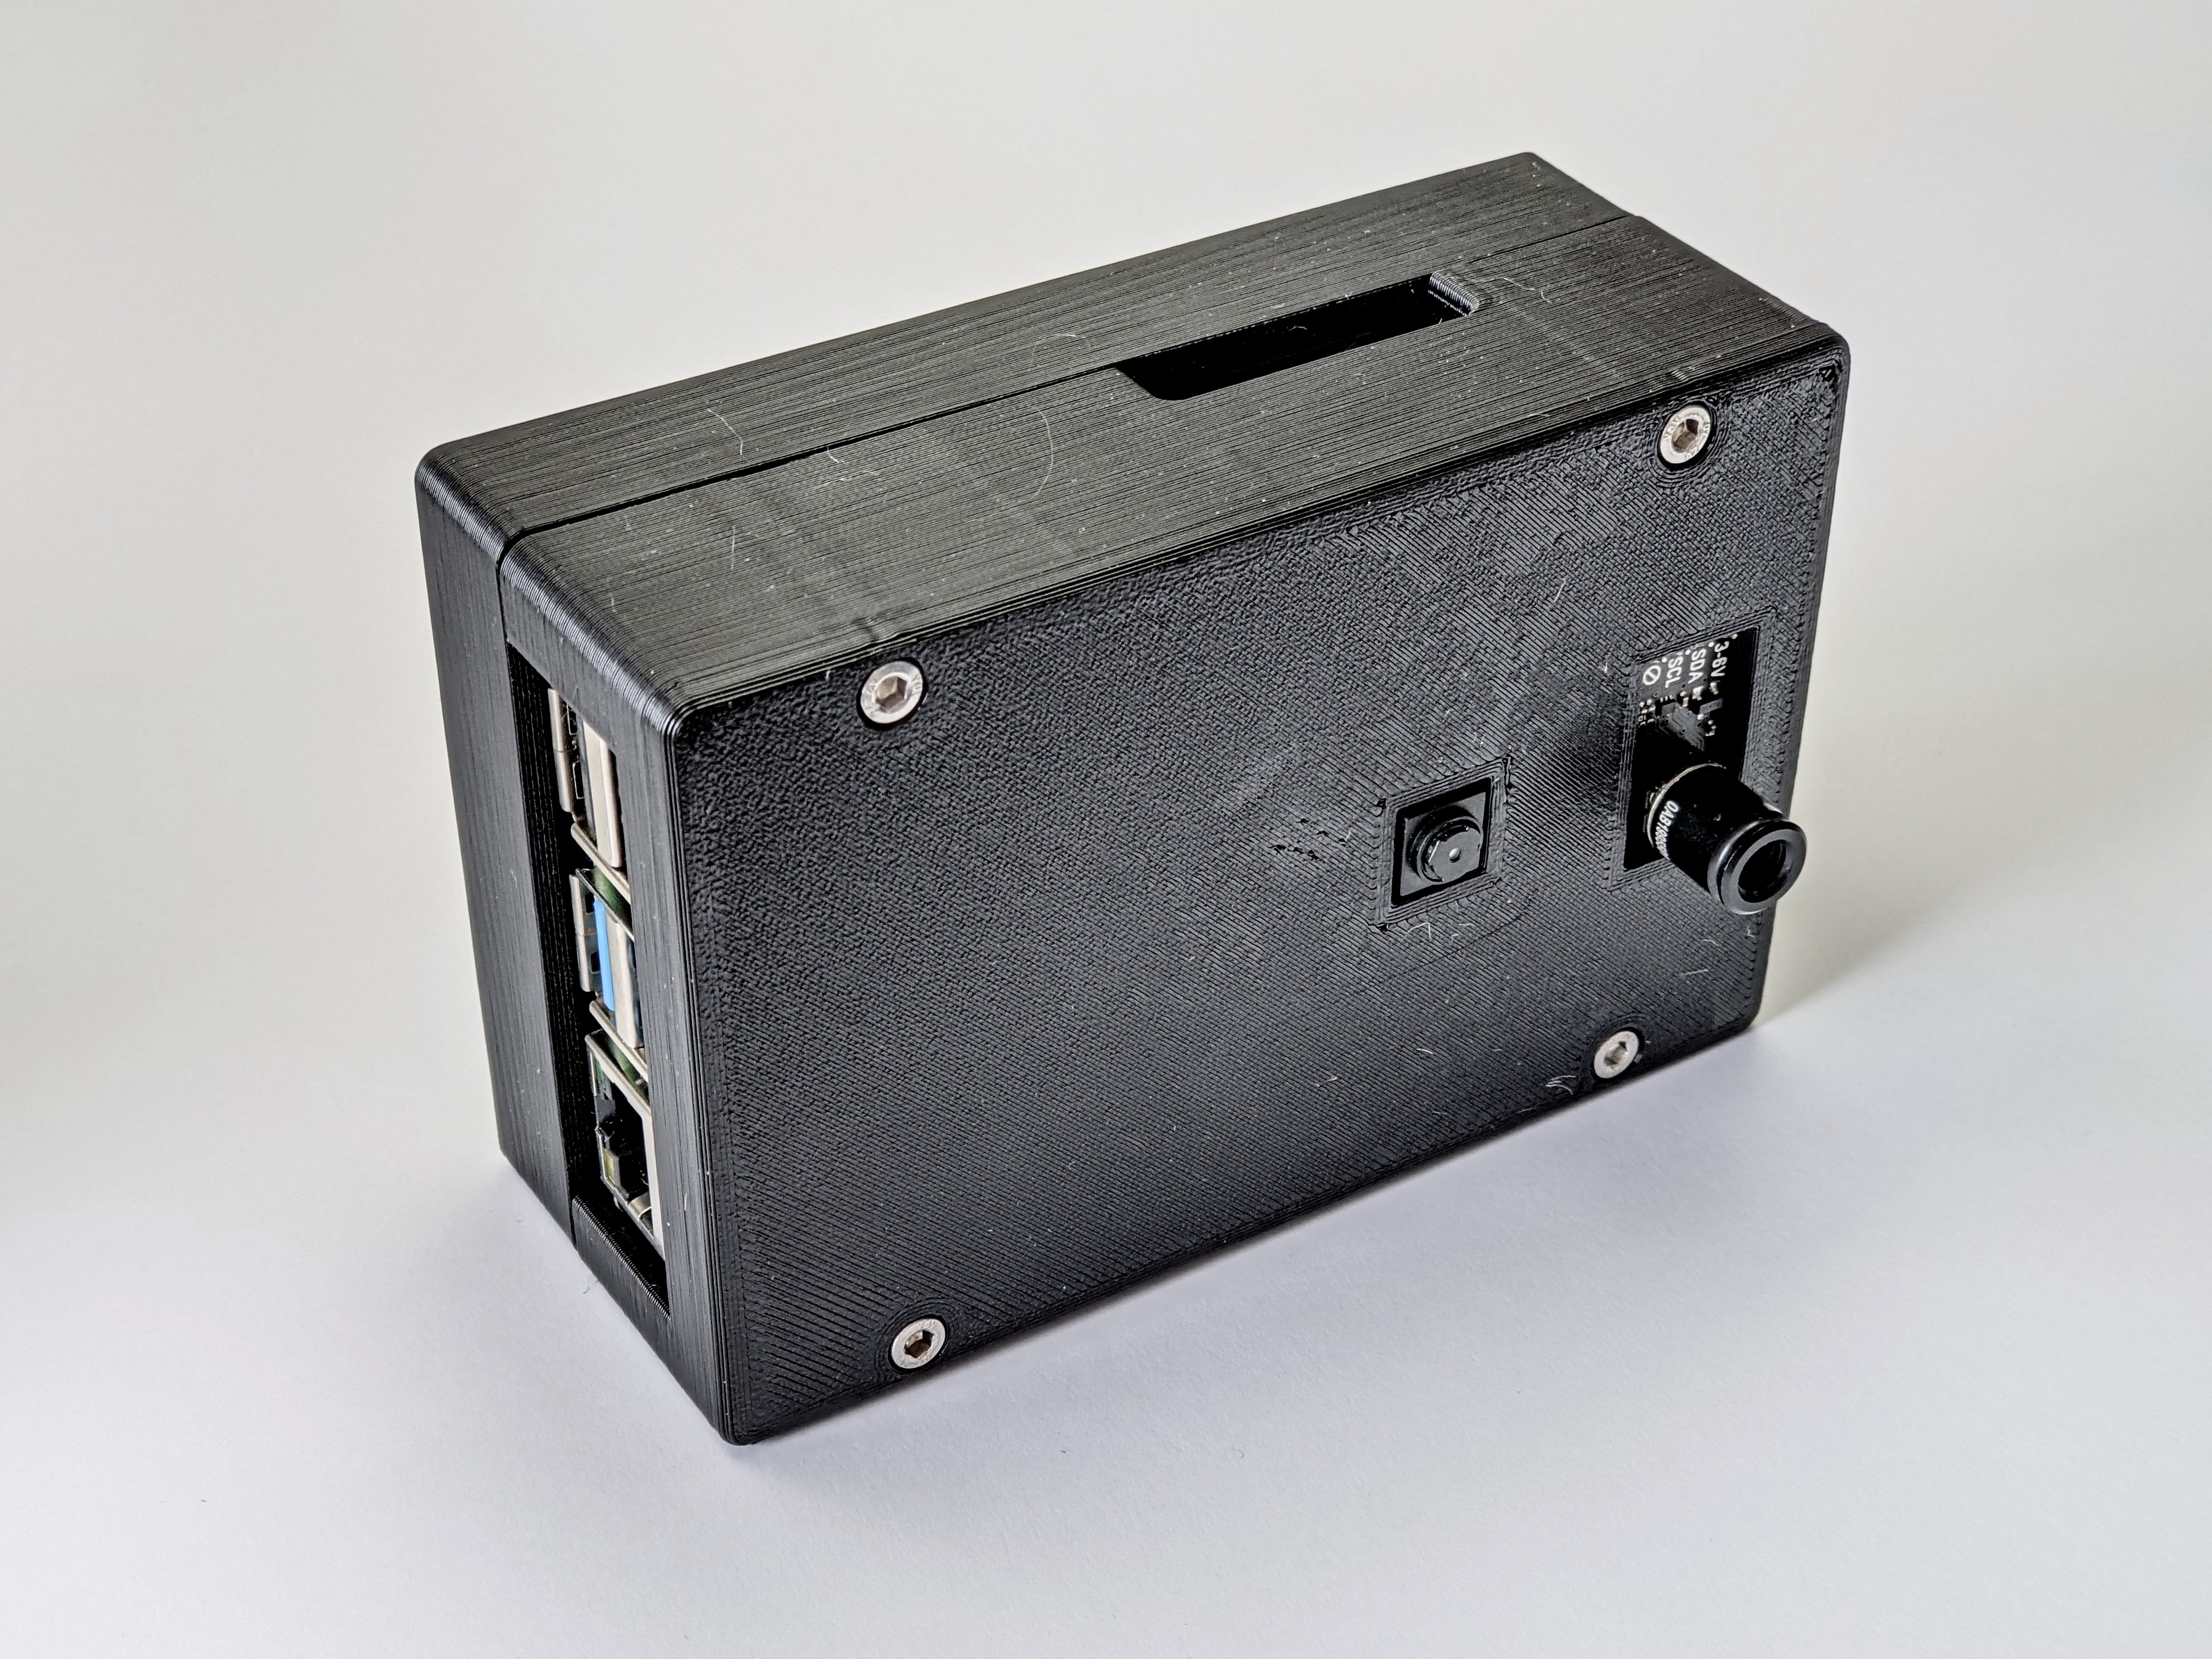
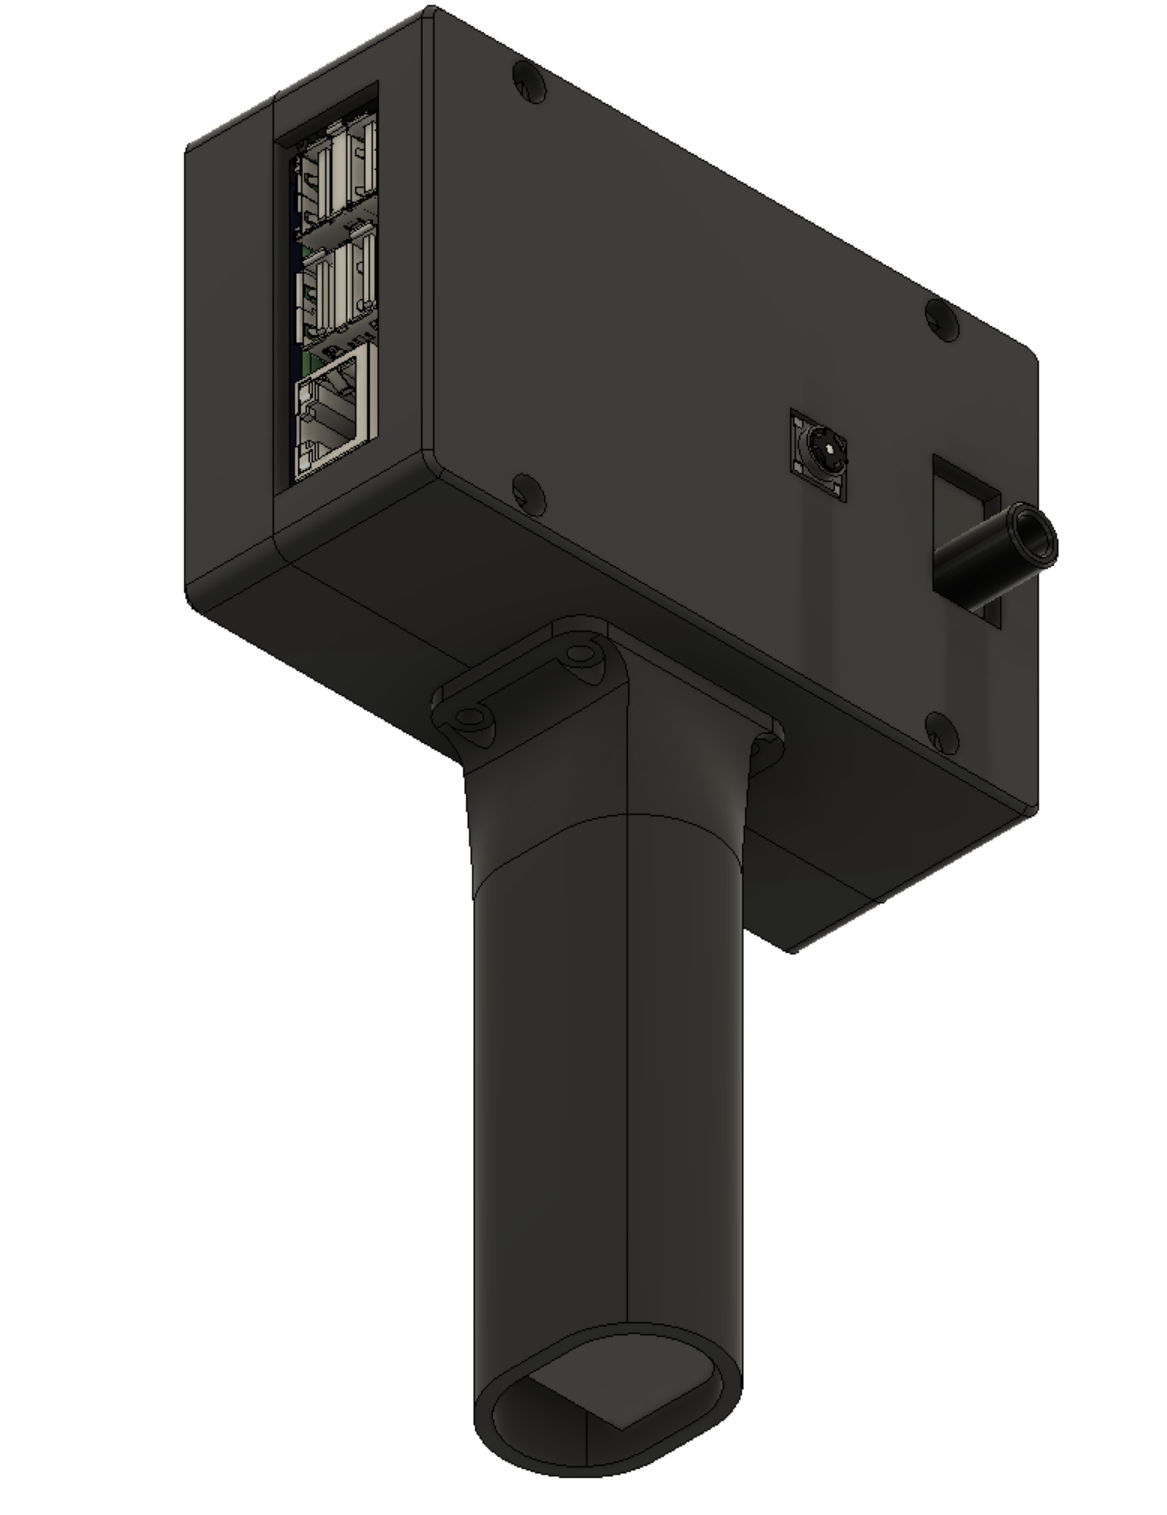
The basic case is a simple box which is just large enough to house the essential components and the cables which connect them. The base of the case features an opening and mounting holes for additional components such as a tripod mount, or a battery grip handle.
Currently the Pi camera image overlaid with the thermal image is simply shown in an application window on the Pi’s desktop.
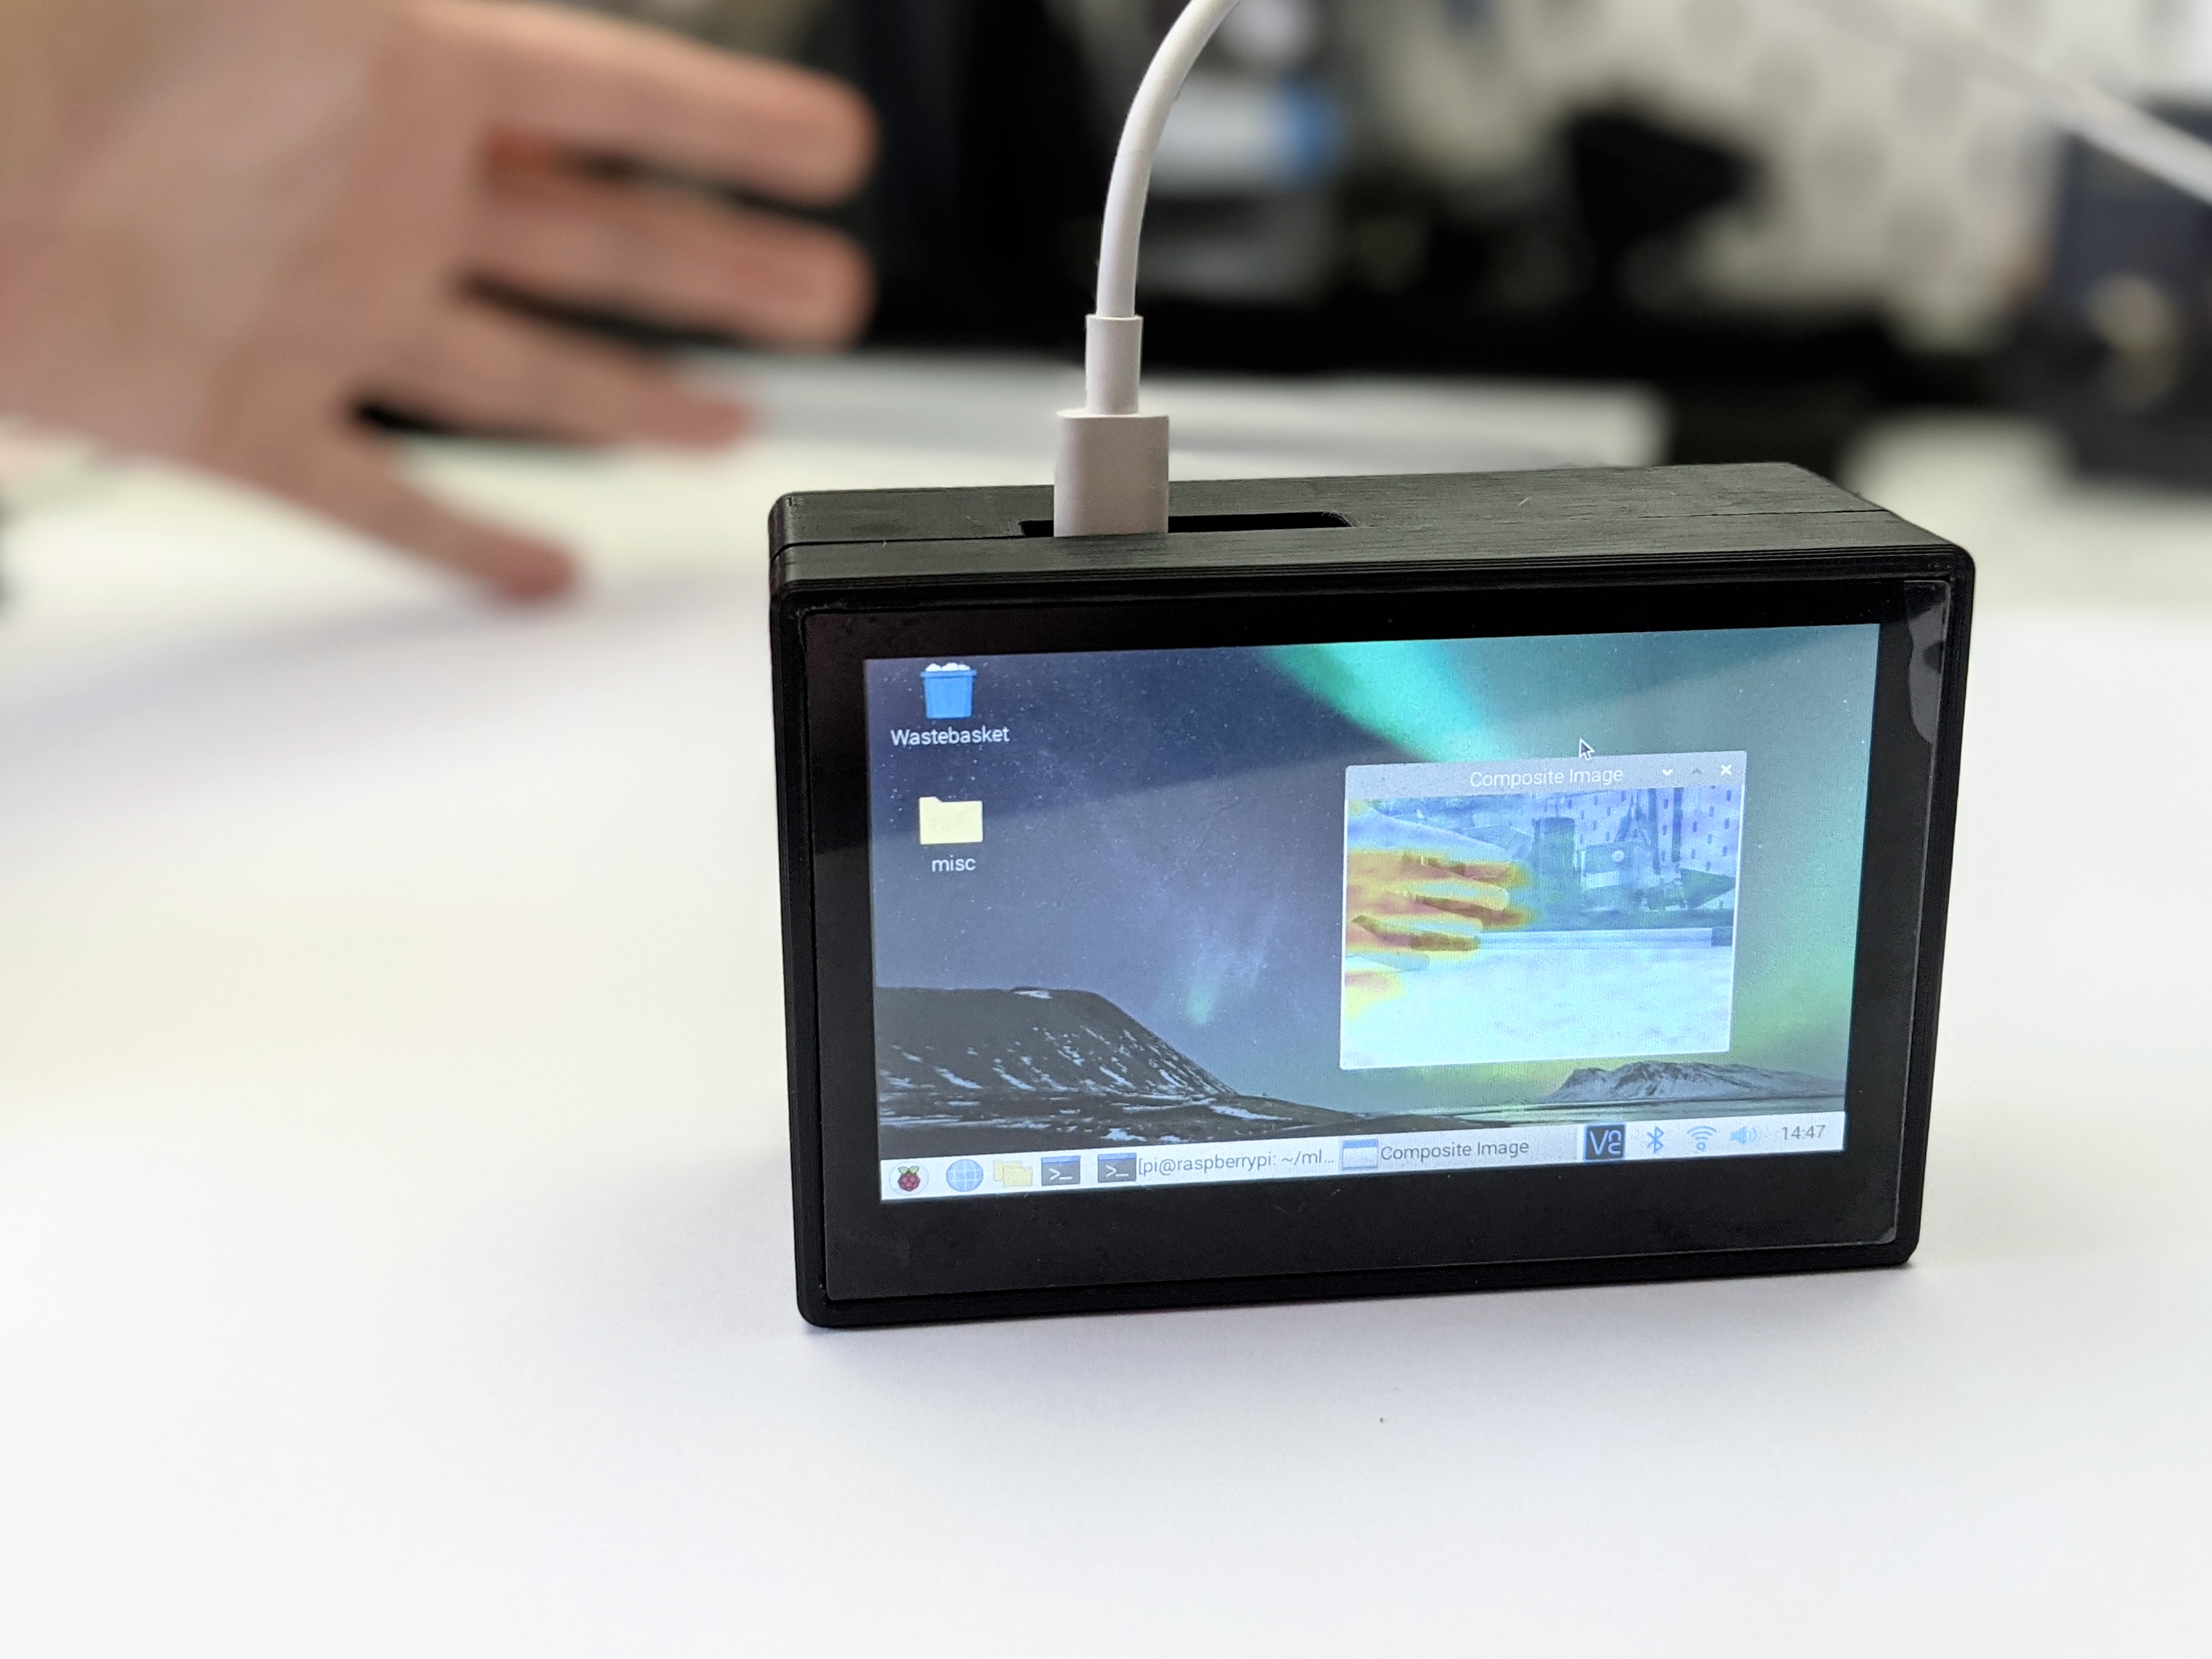
The below video shows an initial test of the thermal camera, where objects hotter than the ambient room temperature can easily be seen (e.g. hot glue gun, 3D printer bed). It can be seen that the colour scale adjusts to the range of temperatures visable, which is done automatically by the library I am using for the MLX90640. It is also clear that the standard camera and thermal camera images are not perfectly aligned. For basic use this isn’t a huge issue, but better alignment would allow the system to be more useful.
A battery grip consisting of an 18650 Li-Ion battery, a TP4056 charge controller, a 5V step-up regulator, and an on/off switch was made and fixed to the bottom of the camera.
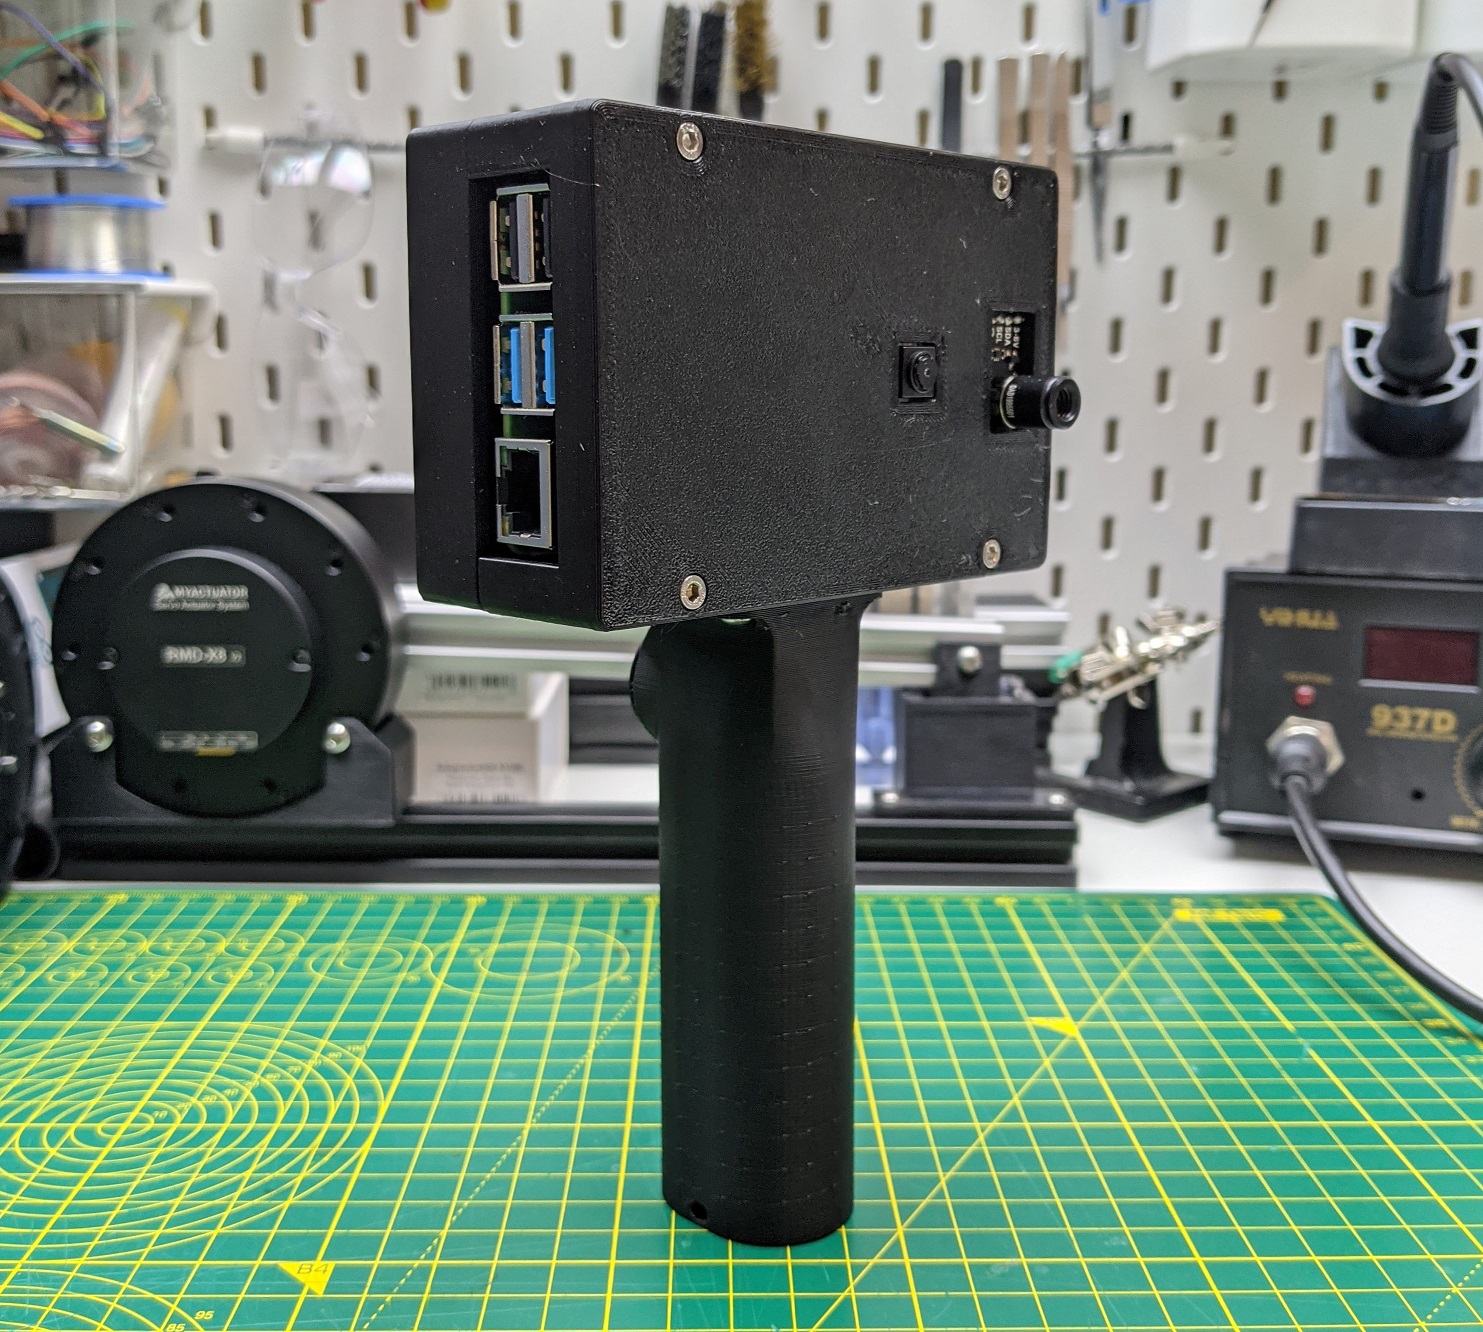
Although it is able to provide 5V from the battery to the Pi, either the TP4056 or Pololu U1V11F5 step-up regulator was not quite able to provide enough power for the whole unit, so the Pi 4 Model B was swapped for a Pi 3 Model A which uses less power (at the expense of speed). Below is a video of the camera with the battery grip.
Still to do
- Properly align Pi camera and MLX90640 thermal image
- Create GUI including temperature readouts
- Configure colour scales for thermal image