The JetCase: Jetson Nano Peli Case
The aim of this project is to create a mobile computer system inside a Pelican Case, based on the Nvidia Jetson Nano. With further development this device could be used as an easily transportable UAV ground station. The main inspiration for this project was Back7’s Off-Grid Cyberdeck.
The basic components of the sytem at the start of the design process were:
- Pelican 1200 Protector Case
- Nvidia Jetson Nano Development Kit
- Waveshare 7inch Touchscreen
- Turnigy 5000mAh Li-Po Battery
Note: These components were not chosen specifically for this project, just from what I had already.
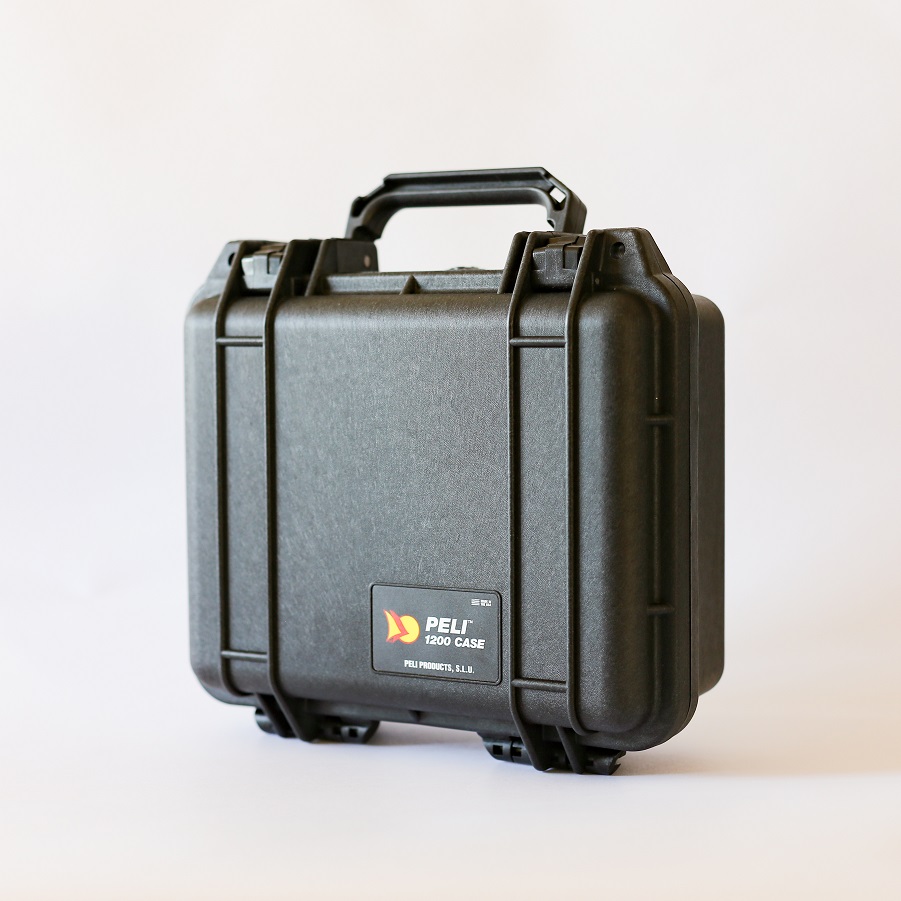
Layout 1
The initial idea was to mount the screen in the lid of the case and the Jetson Nano in the base, along with the battery and other components. This configuration is shown below:
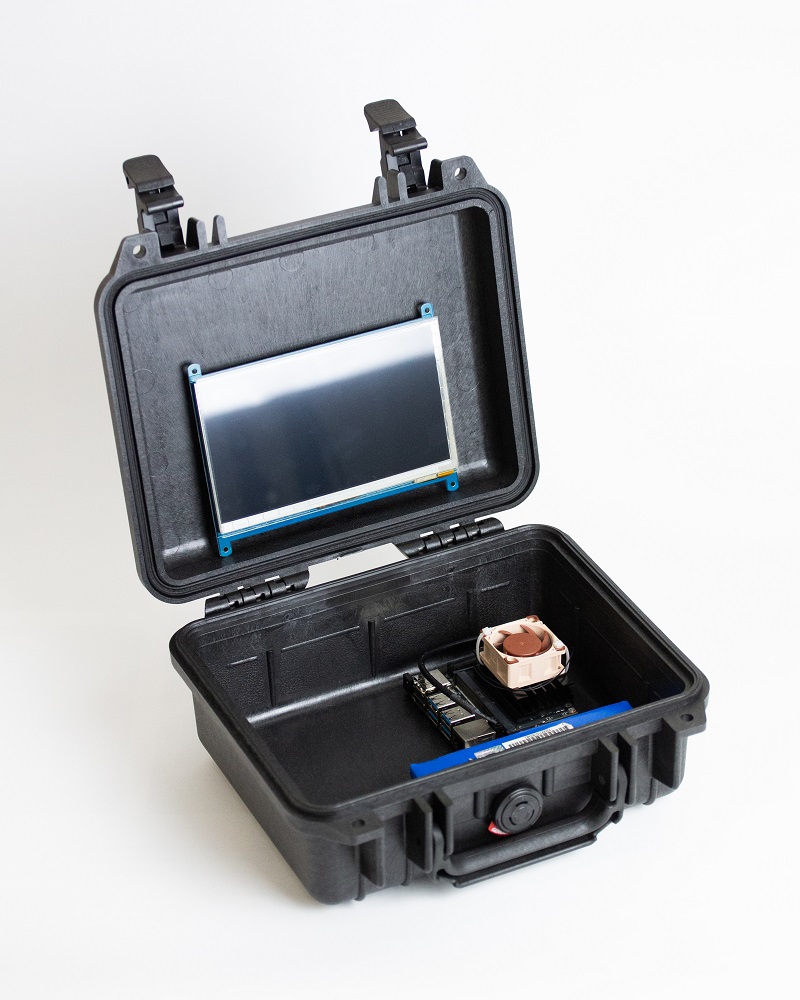
This configuration is similar to a conventional laptop, however it is not ideal in this example for a few reasons:
- The thicker base is not ideal for typing.
- More cables would need to pass from one side to the other (e.g. HDMI/power).
- Since cooling vents will be needed for the Jetson, debris or rain could more easily fall inside.
Layout 2
Instead, a configuration similar to Back7’s Off-Grid Cyberdeck was chosen, housing everything aside from the keyboard in the larger side of the case.
3D models of the Jetson Nano, the Waveshare touchscreen and the inside of the Pelican case were found on the manufacturer’s websites. After creating a rough model of the battery, these were all used to create a basic CAD layout.
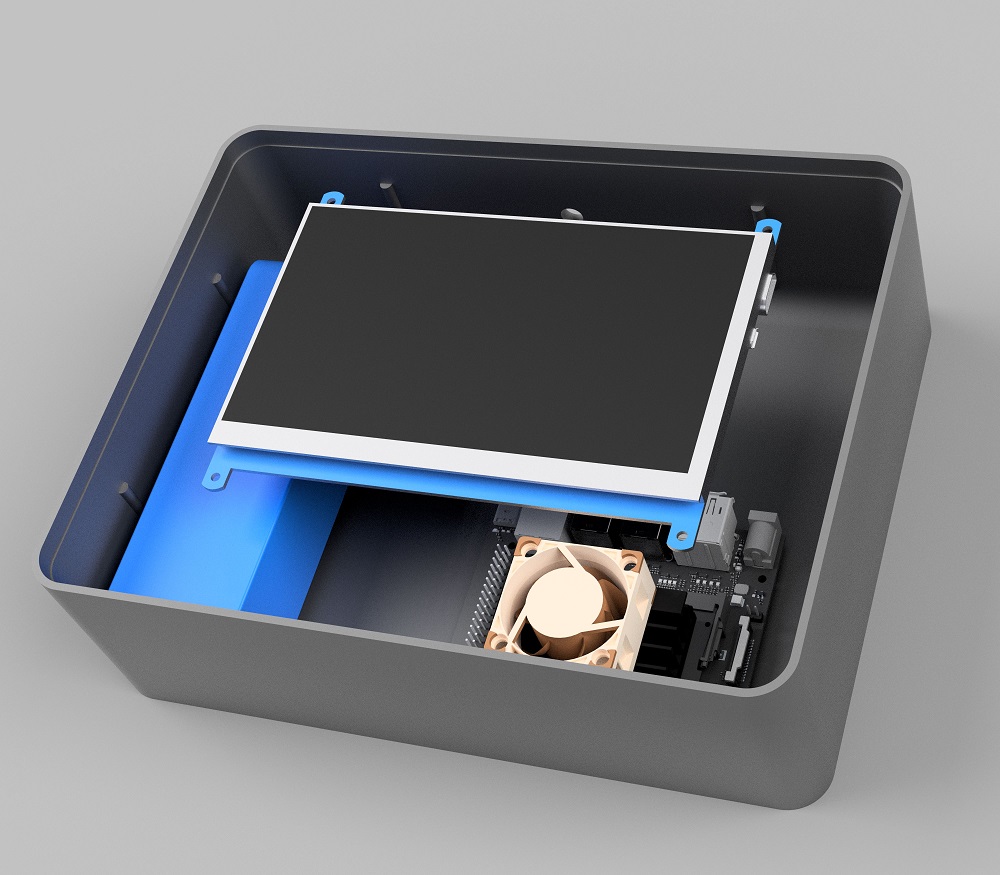
A 3D printable skeleton structure could then be designed around these main components. To help protect the internal components from small knocks, foam pieces surround the internal structure, raising it from the inside of the case. Anti-vibration pieces were then used to mount the Jetson Nano for even further protection. An initial structure was designed and 3D printed for a test fit inside the case.
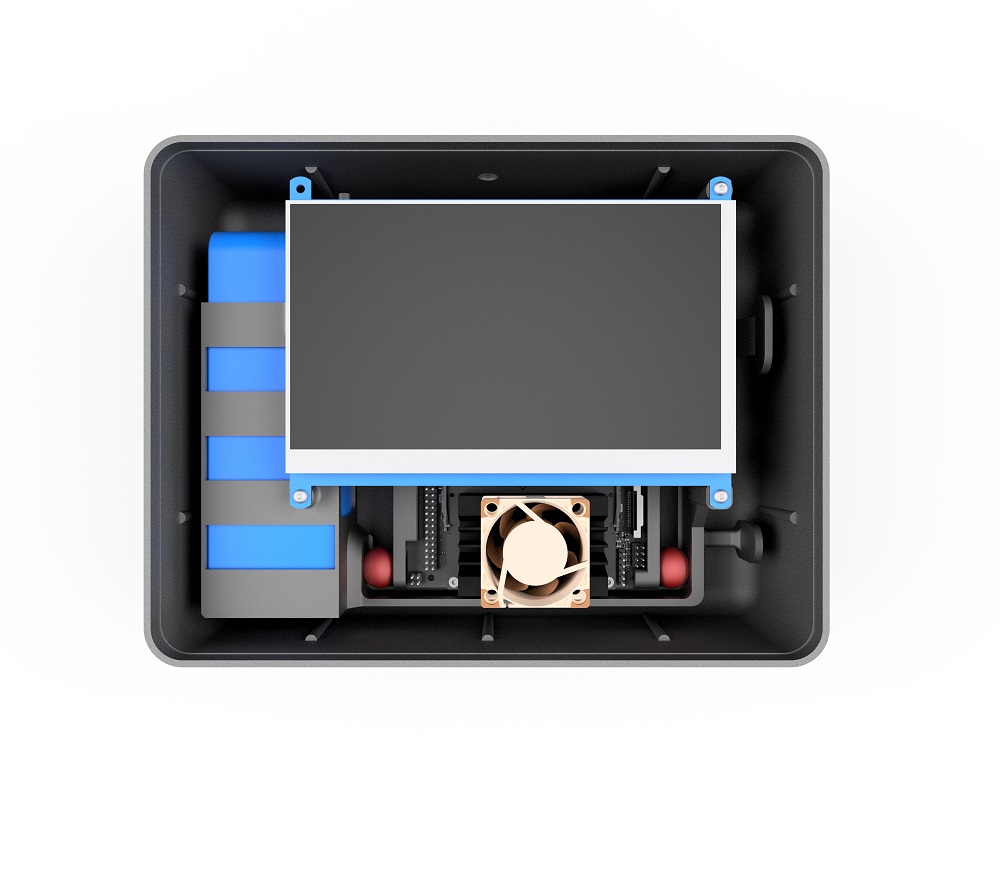
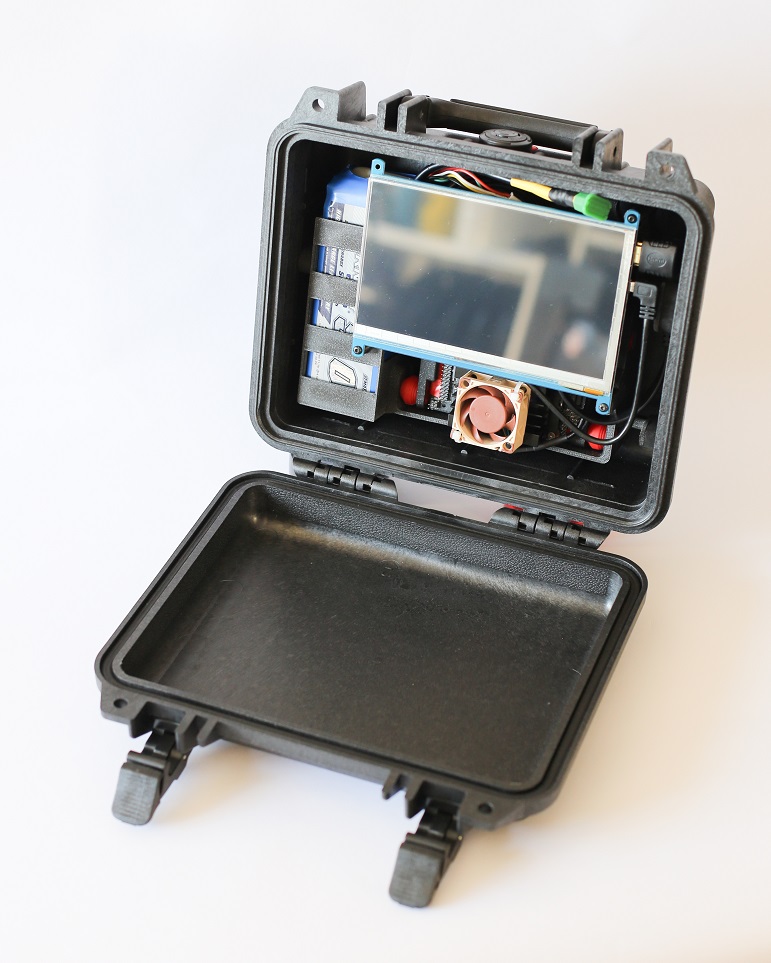
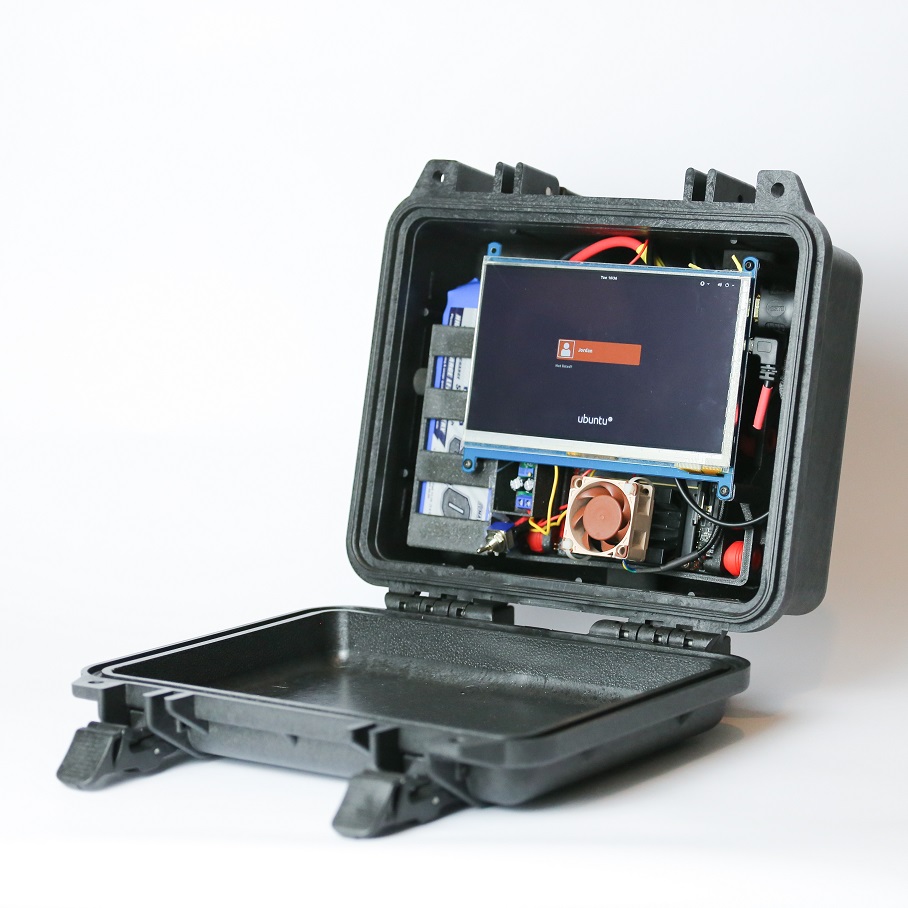
This prototype internal structure worked well, with the main components fitting together as intended. A short HDMI cable and a couple of right angle adapters made connections relatively easy. The below pictures show the internal structure.
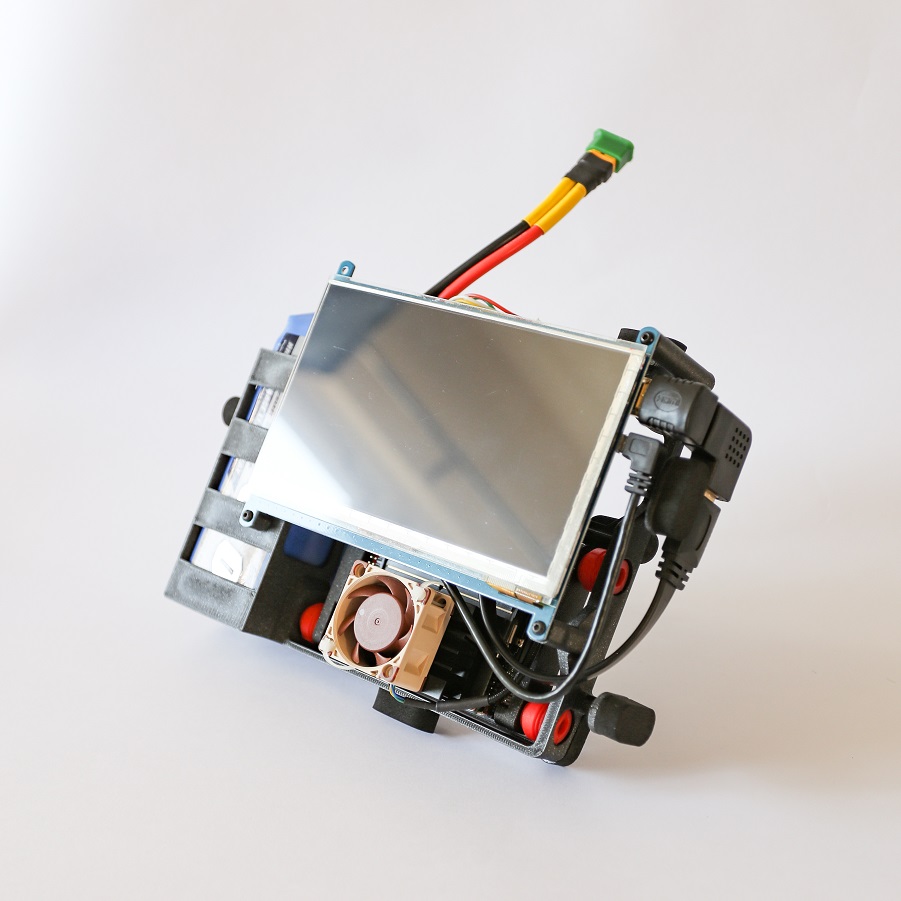
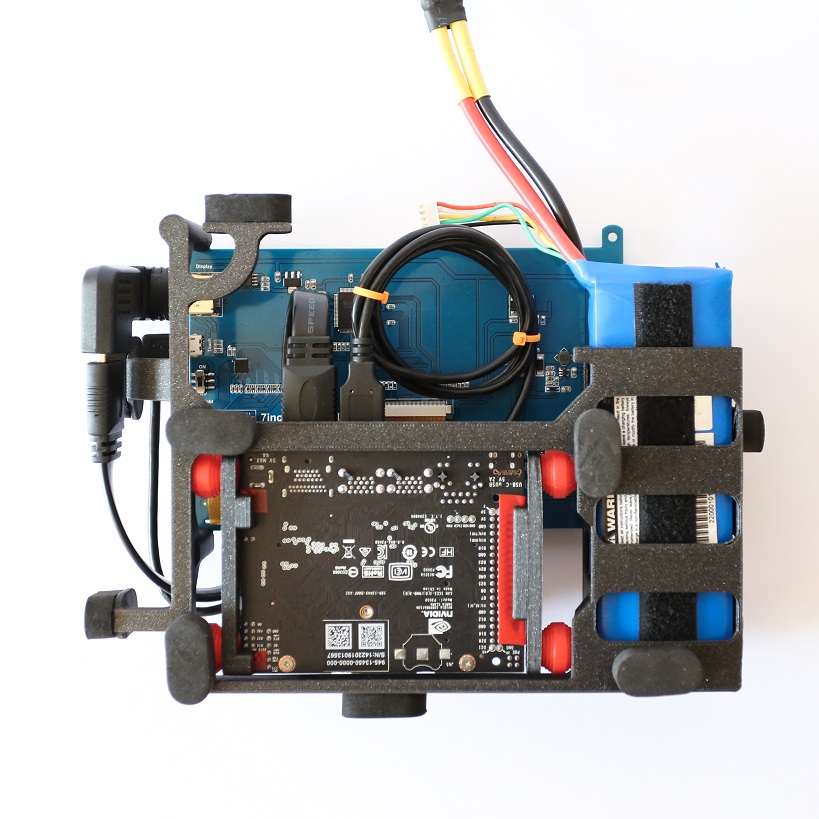
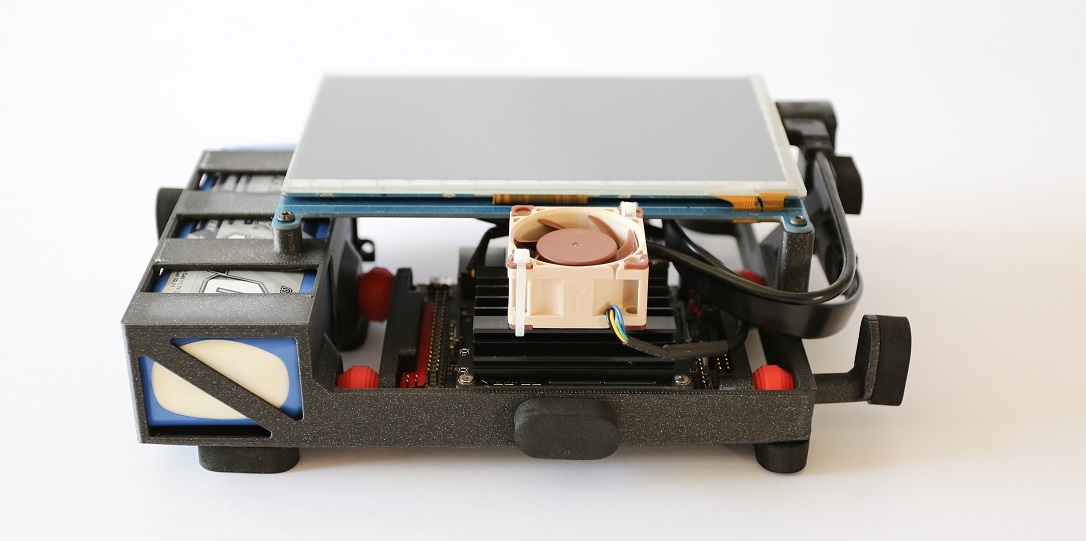
A 10A DC-DC converter is being used to power all of the components from the Li-Po battery. A DPDT switch will be used to switch between powering the system and charging the battery. This switch and connections to the Li-Po will be accessible in a front panel which is currently being designed. Below is the system running off of the internal battery.
Still to do:
- Design a cover plate for the front with mounts for buttons and ports.
- Find a suitable keyboard that will fit inside the case lid.
- Find a suitable USB hub/passthrough to access the unused Jetson Nano ports.